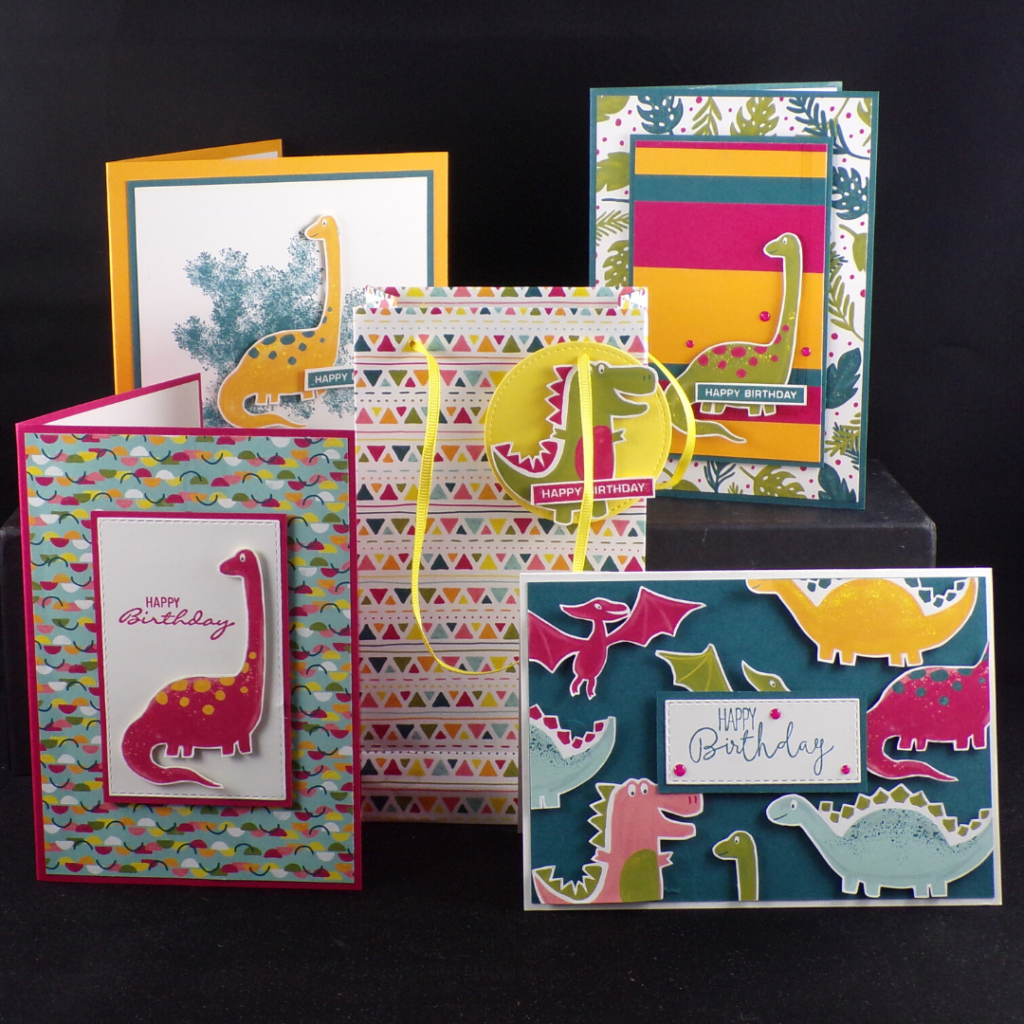
Hello Crafters! I hope you’re well today! Today I’m sharing the last of the projects I made with the Dinoroar DSP. I loved creating these projects, they’ll be perfect for giving to Elliott’s friends and my young nephew on their birthdays, and I love that the colour scheme makes them equally suited to boys and girls. I still have loads of this paper pack left, so I’ll definitely be creating multiples of these cards! Please don’t forget though that this paper will be retiring soon, so you only have until the beginning of June, or until stocks run out, whichever comes first, to purchase it.
This was the last card I made when I was creating the Dinoroar projects, and I decided to use up scraps of cardstock that I had left over from the other cards to create the colourful background for the dinosaur. The colours are so pretty!
Here’s a picture of all of the projects together – you can click on it to take a look at the other Dinoroar projects, or read on for the full tutorial and shopping list for this project.
Tutorial – The final Dinoroar – Handmade Kid’s Birthday Card
To create your card blank, score and fold an A5 piece of Pretty Peacock cardstock in half. Then, cut a piece of the Dinoroar cardstock 1/4″ smaller than your card front and glue it onto your card.
Cut a piece of Whisper White cardstock 1 1/2″ smaller than your card front in each direction, and glue spare strips of coloured cardstock across it (I used Mango Melody, Lovely Lipstick and Pretty Peacock). Turn the cardstock over and trim along the edges of the scraps so that you get a nice neat rectangular piece again. Cut a piece of Pretty Peacock cardstock 1/4″ larger than this rectangle and glue the two pieces together. Add this to your card using Stampin’ Dimensionals (foam pads).
Cut one of the large dinosaurs from the Dinoroar paper, then stamp the Happy Birthday sentiment from the Label Me Bold stamp set on a scrap of Whisper White cardstock with Pretty Peacock ink. [Do you have the Label Me Bold stamp set yet? This is also on the retiring list but for me it’s a must-have and I would definitely recommend it!].
Cut out the sentiment then add it, along with the dinosaur, to your card with Stampin’ Dimensionals. Finish your card by adding a few lovely lipstick enamel dots and you’re done! Simple but effective!
I hope you enjoyed this project. Click the links below to shop the products used to make it.
JOIN MY TEAM Product List
")


Widget not in any sidebars
The form you have selected does not exist.
Sarah Phelan, Independent UK Stampin’ Up Demonstrator
Sarah Phelan, Independent UK Stampin’ Up Demonstrator