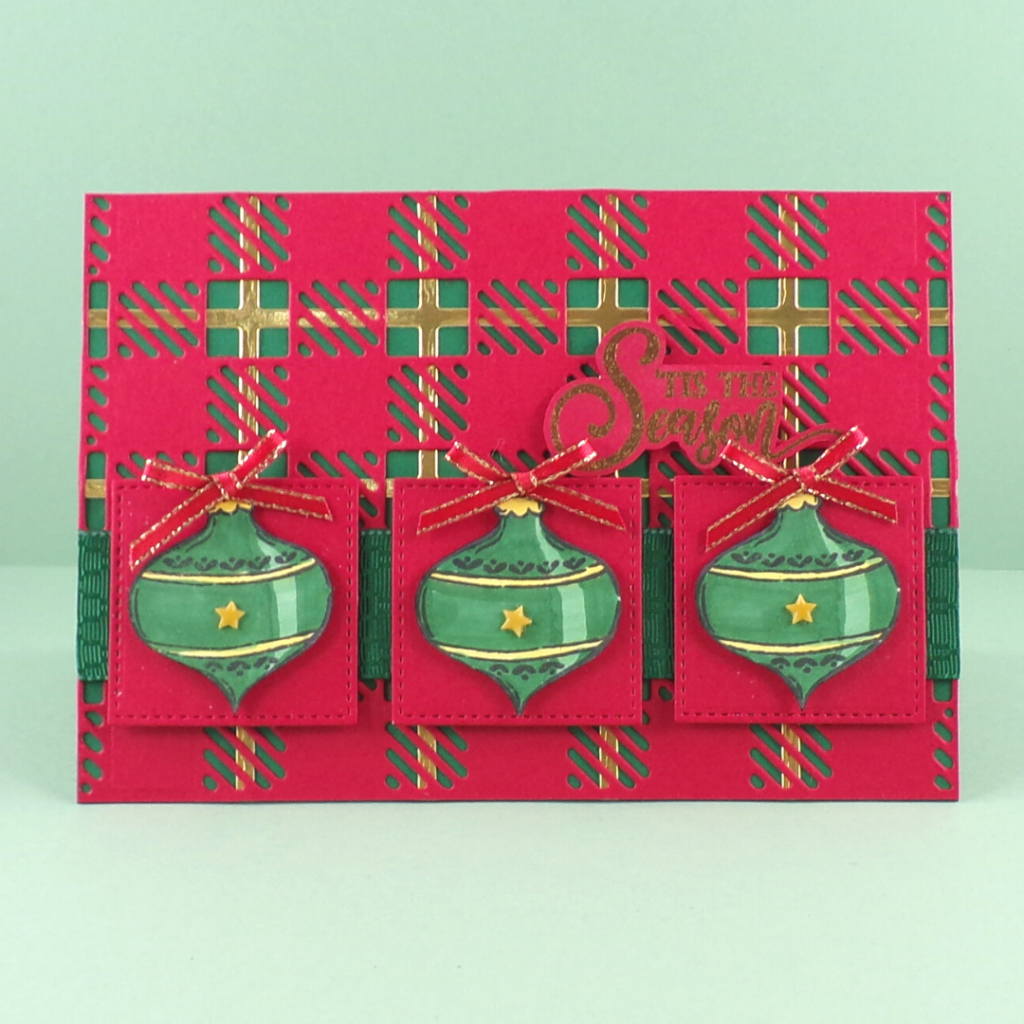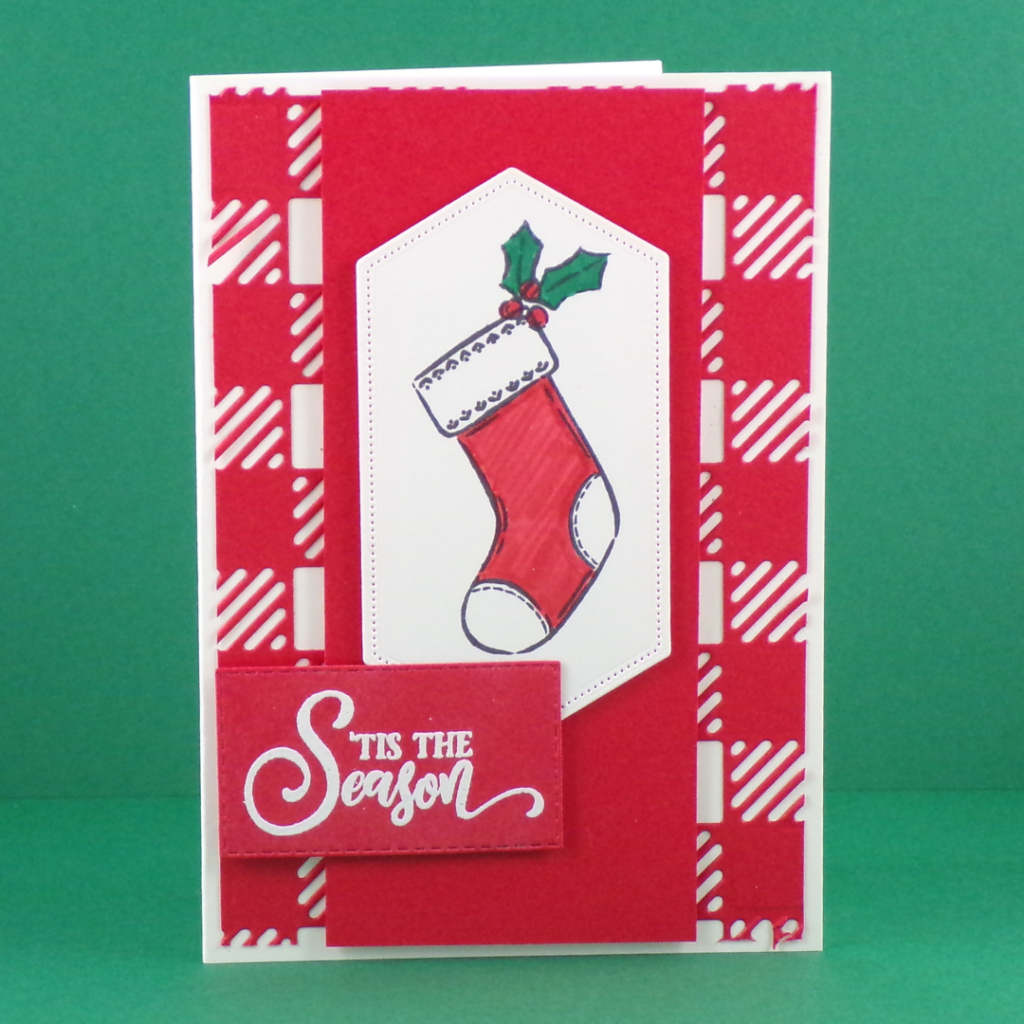

Good Morning Crafters! How are you today?! I’ve shared cards with you before using the Best Plaid Builder Dies as the background on Birthday cards, but I’ve been looking forward to sharing some Christmas cards and today’s the day! I just love this kind of background for Christmas cards, and with these Plaid Builder dies you can really tailor it to the card that you’re making. I’ve had so much fun thinking up different colour combinations with these, and also playing with the layouts.

Best Plaid Builder Dies [152720] £41.00

Tag Buffet Photopolymer Stamp Set [153612] £17.00
Tutorial – Plaid Builder Dies with Tag Buffet
Create your card blank by scoring and folding an A5 (8 1/4″ x 5 7/8″) piece of cardstock in half – Thick Whisper White for the stocking card and Shaded Spruce for the Bauble Card.
Use your Best Plaid Builder dies to build a background for your card – use just the one layer in Poppy Parade cardstock for the Stocking card, or both layers, using gold foil sheets and Real Red cardstock for the bauble card, then cut them to size and glue them to your card front.
To complete the stocking card, simply stamp the stocking in Memento Black ink onto some Whisper White cardstock and colour with Stampin’ Write Markers before cutting it out with a Nested Label Die and adding it to your card with Stampin Dimensionals (foam pads). The sentiment is heat embossed with White Embossing powder and cut out with a Stitched Rectangle Die.
To Complete the bauble card, stamp 3 baubles on Whisper White cardstock, before colouring with Stampin’ Blends alcohol markers and cutting them out. Add a star embellishment to each bauble, and tie bows in some All the Trimmings rbbon before attaching them to the top of each bauble with a glue dot. Use Stampin’ Dimensionals to add the baubles to squares of Real Red cardstock cut out with Stitched Shape dies, and add them to your card over the top of a length of Shaded Spruce Wonder of the Season ribbon. Heat emboss the sentiment in Gold Embossing Powder on Real Red cardstock, then cut around it with scissors before adding it to your card.
I hope you enjoyed this project. Click the links below to shop the products used to make it.
JOIN MY TEAM Product ListWidget not in any sidebars
The form you have selected does not exist.
Sarah Phelan, Independent UK Stampin’ Up Demonstrator
Sarah Phelan, Independent UK Stampin’ Up Demonstrator


