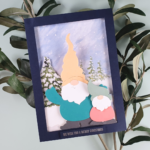
Good Morning Crafters!! Have you seen the Christmas in the Making stamp set? I only recently bought it – I didn’t think I needed it but I’ve seen sooo many beautiful projects that people have made using it that I just had to get it! But when I got it home I was really excited to see that the beautiful lady with the bauble in this set fits beautifully with the Ready for Christmas bundle – she’s just the right size to fit in with scenes made with this set. So that’s just what I’ve done with today’s card – it was a labour of love, certainly not a quick card to make, but I really enjoyed making it and will make sure it goes to someone special who will appreciate the work that I’ve put into it.
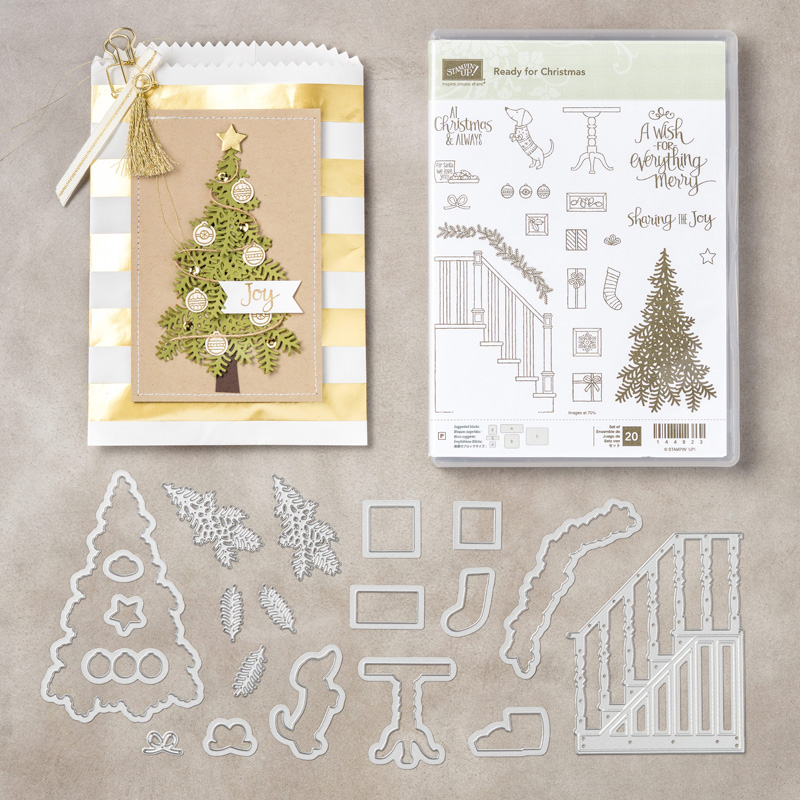
Tutorial – Christmas in the Making meets Ready for Christmas
To create the card blank, score and fold an A4 piece of Thick Very Vanilla cardstock in half, then trim the bottom off to create a square.
Cut a piece of Basic Grey cardstock 1/4″ smaller than your card blank and add it to your card.
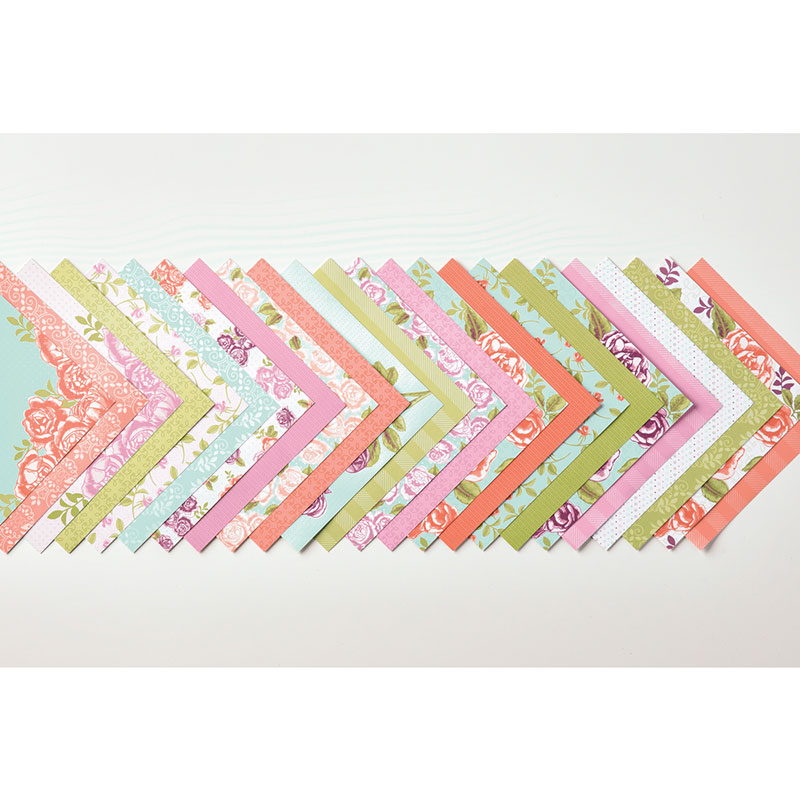
Cut a piece of Very Vanilla cardstock measuring 1 1/4″ x 5 1/4″, and a piece of patterned paper from the Petal Garden Designer Series Paper pack measuring 4″ x 5 1/4″. Add these to your card front with the patterned paper at the top to give a wallpaper effect.
Add a piece of silver 1/8″ ribbon across the gap between your two papers.
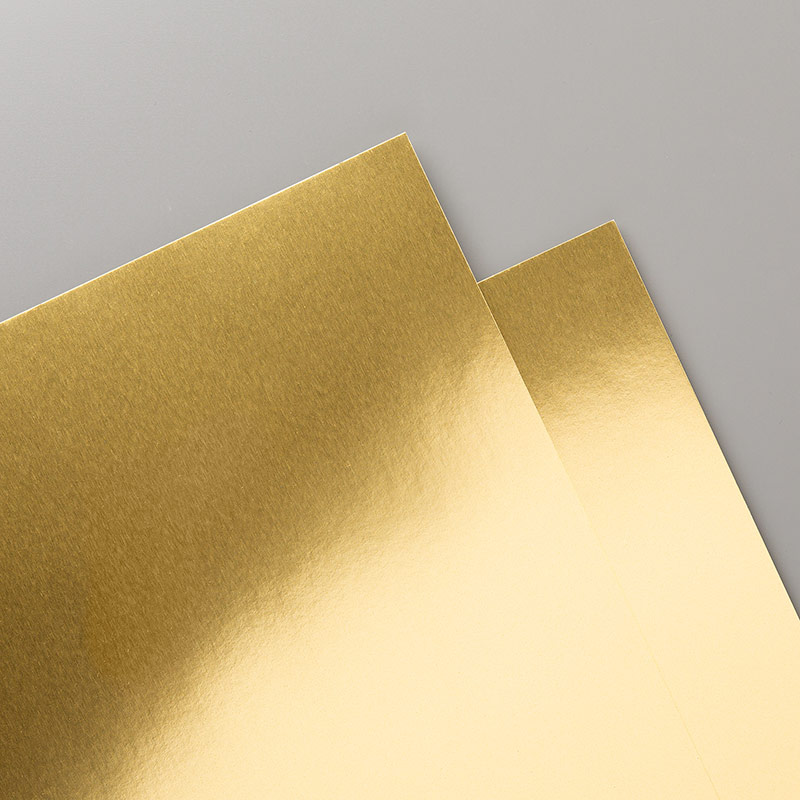
Stamp your sentiment from the Christmas in the making stamp set at the bottom of your card in Basic Grey ink. Then, stamp the Christmas tree from the Ready for Christmas stamp set in Garden Green ink. This will form the base of your tree and show you where to put the die cut branches. Cut a slither of Early Espresso cardstock as a trunk and put it at the base of your tree. Die cut 3 of each of the branches from the Ready for Christmas dies, then stick them to your card using the stamped image as a guide for placement. Start at the bottom of the tree and work your way to the top. Die cut a star from Gold Foil Sheet and add it to the top of the tree.
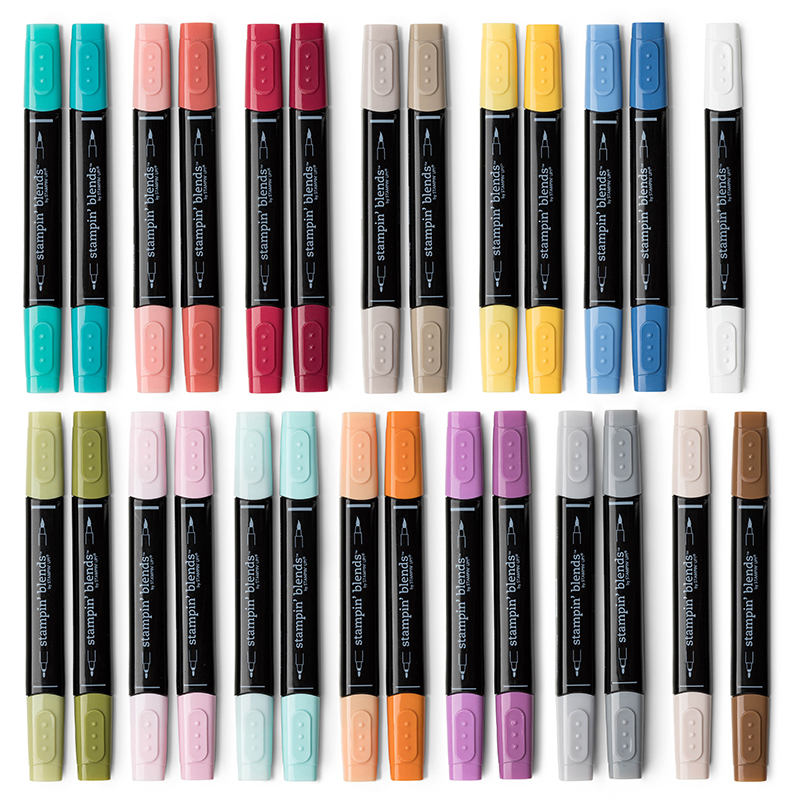
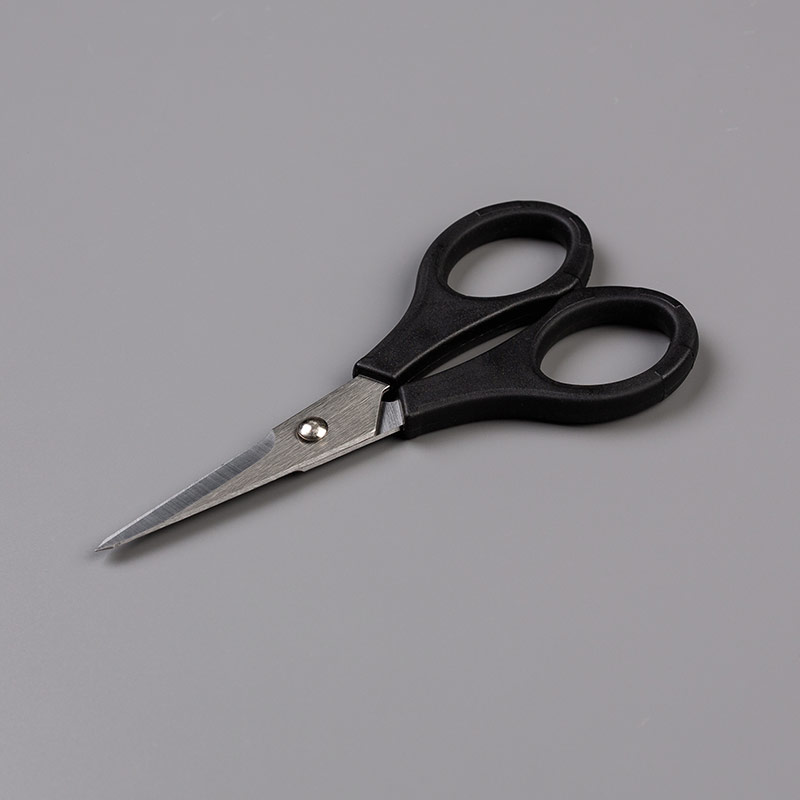
Next, stamp out one of each of the parcels, one each of the frames, and 6 baubles onto Very Vanilla cardstock. Colour them using Stampin’ Blends or Stampin’ Write markers, and cut them out with paper Snips (there are dies for these elements but I chose to cut the elements out to achieve a cleaner look for this card as I didn’t want a white border). Adhere these to your card, using Stampin’ Dimensionals for the present that sits at the front. Die cut a bow for the stripey present from Real Red cardstock and attach this at the top of the present.
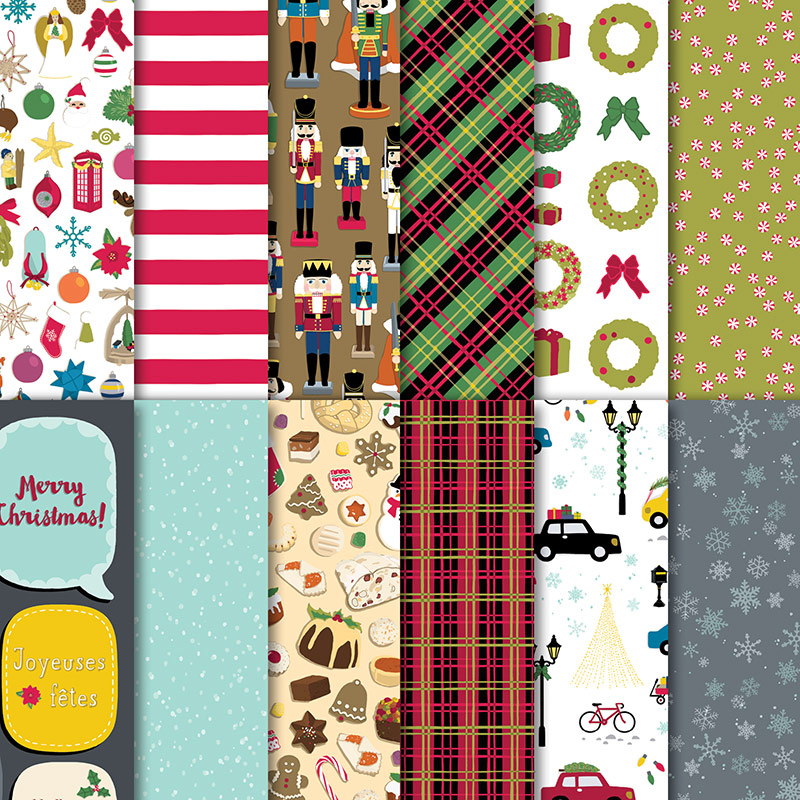
For the lovely lady, stamp the image from the Ready for Christmas stamp set out, once onto Whisper White cardstock and once onto the tartan pattern paper from the Christmas Around the World DSP pack. Colour the white image using your Stampin’ Blends, then cut sections of the dress from the tartan image and stick them to your white image to give the appearance of a patterned dress. Add the lady to your card front using Stampin’ Dimensionals.
TOP TIP: although it takes a little longer, if you run a black Stampin’ Write marker around the edges of your fussy cut images it makes for a more professional finish.
I hope you enjoyed this project. Click the links below to shop the products used to make it.

Sheets
132622
Price: £3.75
103579
Price: £9.00
Price: £7.25

122334
Price: £27.00
129026
Price: £9.00

Price: £3.75


143263
Price: £99.00
Widget not in any sidebars
Sarah Phelan, Independent UK Stampin’ Up Demonstrator


