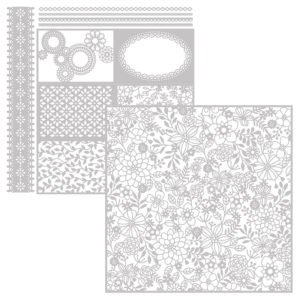
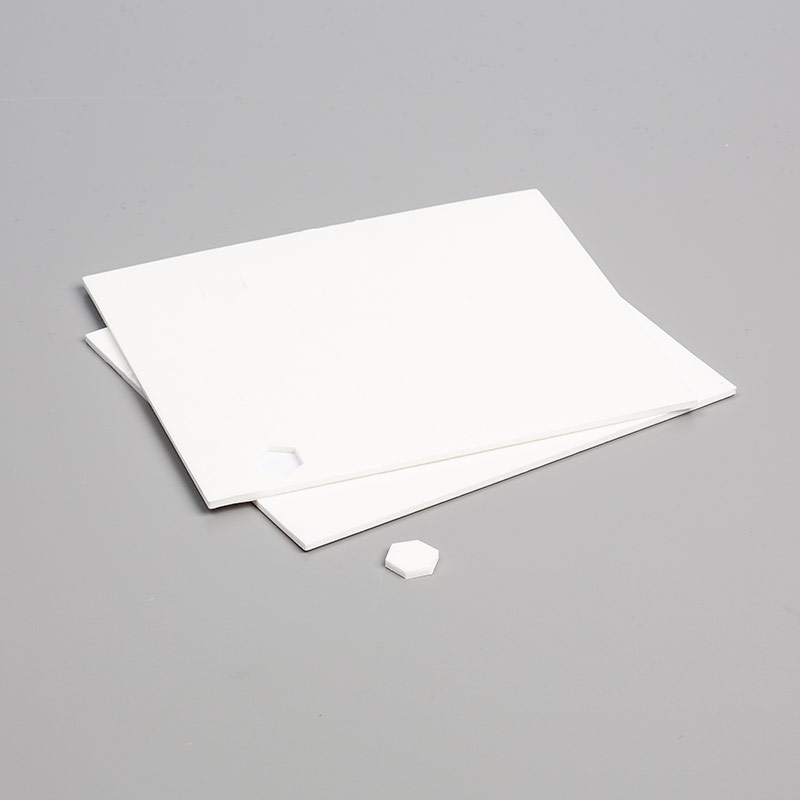
Good Morning Crafters! Are you enjoying the new catalogue? The link is at the bottom of this post if you’ve not had a chance to look through it yet. One of my favourite things that I’ve played with so far is the beautiful Delightfully Detailed lasercut papers. They’re totally gorgeous and I have sooo many ideas of things I want to make with them so keep your eyes peeled for more tutorials!!! You get 4 each of the 2 12″ x 12″ designs too, so enough to make LOADS of cards!
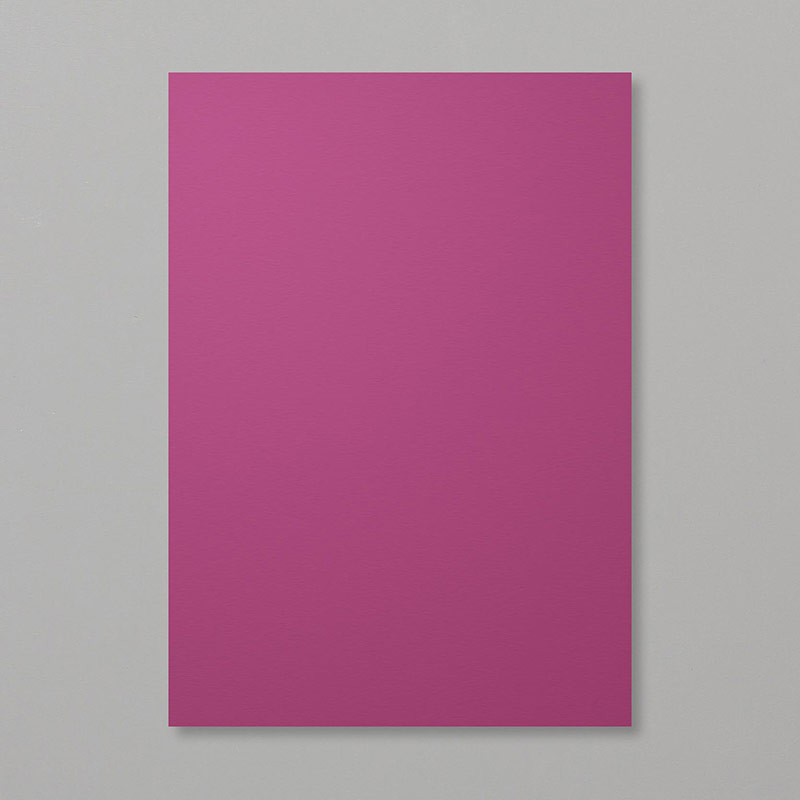
Today’s card uses heat embossing to turn the papers gold and get that lovely contrast with the Rich Razzleberry cardstock.
Tutorial – Delightfully Detailed Gold Embossed Handmade Card
To create an A6 card blank, cut an A4 piece of Rich Razzleberry cardstock in half, then score and fold one of the halves in half again. (I always score and fold both halves at the same time and then keep the spare for another project).
Next, cut a piece from the edge of the floral Delightfully Detailed Lasercut paper the same width as your card blank and about half of the length, snipping around the flowers at the bottom of your piece so as not to leave a raw edge.
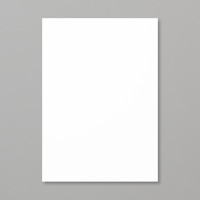
Cut a thin strip of Whisper White cardstock to sit along the bottom of your card.
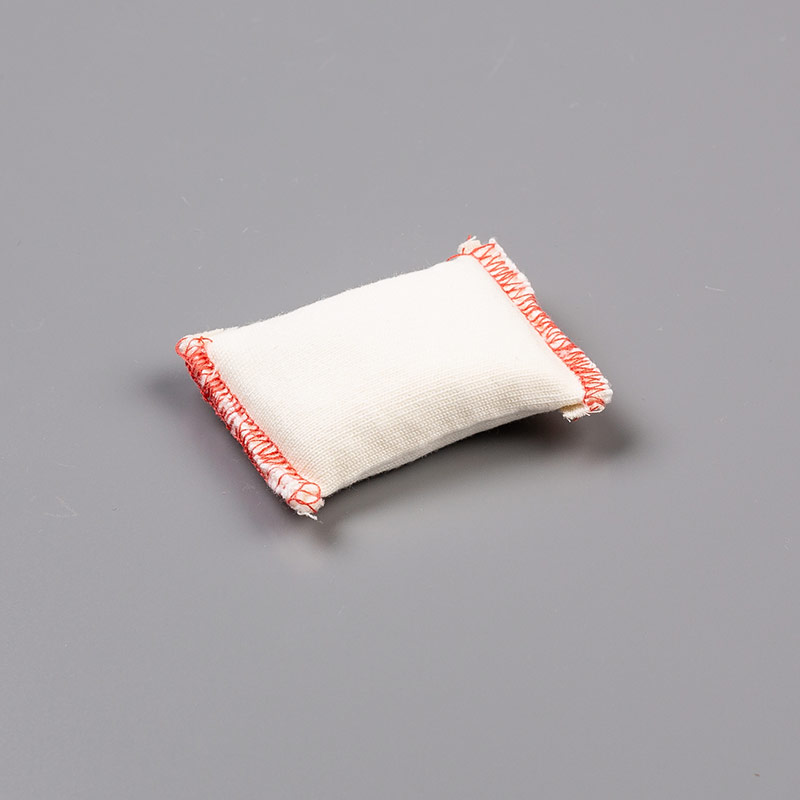
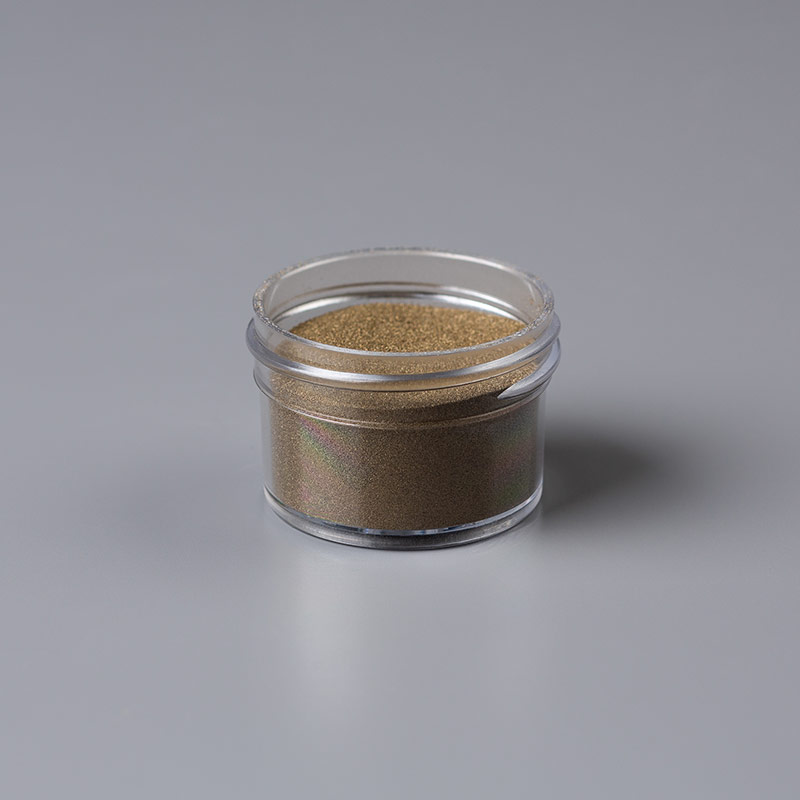
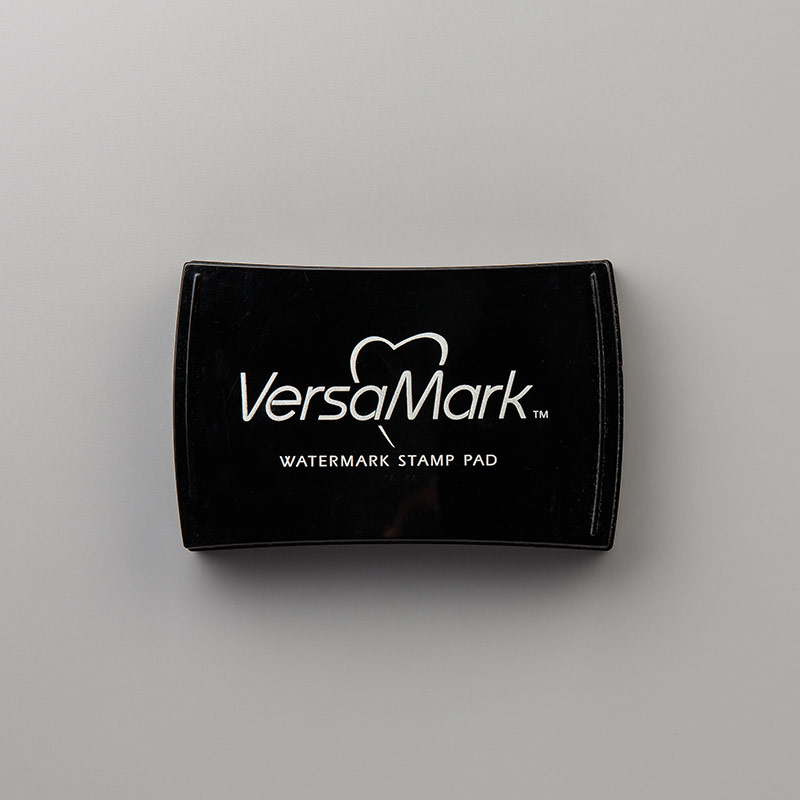
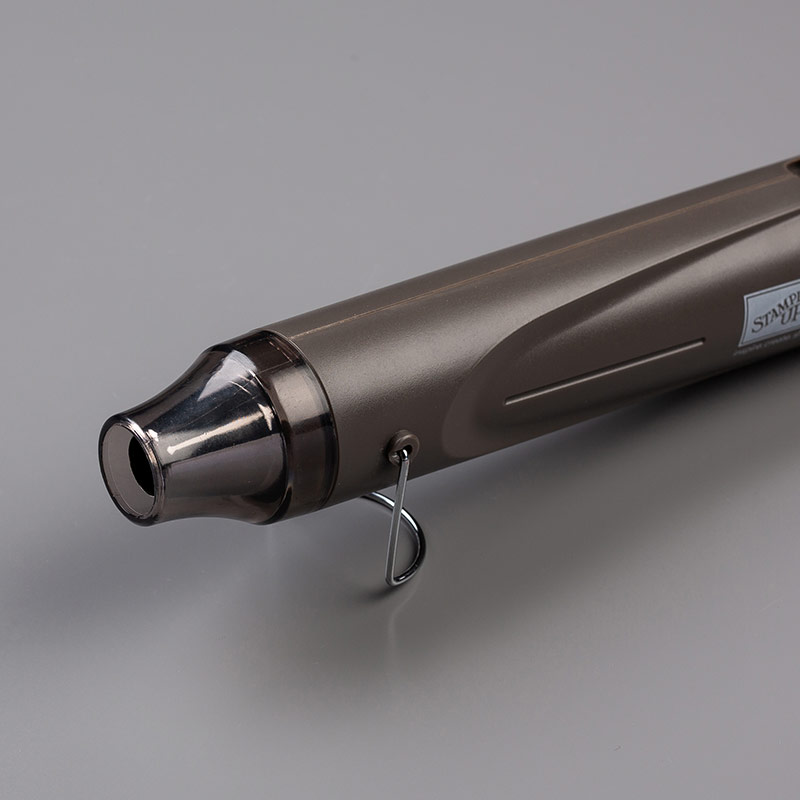
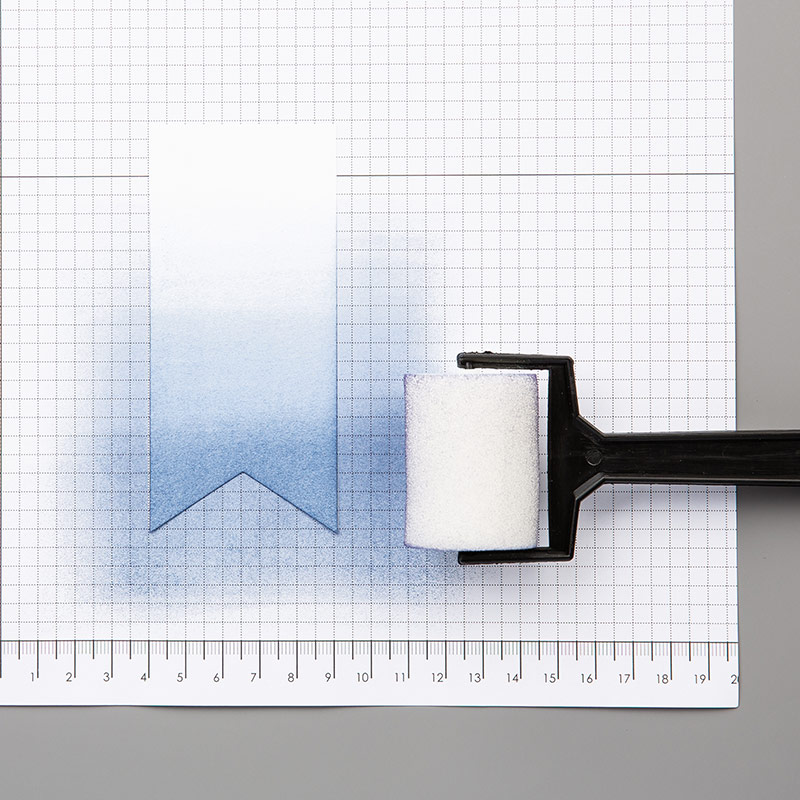
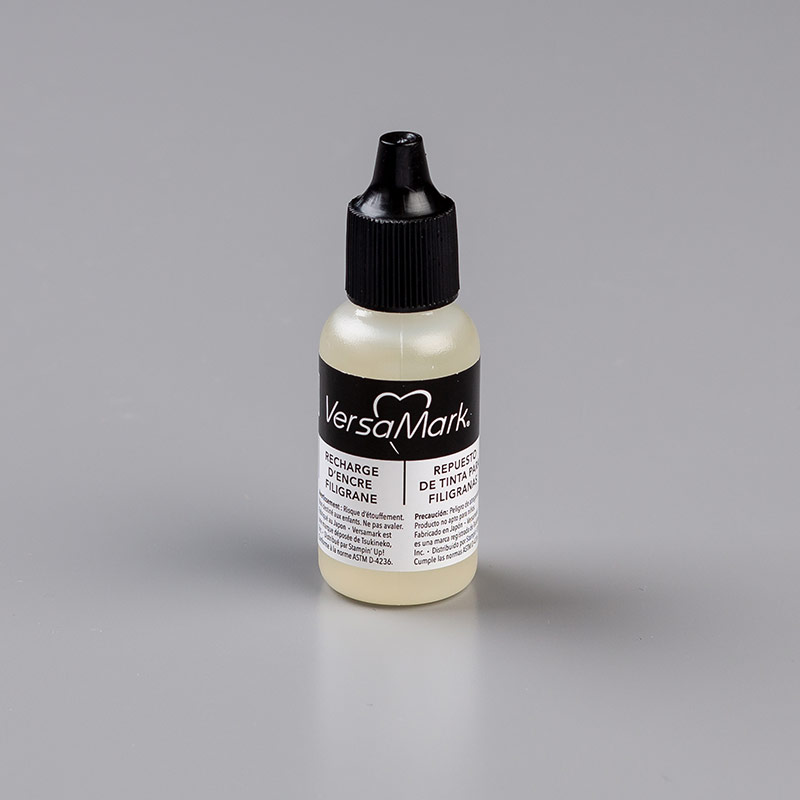
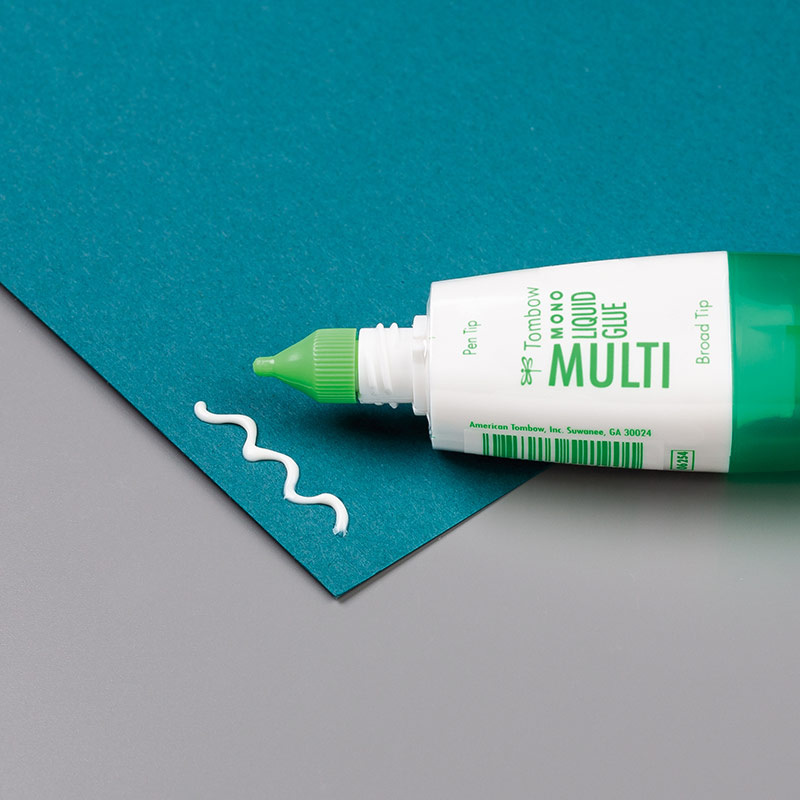
Tip a little Versamark re-inker into the lid of your Versamark Ink pad. Use a sponge brayer to soak up some of the ink, then roll this across both your Delightfully Detailed piece of paper and the thin strip of cardstock. Pour gold embossing powder over both and shake off the excess. Use your heat tool to melt the embossing powder and give a gold finish to your papers.
Adhere your gold Delightfully Detailed paper to the top of your card blank and the strip of paper to the bottom.
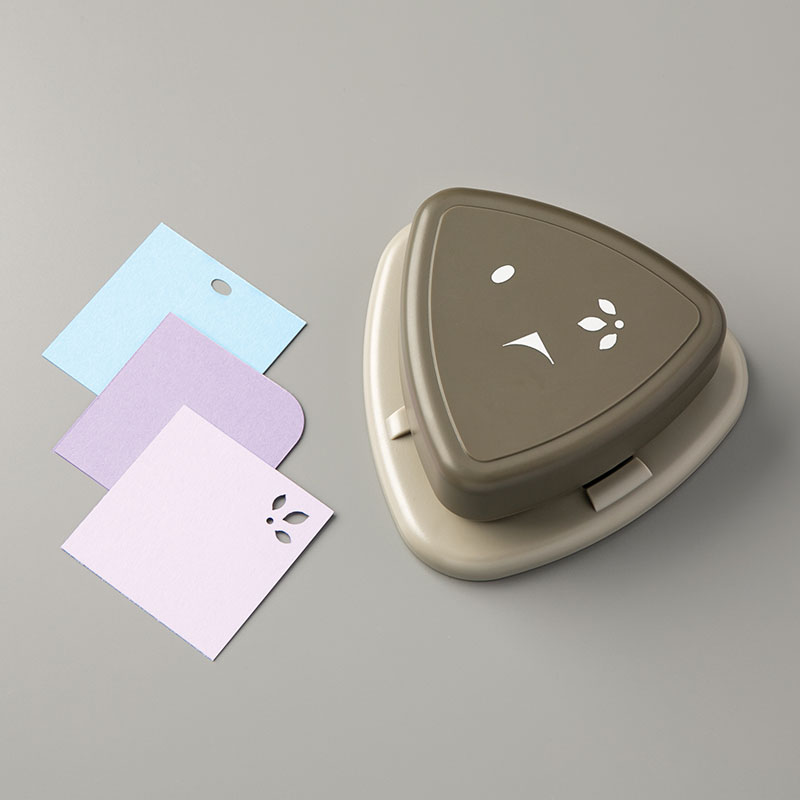
To create your sentiment strip, stamp your sentiment onto a piece of scrap Rich Razzleberry cardstock in Versamark Ink, then heat emboss using the Gold Embossing Powder. Cut the cardstock down around your sentiment, then use the corner rounder part of the Detailed Trio Punch to round the top left hand and bottom right hand corners. Next, use the petal part of the punch to add detail to the other corners.
Cut a piece of Gold foil sheet 1/4″ larger than your piece of Rich Razzleberry, and round two corners to match your sentiment strip. Layer the sentiment strip onto the Gold Foil sheet and attach this to your card using Stampin’ Dimensionals.
I hope you enjoyed this project. Click the links below to shop the products used to make it.
119981
Price: £8.00
106549
Price: £9.00
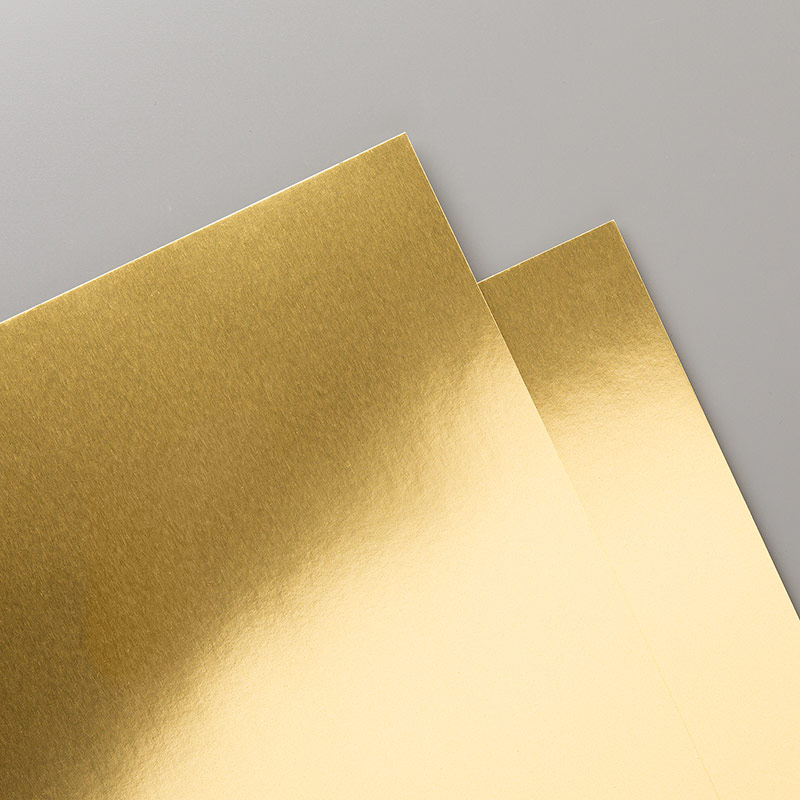
Sheets
132622
Price: £3.75

143637
Price: £26.00
146320
Price: £19.00
103083
Price: £5.50
102283
Price: £8.25
129054
Price: £28.00
141714
Price: £7.50
102193
Price: £5.50
Widget not in any sidebars
Sarah Phelan, Independent UK Stampin’ Up Demonstrator

3 ¾ 3 3/8