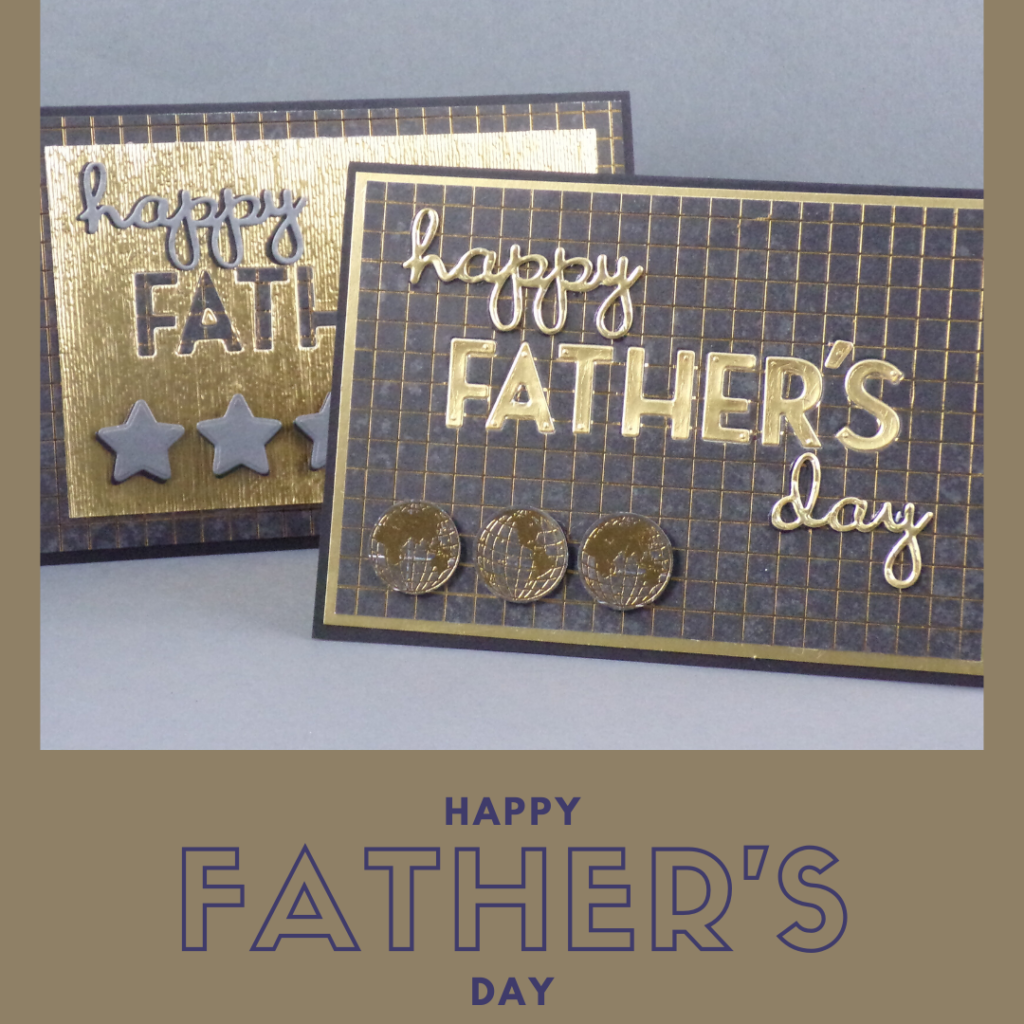
Hello Crafters! How are you today? As Father’s Day in the UK is just around the corner (next weekend!) I thought I’d better make a couple of Father’s Day cards! I chose to create them using the lovely World of Good designer series (patterned) paper as I think it’s great for creating fab men’s cards.
I used a lot of different dies on these cards – the Well Written dies, the Playful Alphabet dies, and, for the stars on the gold card, the Happy dies. I’m a little obsessed with the Playful Alphabet at the moment – they’re a great size and there are more than one of some of the most common letters so that you can create words such as “happy” with just one pass through the die-cutting machine. Here are some close-ups of the cards but make sure you read on if you want to check out the tutorial!
Tutorial – Father’s Day Cards with World of Good
I made both of these cards together as I swapped die-cut elements from one to the other, so that’s how I’ll write the tutorial. We’ll call them Card 1 (the gold card on the left in the main blog picture) and card 2 (the card on the right) so if you just want to create one card you can follow the instructions for that card only.
To start, create 2 card bases by scoring and folding A5 pieces of Basic Black cardstock in half (A5 is half of an A4 sheet, which is a similar size to US letter size).
Cut a piece of the World of Good DSP 1/4″ smaller than the card front and stick this to the front of Card 1, then cut a piece of Gold Foil sheet the same size and stick this to the front of card 2. Cut a piece of DSP 1/4″ smaller than the Gold Foil Layer, and a piece of Gold Foil sheet 3/4″ smaller than this layer, then add adhesive sheets to the back of each.
Lay out the word “Father’s” from the letter dies in a straight line in the centre of one of these panels and die-cut it before doing the same with the other panel.
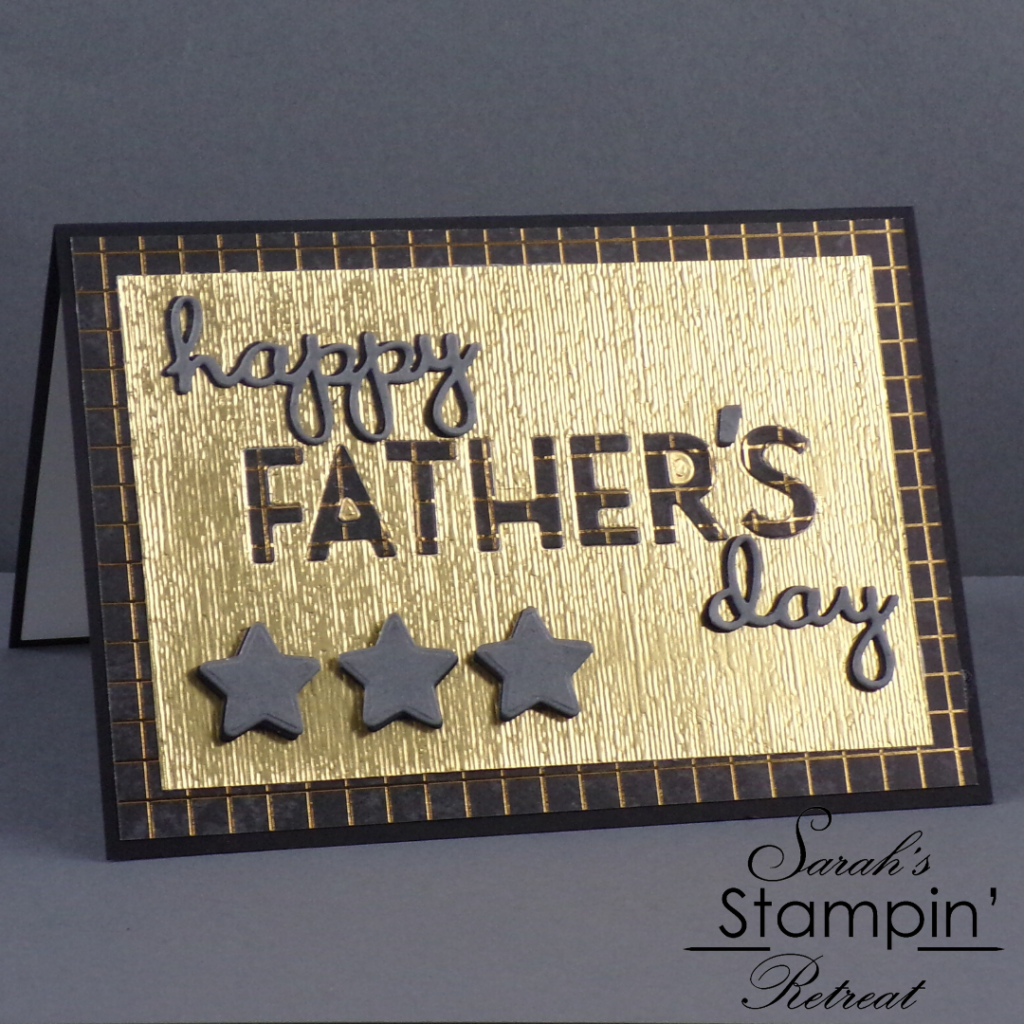
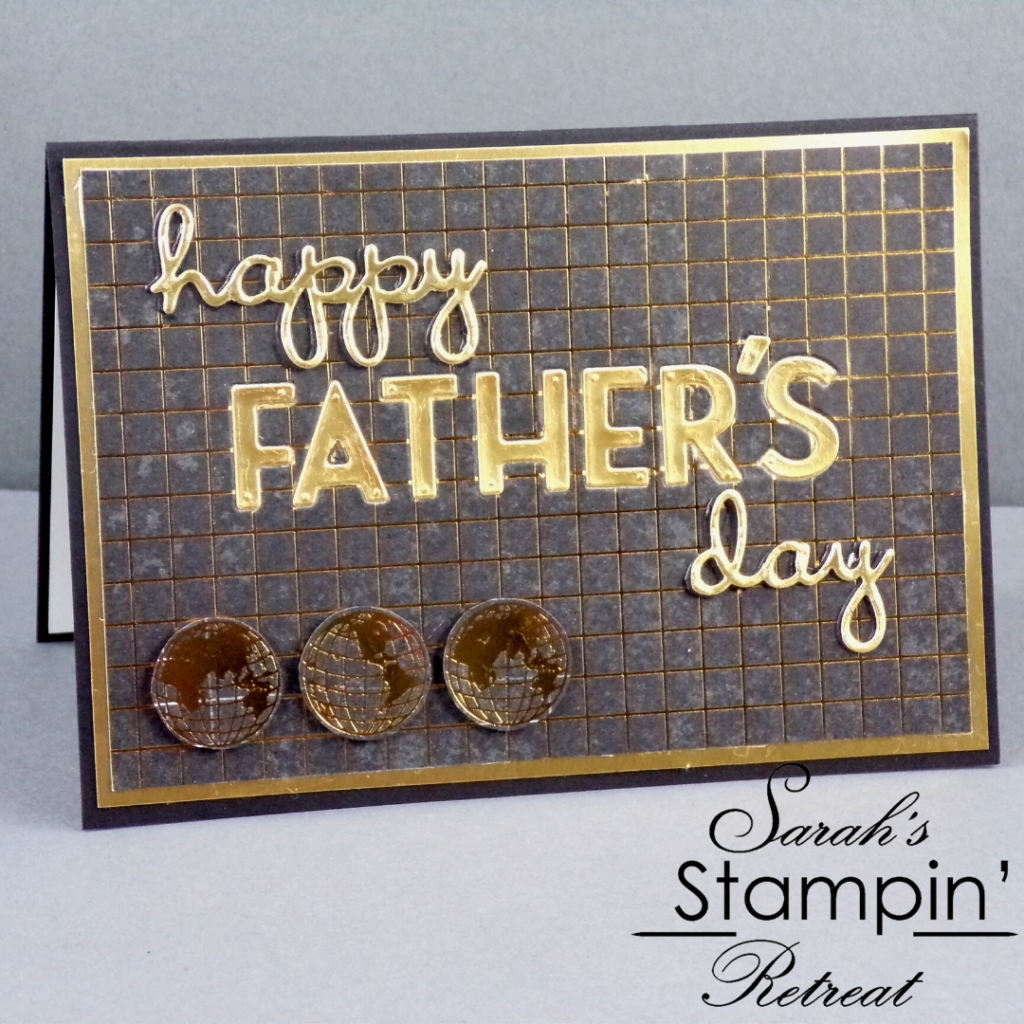
Put the die-cut gold panel back through your die-cutting machine in the Subtle Embossing Folder before peeling off the backing and adding it to card 1. Add the die-cut DSP panel to card 2.
Peel the adhesive off the back of the letters die-cut from the DSP and add these to sit inside the gaps left in the gold foil sheet on card 1, and do the same with the gold letters on card 2.
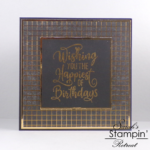
Die-cut “Happy” and “Birthday” from the Well Written dies, and the comma’s from the Playful Alphabet dies 4 times – twice from Basic Black Cardstock, once from Basic Gray, and once from Gold Foil Sheet (you may find it easier to add adhesive sheets to the back before die-cutting).
Cut the “birth” from the front of the “birthday” die cuts to just leave “day”. Layer the gold and grey die-cuts on top of the black ones, off-setting them so you can see a little of the black underneath, then stick the grey ones on card 1, and the gold ones on card 2.
To complete card 1, die-cut 3 stars each from Basic Gray and Basic Black cardstock using the star die from the Happy die set. Glue the Grey ones on top of the black ones, offsetting them slightly in a similar way to the lettering. Add them to your card using Stampin’ Dimensionals (foam pads).
To complete card 2, cut 3 globes from the DSP and add these to your card using Stampin’ Dimensionals.
I hope you enjoyed this project. Click the links below to shop the products used to make it.
JOIN MY TEAM Product List


")


Widget not in any sidebars
The form you have selected does not exist.
Sarah Phelan, Independent UK Stampin’ Up Demonstrator
Sarah Phelan, Independent UK Stampin’ Up Demonstrator