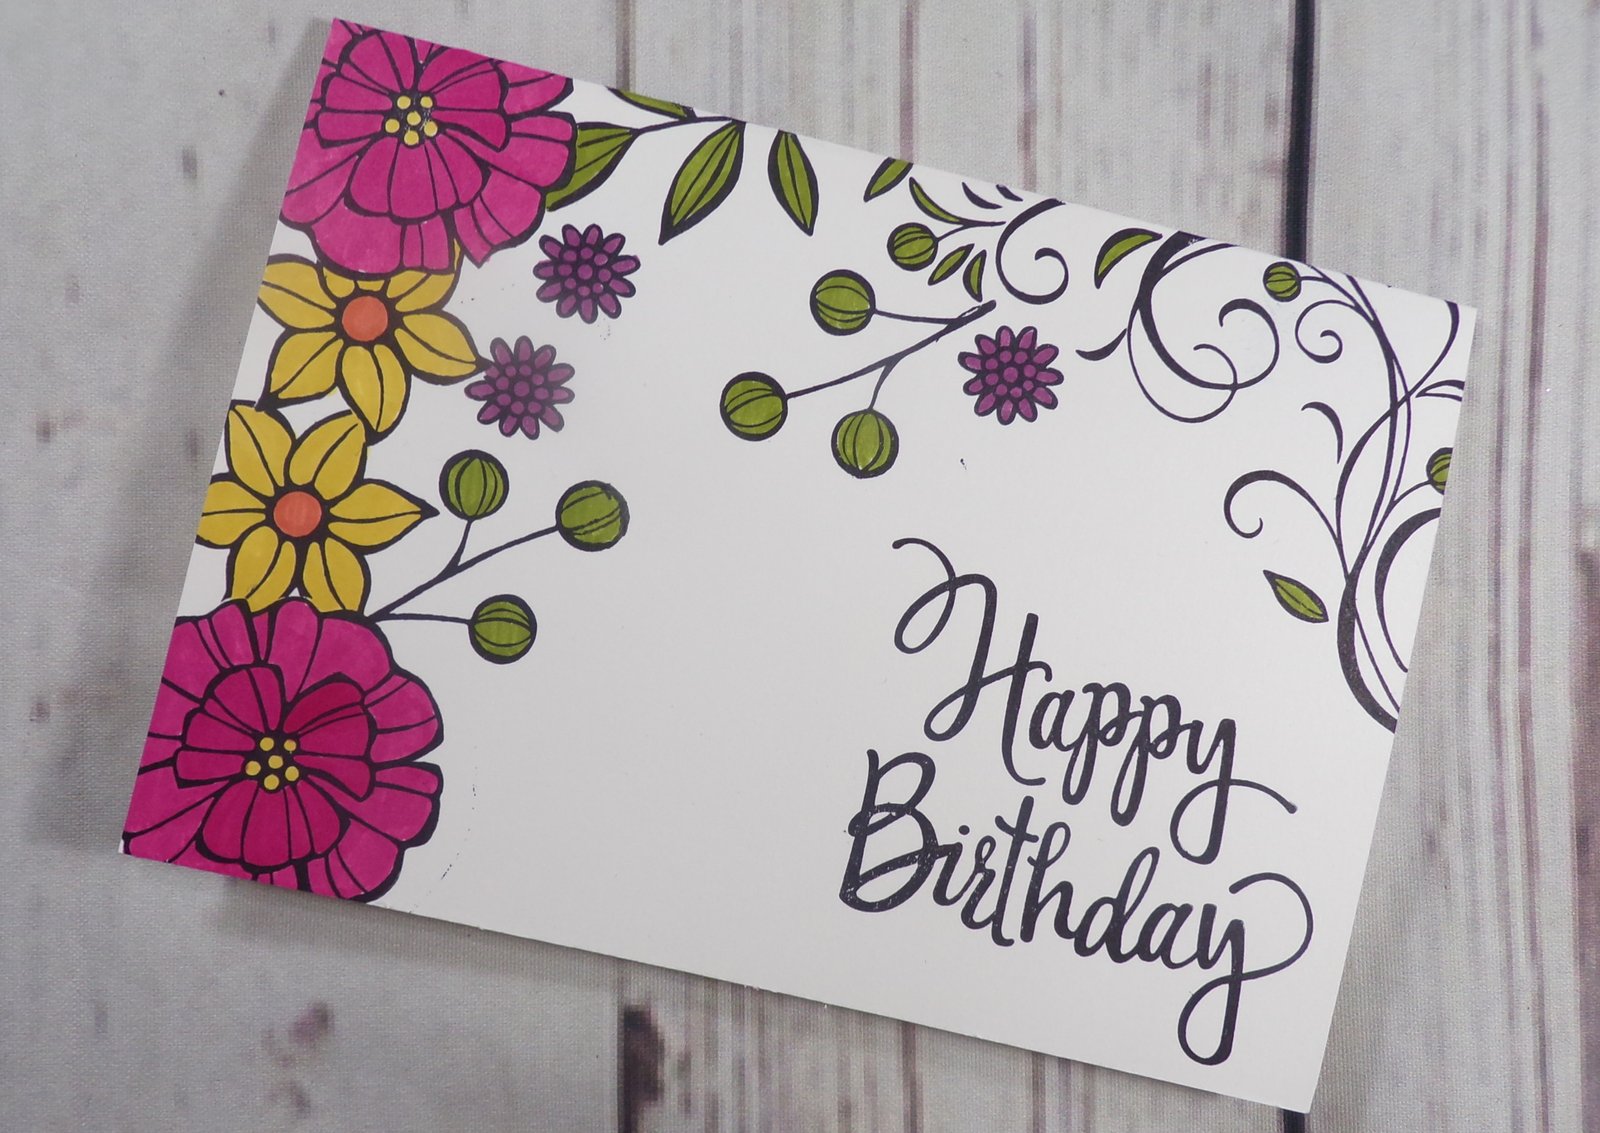
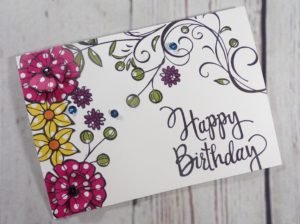
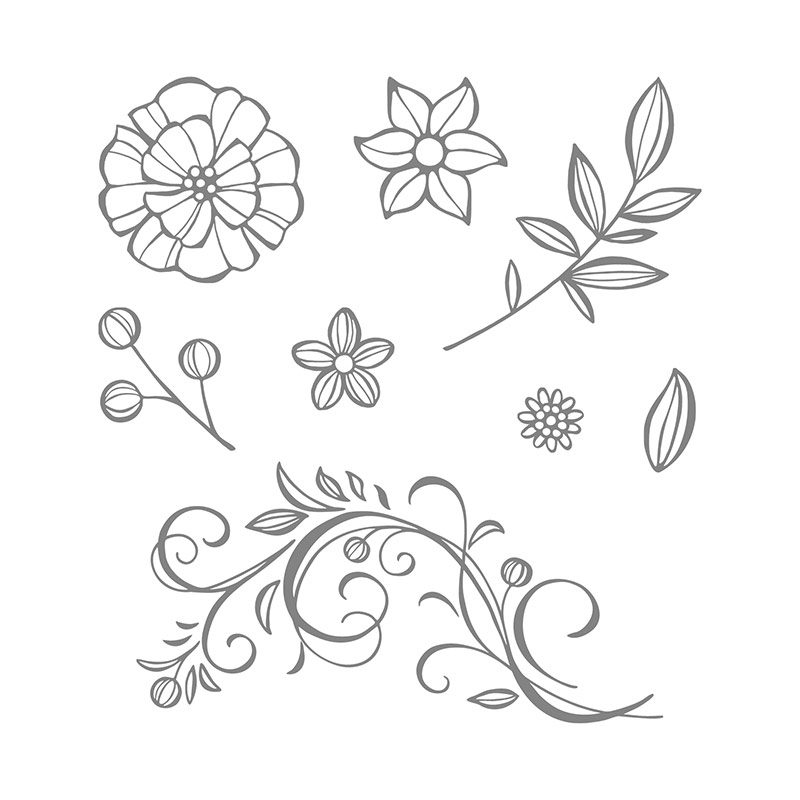
Today’s card is super bright and colourful! I think just looking at it puts you in a good mood 🙂 It uses the Falling Flowers Stamp Set which is sooo pretty, and then the Stylized Birthday stamp for the sentiment! It also uses a little masking, so is more of an intermediate level card, but I would encourage beginners to try it as once you get the hang of it it’s super simple!
For the masking you’ll need either some Masking Paper that is particularly created for Stampers – I use this one, or just some post-it notes will do as long as you’re sure to stamp on the sticky part. Stamp the Largest and the Medium sized flowers onto the masking paper and cut them out, cutting on the inside as opposed to the outside edge of the stamped outline. I keep my masks in the stamp case with my stamps once I’ve finished with them so that I can use them again.
Stamp your images from the Falling Flowers stamp set, and the Happy Birthday sentiment onto an A6 Whisper White card blank using the picture of the card as a guide, or in your own pattern, using Basic Black Archival Ink. Where you want things to overlap, stamp the flower that you want to be in the foreground first, then cover this with the mask and stamp the other flower over the top. When you take the mask off you will see that this now sits “behind” the first flower. As an example, in the top left corner of the card, I have stamped the large flower first, then covered this with a mask and stamped the Medium sized flower underneath, but overlapping the mask a little. Once I took the mask off the second flower looked as though it was sitting behind the first.
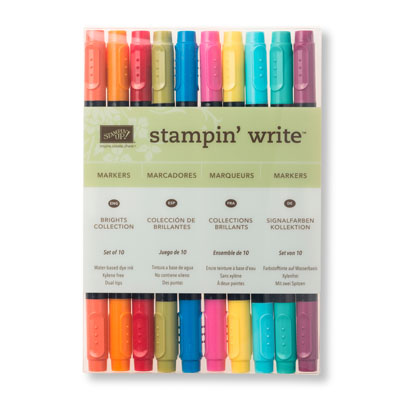
Once you’ve finished the stamping, start the colouring! I used my Stampin’ Write markers and I think they give a really lovely finish. There’s no need to be a colourist – it’s really simple block colouring, and I just went over the middle of the largest flowers twice with the same colour pen to give a small amount of contrast from the outer petals. The colours I used were Old Olive, Daffodil Delight, Melon Mambo and Tangerine Tango.
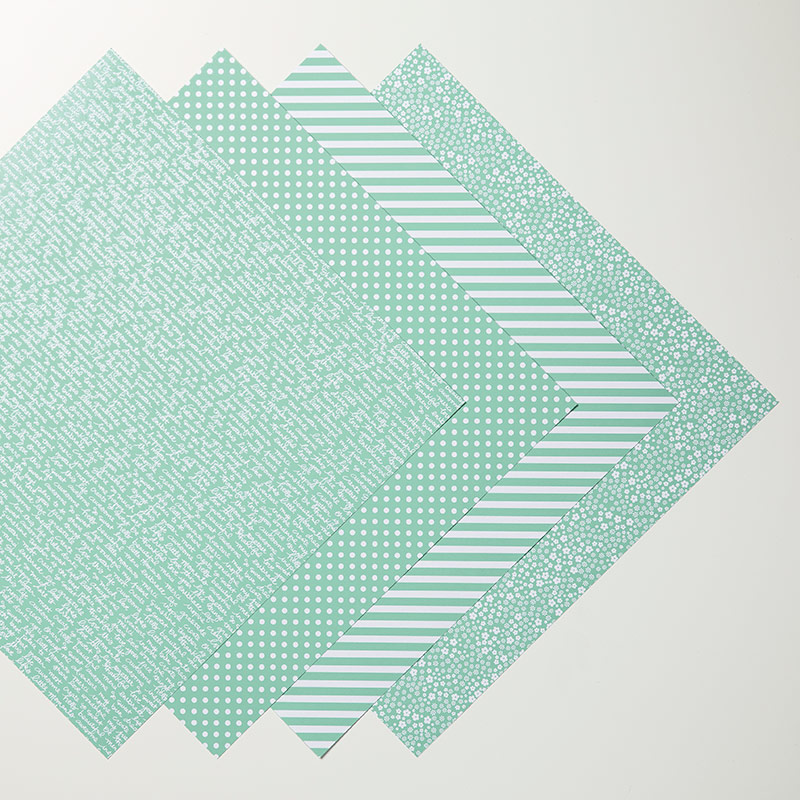
I liked this card so much that I made another, very similar one, but I used a paper piecing technique as opposed to colouring it. I stamped everything twice, once onto the card as above, and a second time onto paper from the Brights Designer Series Paper Stack, then cut out the pieces from the patterned paper and stuck them onto my image. This obviously took a LOT longer than the first card to make, but I love cutting and sticking – it’s totally my happy place! I finished this one with a few sequins.
*The Brights Designer Series paper I used on my card is on the retiring list and has been so popular that it’s sold out already! I’ve linked in the shopping list to the In Colour pack that would give you a very similar look, but please be quick if you want this as this is on the retiring list and is low inventory too! Otherwise, why not raid your scrap box for pretty patterned papers you could use instead?
It was so much fun making these cards. I did all of the stamping at home, then took the cards, Stampin’ Write markers, scissors and glue with me to a cafe, and sat colouring, cutting and sticking while I was drinking my Chai Latte!
I hope you enjoyed this project. Please see below shopping list for the products used to create this; just click on the pictures to shop!

131259
Price: £27.50
140931
Price: £6.50

106549
Price: £8.25
Scored
122334
Price: £27.00
Snips
103579
Price: £9.00

110755
Price: £3.75
Widget not in any sidebars

