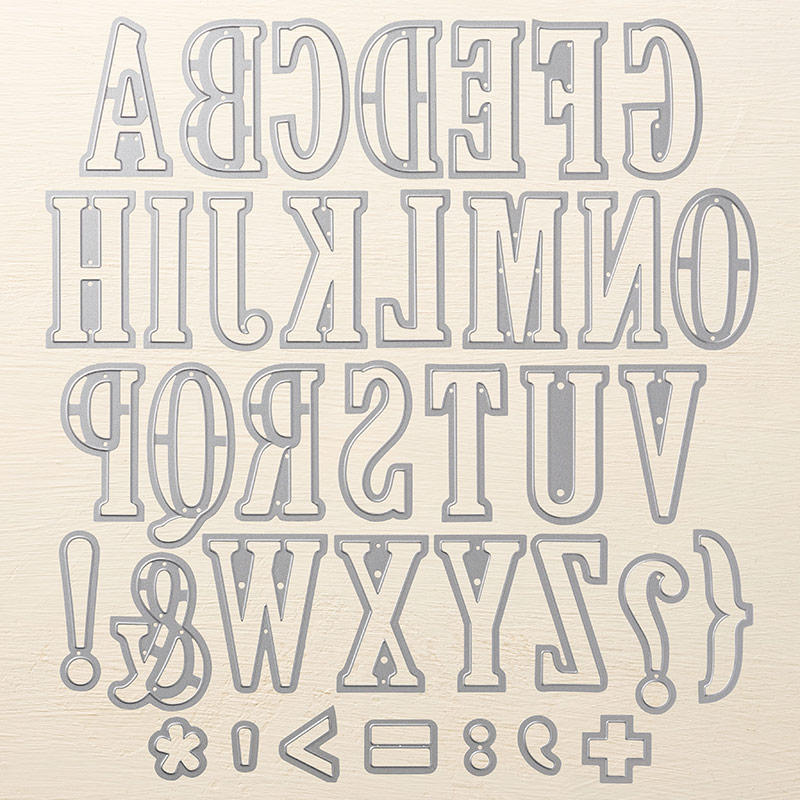
Good Morning Crafters!! Are you having a lovely weekend? This morning I’m sharing with you a Birthday card I made for my niece Ella. It uses the large letter Framelit dies which I’m soooo sad to see retire!! I have used these so much and they’re a great size to make a statement on a card. (If you have had your eyes on them, be sure to get in quickly before the stock’s gone!!) Ella’s 9 and was so chuffed to have a personalised card!! She’s at an age now where she really appreciates things like that, and also the effort that went into making it!
Tutorial – Large Letters Handmade Card for Ella
To create your card blank, score and fold an A5 piece of Basic Gray cardstock in half. (I usually cut an A4 piece of cardstock in half to create 2 A5 pieces and then create 2 card blanks at a time).
Cut a piece of your Twinkle Twinkle patterned paper to 1/4″ smaller than your card front and add it to the front of your card. Then, cut the letters of the name you want to use from some spare Basic Gray cardstock using your Large Letters Framelit Dies.
Run the letters through your die cutting machine using the Polka Dot Basics embossing folder to add the cute texture and then colour over each of the polka dots with your Wink of Stella brush to add some glitz.
Line up your letters where you would like them to go, then stamp the Happy Birthday sentiment from your Detailed with Love stamp set (or any other sentiment that you have on hand!!) in Basic Gray ink.
Use mini Stampin’ Dimensionals to stick your letters down and add a little dimension. To finish off, just add a few pearl basic jewels to make it extra special!!
I hope you enjoyed this project. Click the links below to shop the products used to make it.
JOIN MY TEAM Product ListWidget not in any sidebars
The form you have selected does not exist.
Sarah Phelan, Independent UK Stampin’ Up Demonstrator
Sarah Phelan, Independent UK Stampin’ Up Demonstrator


