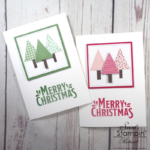
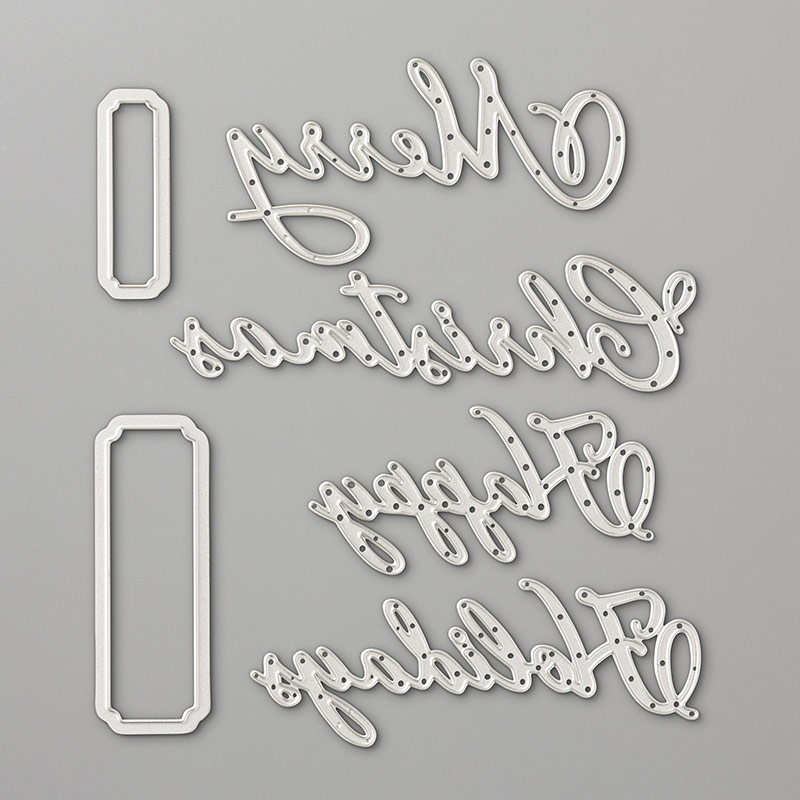
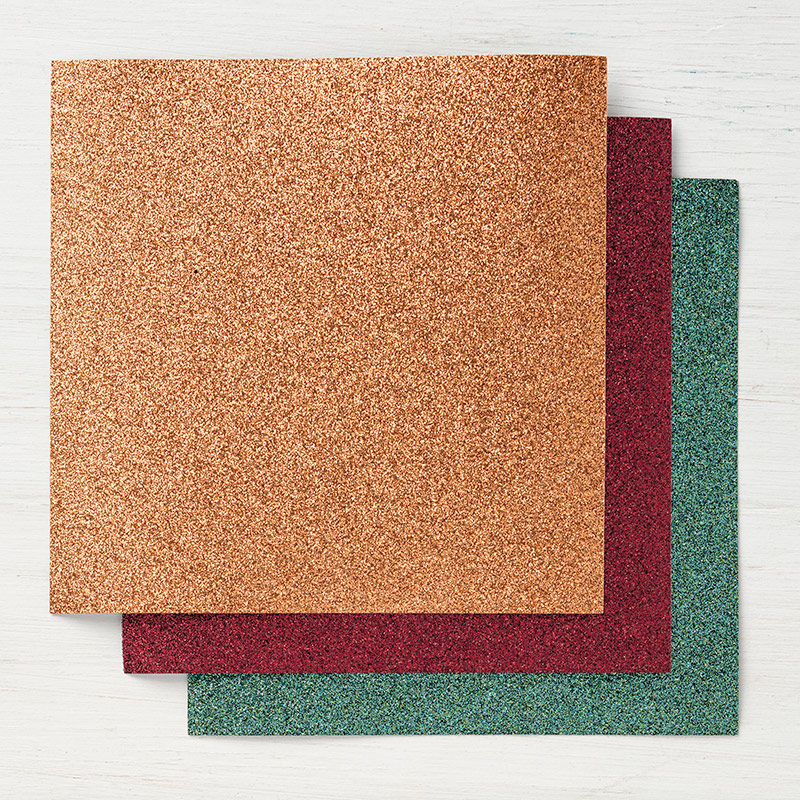
Good Morning Crafters!!! I hope you’re well. I’m afraid I’ve been a absent for a little while, but with good reason, I’ve been creating something extra special… a baby. The cutest little thing who we’ve named Elliott!! So please forgive me if I’m not that consistent with my posts over the coming months as I’m getting my head around being a mum!! I have made time to make this though… my first Christmas card of the year!! Have you seen the new Autumn Winter catalogue yet?? I’ll post a link below for those of you who haven’t. It has some really beautiful collections in!! One of my favourites is Merry Christmas to All which I’ve used on this card. The die set includes 4 beautifully scripted dies that can be used alone or in conjunction with the lovely coordinating stamp set. Another of the stars in my eyes is the beautiful Joyous Noel Glimmer Paper that I’ve used too. How lovely does it look in the Merry Merlot?? It comes in a pack with two other colours – the Copper and the Tranquil Tide. Make sure you read the tutorial below if you want to know how to make this card…

Tutorial – Merry Christmas Handmade Card
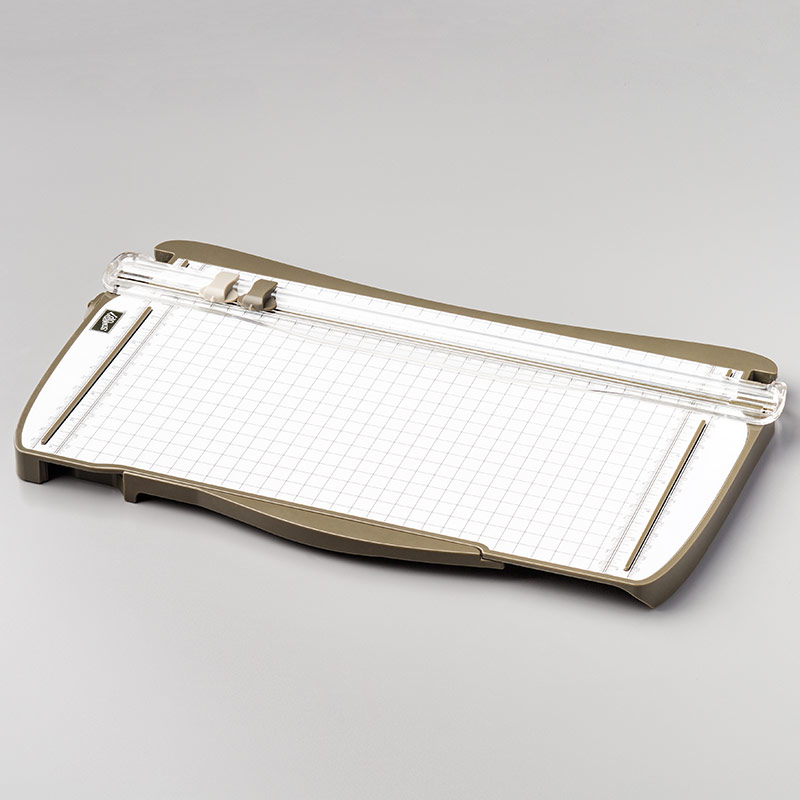
To create the card blank, take half a piece of Thick Very Vanilla cardstock and score and fold it in half.
Create a matt from Merry Merlot Glimmer Paper measuring 1/4 inch smaller than your card front each way, then create another one from Very Vanilla that’s 1/2 inch smaller than your glimmer paper.
Use your Merry Christmas to All dies to cut out the “Merry” and the “Christmas” words twice each out of Merry Merlot cardstock and once out of the coordinating glimmer paper. Stick the the layers together for each of the words, placing the glimmer paper on top of the two cardstock layers to create dimensional words.
Use your Merry Merlot Stampin’ Write marker and a ruler to draw a border around your Very Vanilla matt, once with each and of your pen as shown in the image, then stick your words in the centre.
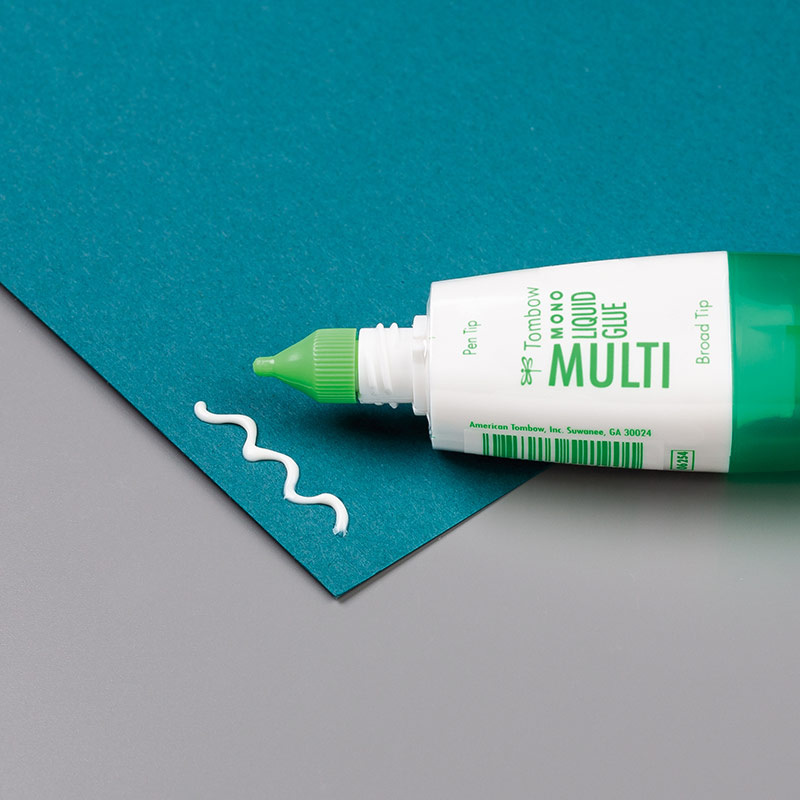
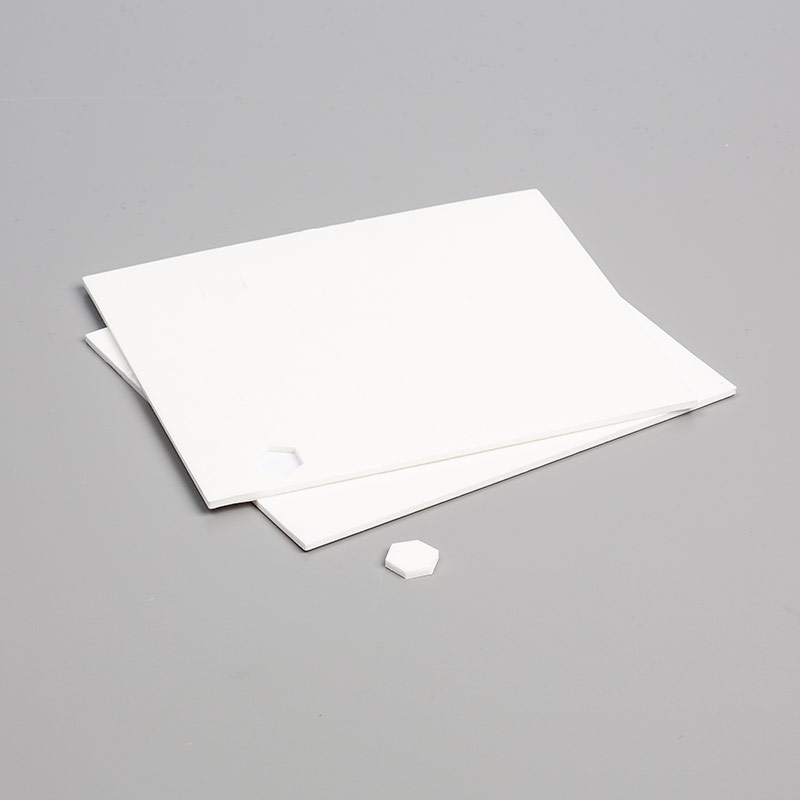
Layer up your card, using glue to attach the glimmer paper onto the card base, and Stampin’ Dimensionals to add the Very Vanilla layer.
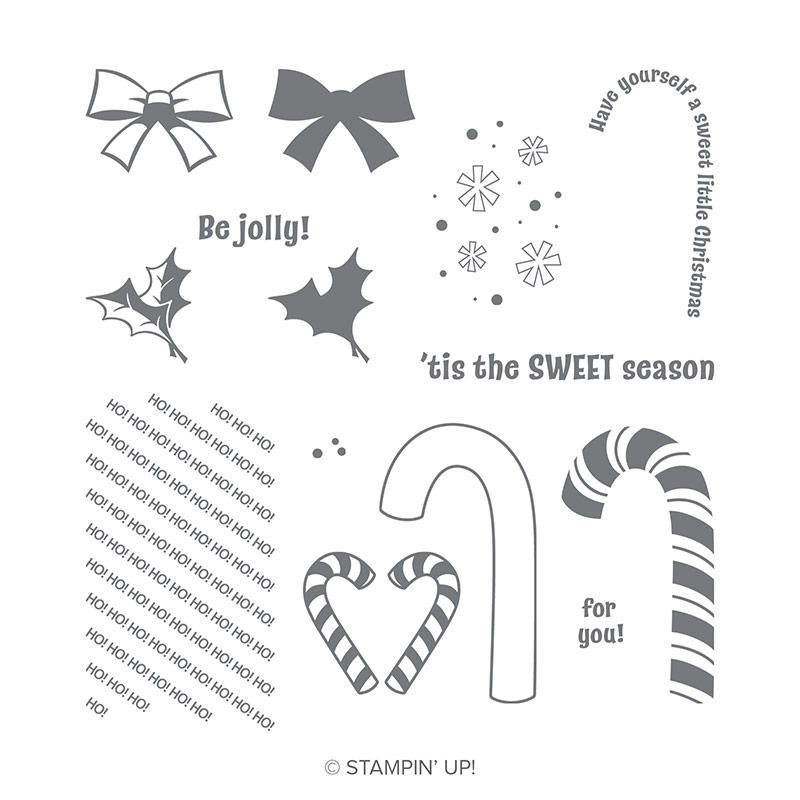
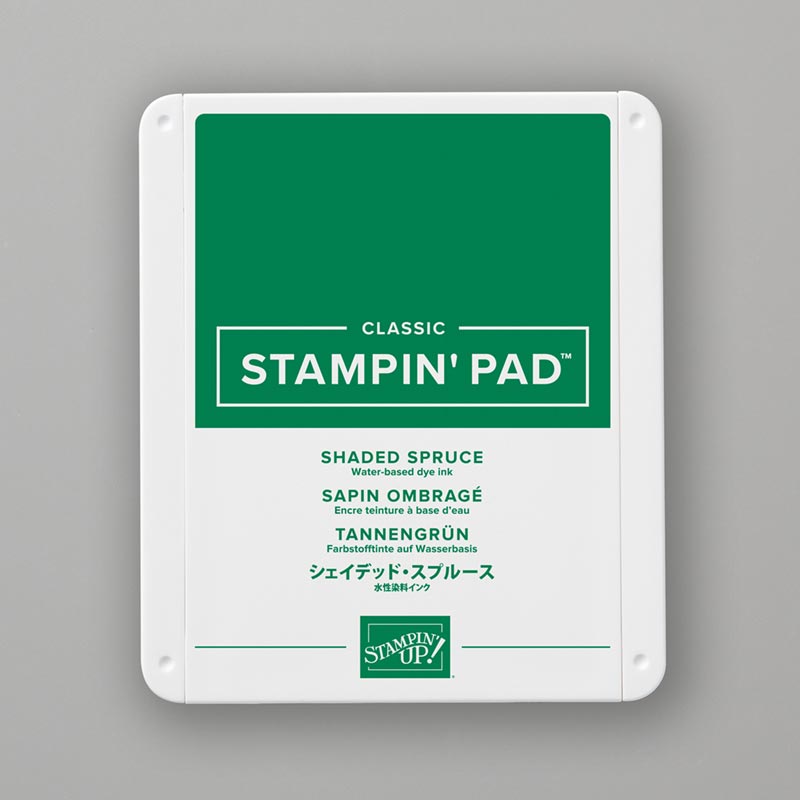
To complete your card, use Shaded Spruce ink to stamp each of the layers of the holly leaves from the Candy Cane stamp set twice onto a scrap of Very Vanilla cardstock. Fussy cut around your images leaving a small border and use mini Stampin Dimensionals to attach them to your card
I hope you enjoyed this project. Click the links below to shop the products used to make it.
Widget not in any sidebars
Sarah Phelan, Independent UK Stampin’ Up Demonstrator