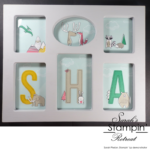
Good Morning Crafters! I hope your week’s going well. When I saw the Special Celebrations Stamp Set when the Annual Catalogue came out I just had to have it! It has some really beautiful little phrases on it as well as a few sentiments in a beautiful font. There are a couple of phrases pertaining to weddings in the set, but I used the one that says:
“Side by side together stand,
Heart to heart, hand in hand,
A very special dream comes true
beginning with the words
“I do””
Isn’t that a lovely verse?!
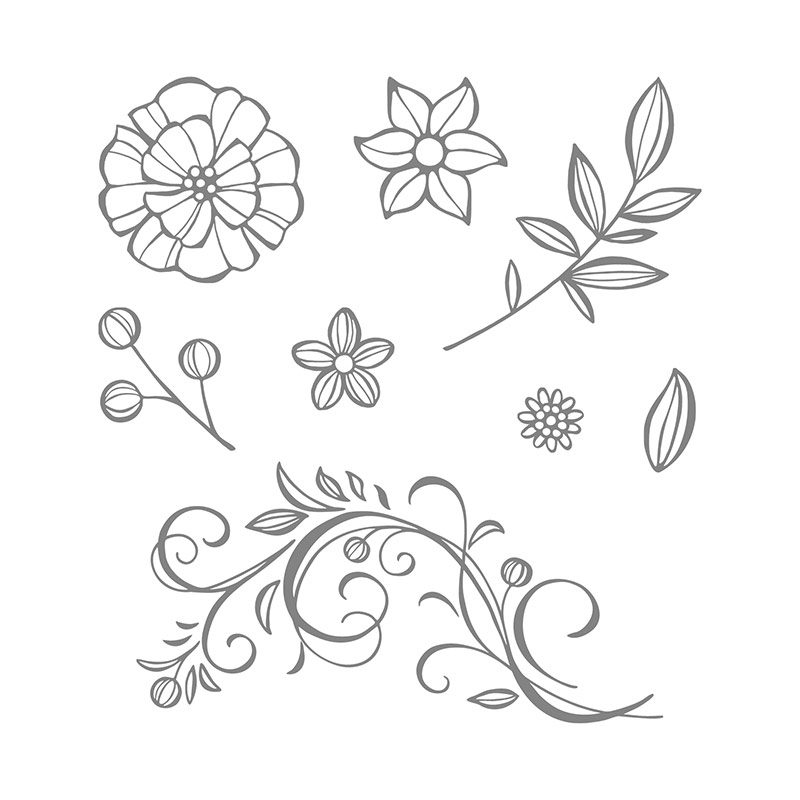
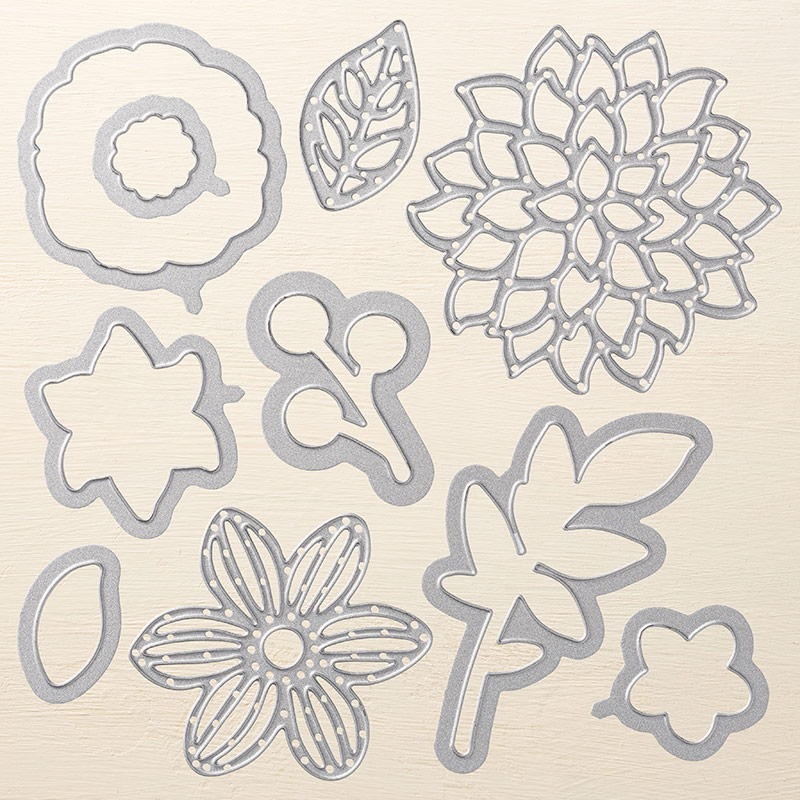
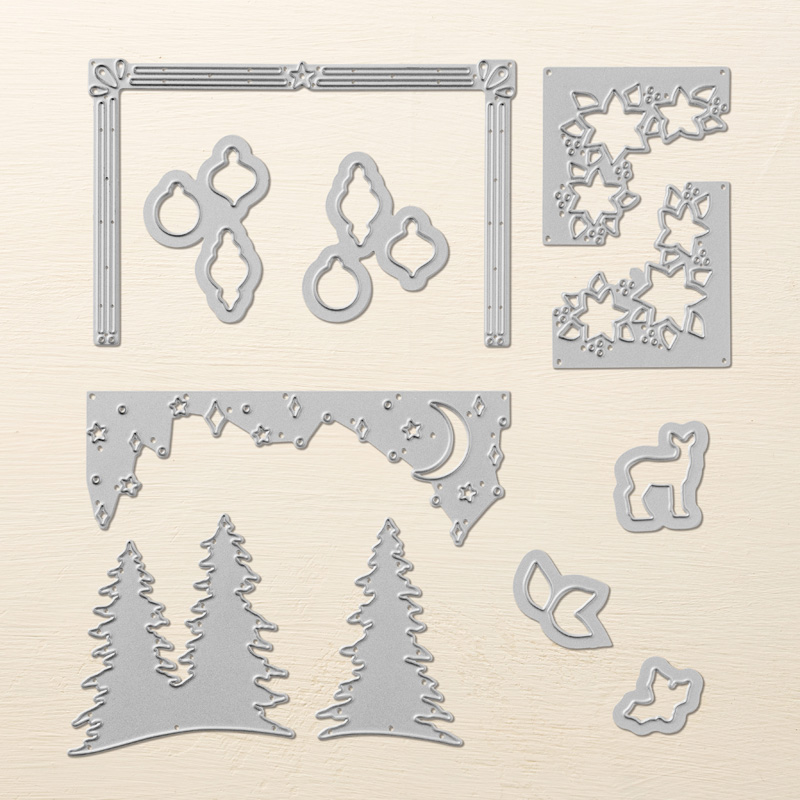
I have also used the lovely Falling Flowers stamps and matching Mayflower Thinlit Dies for the flowers, and the Card Front Builder Thinlit dies for the frame. These dies are from the Carols of Christmas bundle which you will have seen me use a couple of times already if you follow my blog as I’ve used it for my Seasonal Sunday projects. They’re so versatile; this card shows that they’re not just for Christmas!
Tutorial – Special Celebrations Wedding Card
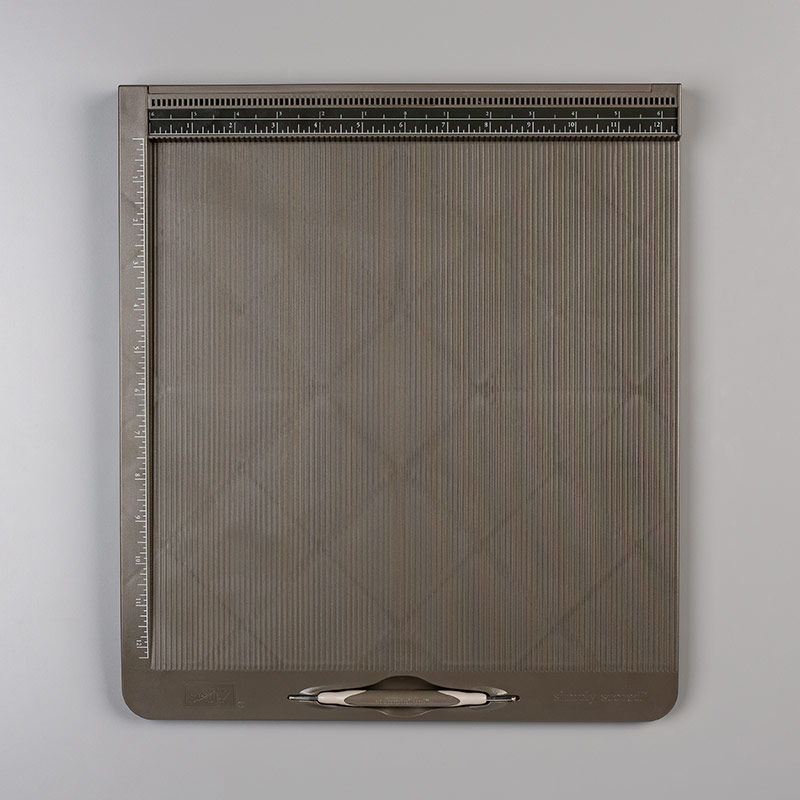
To create the card blank, score and fold a 7″ x 10″ piece of Thick Whisper White cardstock in half.
Cut a piece of Whisper White cardstock to 6″ x 4″, and a piece of Gold Foil Sheet to 6 1/4″ x 4 1/4″.
Use the frame from the Card Front Builder framelit dies to cut a frame around the edge of your 6″ x 4″ piece of Whisper White cardstock.
Use versamark ink to stamp the sentiment from the Special Celebrations stamp set in the middle of your frame. Pour over some Gold embossing powder and heat it with your heat tool to melt the powder.
Stamp some of the flowers and flourishes from the Falling Flowers Stamp Set on a spare piece of Whisper White cardstock and heat emboss with gold embossing powder. Use the matching May Flowers framelit dies to cut them out, and stick some Gold Faceted Gems to the centres.
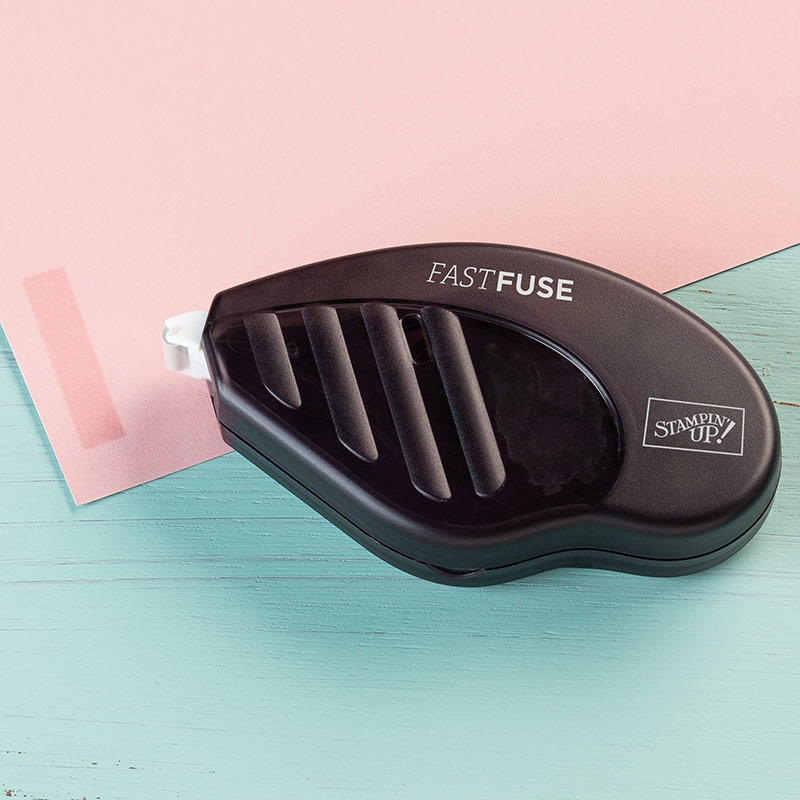
Use Fast Fuse to attach your white cardstock with the sentiment onto your Gold Foil Sheet, then use Stampin’ Dimensionals to attach this to your card front. Decorate your frame with the flowers and flourishes that you’ve made, sticking some on with glue, and some with Stampin’ Dimensionals to create layers on your card.
I hope you enjoyed this project. Click the links below to shop the products used to make it.

140276
Price: £28.00
144674
Price: £27.00
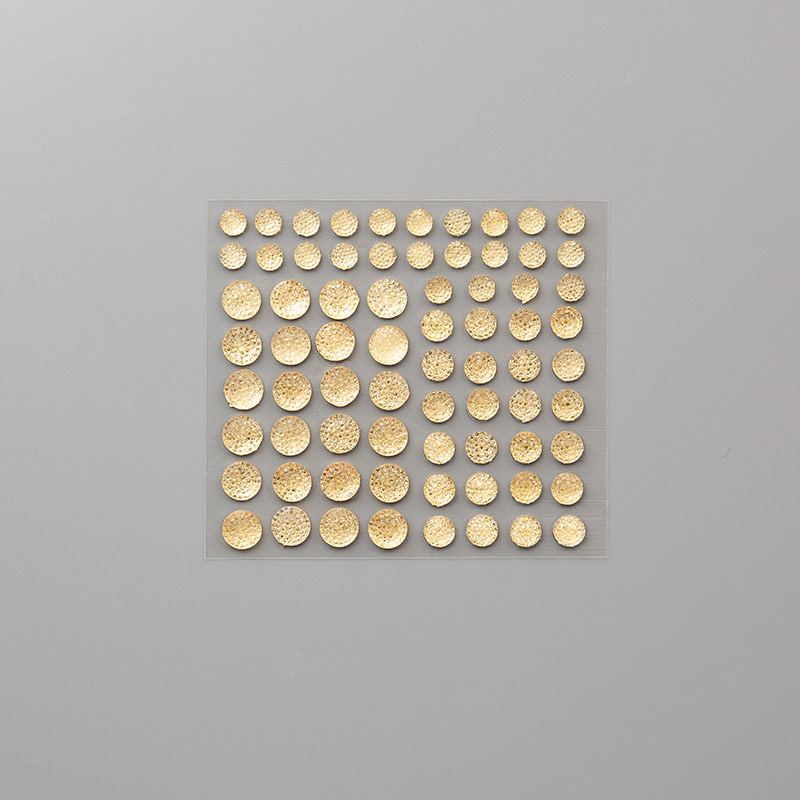
Gems
144141
Price: £4.50
Buddy
103083
Price: £5.50

(Uk)
129054
Price: £27.00

Pad
102283
Price: £7.75
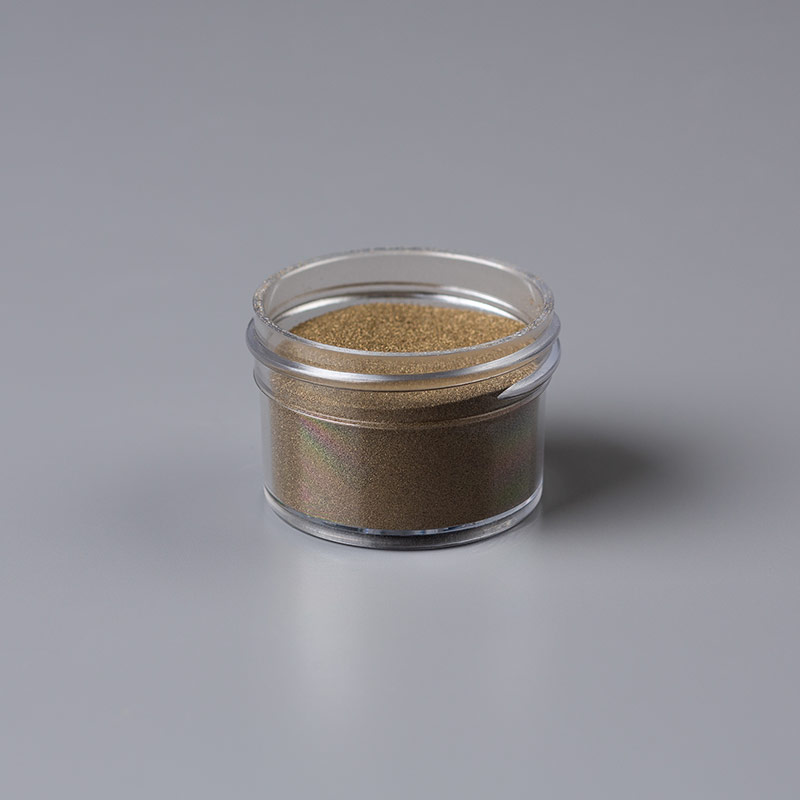
109129
Price: £4.50
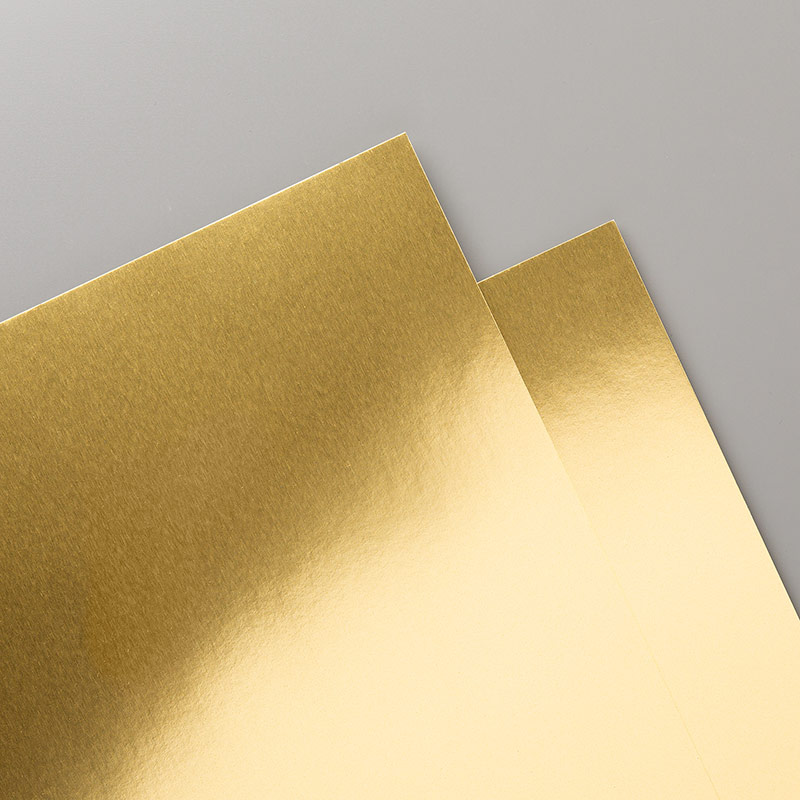
Sheets
132622
Price: £3.75

122334
Price: £27.00
129026
Price: £9.00

Price: £3.75

Widget not in any sidebars
Sarah Phelan, Independent UK Stampin’ Up Demonstrator


