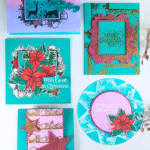
Hello Crafters! How are you today? It seems crazy to be sharing a Christmas card in this amazing weather but I do love to get started on them early – it’s just one less thing on the list when Christmas comes around! So today I’m showcasing the Most Wonderful Time product medley. It’s a gorgeous selection of coordinating products including stamps, dies, papers, card fronts, stickers, some tinsel-style trim and some gorgeous gold adhesive stars. All you need to add is some cardmaking essentials from your stash and you have everything you need to create a whole heap of Christmas Cards!
Even better, there are also re-fil kits available, so if you want more of the consumable items you can buy those on their own.

Most Wonderful Time Product Medley (En) [150705] £65.00
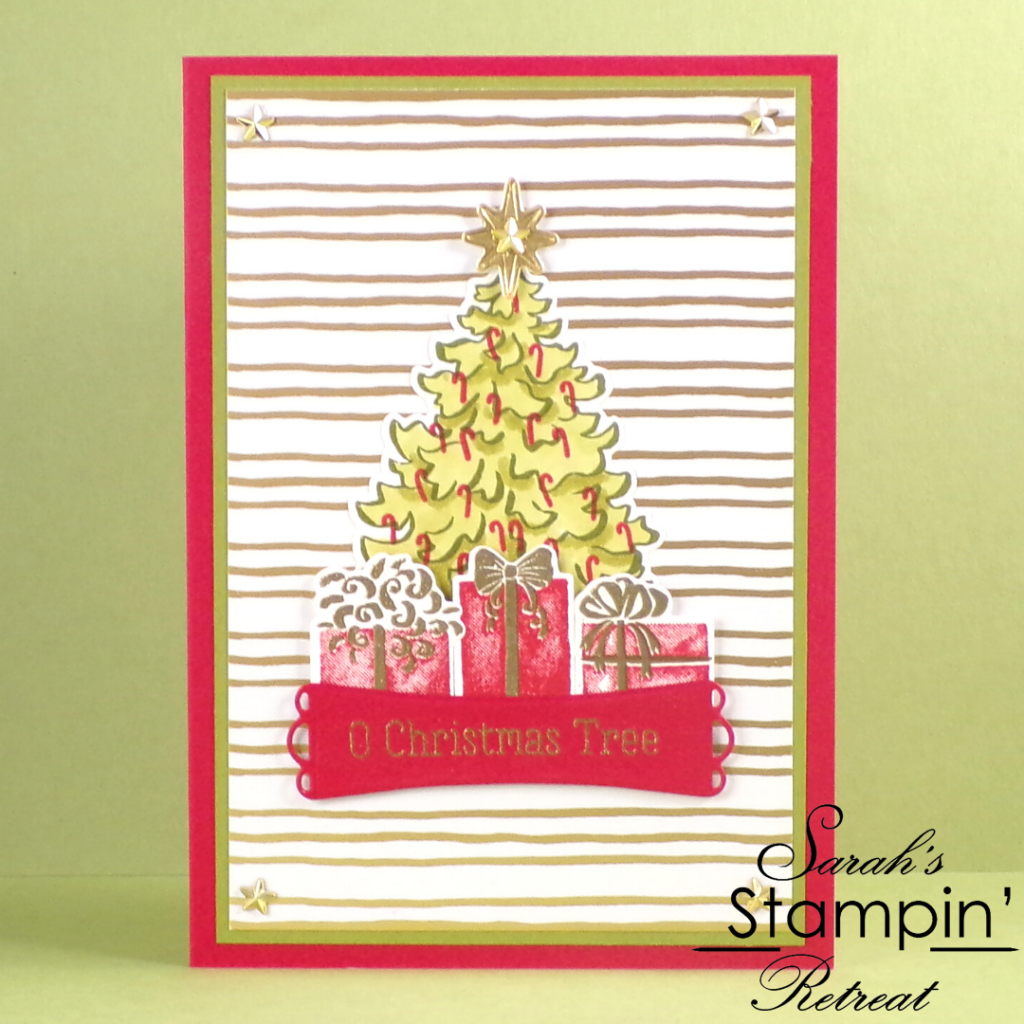
Tutorial – The Most Wonderful Time Handmade Christmas Card
To create your card base, score and fold an A5 (5 5/8″ x 8 1/4″) piece of Real Red cardstock in half. Cut a piece of Old Olive cardstock 1/4″ smaller than your card front, then cut one of the stripey card fronts from the product medley down to 1/4″ smaller than that. Glue these layers onto the front of your card.
Stamp the tree from the stamp set onto Whisper White cardstock using Old Olive ink, then use the candy canes and Real Red ink to decorate the tree. Use Old Olive Stampin’ Blends to colour the tree, then cut it out using the coordinating die.
Stamp the presents in Real Red ink onto a spare piece of Whisper White cardstock, then heat emboss the ribbons with gold embossing powder [Not sure how to heat emboss? See our step-by-step video tutorial HERE]. Cut them out using the coordinating dies!
Note: The presents in this set are super easy to use – they are all on one stamp, then the bows are all on a separate stamp, so they’re teally easy to position, and the dies are all one piece as well, so just align them and pop them through the die-cutting machine in one pass!
Stamp and heat emboss your sentiment with gold embossing powder onto a piece of Real Red cardstock, then cut around it with the sentiment banner die. Add all of your die-cut pieces to your card, adding the presents and the banner with Stampin’ Dimensionals (foam pads).
Finish the tree with a star die-cut from Gold Foil sheet, then add some of the Gold Adhesive Stars from the product medley in the corners of the card and onto the center of the star.
I hope you enjoyed this project. Click the links below to shop the products used to make it.
JOIN MY TEAM Product List


Widget not in any sidebars
The form you have selected does not exist.
Sarah Phelan, Independent UK Stampin’ Up Demonstrator
Sarah Phelan, Independent UK Stampin’ Up Demonstrator