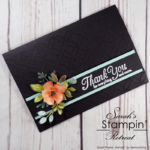
Good Morning Crafters!! How are you this morning?! Have you seen our new gorgeous Annual Catalogue? If you haven’t make sure you scroll down and check it out at the bottom of this post!! As you know, one of my favourite suites from it is the bird ballad suite that I used in Saturday’s post. Today I have a very similar card with a very different look.
I think that to me the Bird Ballad suite screams vintage, so I decided to give today’s card a very vintage feel with the lace embossed background and the soft pink and copper colourway. What do you think? Read on for the tutorial if you want to have a go!!

151123
Price: £47.50
Tutorial – Vintage Bird Ballad
To create your card blank, score and fold an A5 piece of Petal Pink cardstock in half. Then, to create your matts and layers, cut a piece of Petal Pink cardstock 1/4″ smaller than your card front, then another cut at 2 1/2″ x 4 1/2″. Cut a piece of Copper foil sheet at 2 3/4″ x 4 3/4″.
Run the larger Petal Pink layer through your die-cutting machine in the Detailed Lace embossing folder. How pretty is this?!!
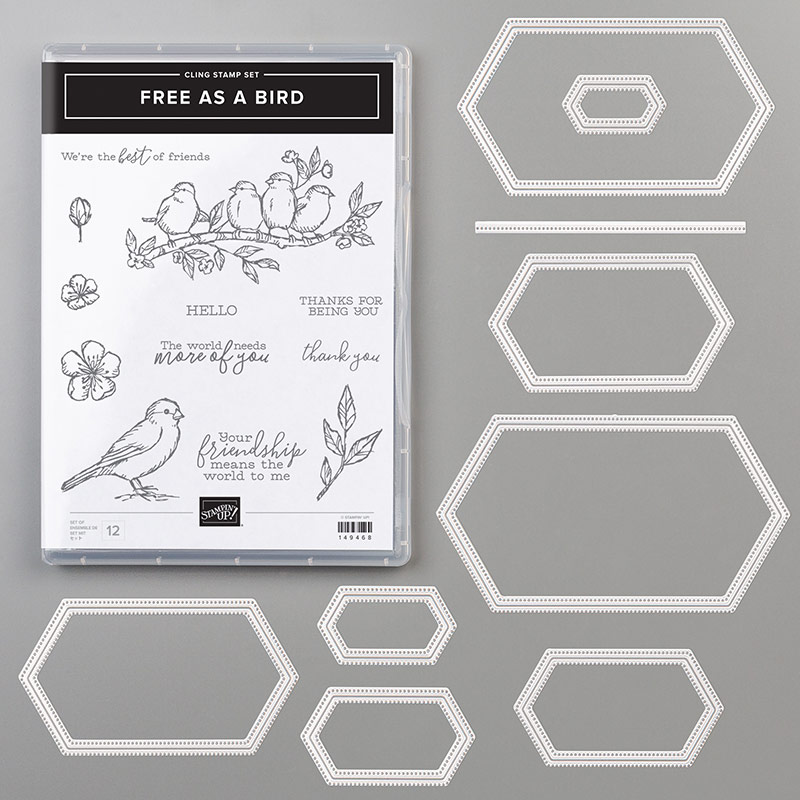
Then, run your Embossing Buddy across the smaller Petal Pink layer and stamp the large bird image from your stamp set in Versamark ink. Pour Copper Stampin’ Emboss Powder over your image and then melt it using your heat tool. Use this process to heat emboss the “thank you” sentiment onto a scrap piece of Petal Pink cardstock and then cut this out using the coordinating Nested Label Die.
To complete your card, glue your bird layer to the Copper Foil Layer, then add everything else to the card using Stampin’ Dimensionals.
I hope you enjoyed this project. Click the links below to shop the products used to make it.
JOIN MY TEAM Product ListWidget not in any sidebars
The form you have selected does not exist.
Sarah Phelan, Independent UK Stampin’ Up Demonstrator
Sarah Phelan, Independent UK Stampin’ Up Demonstrator


