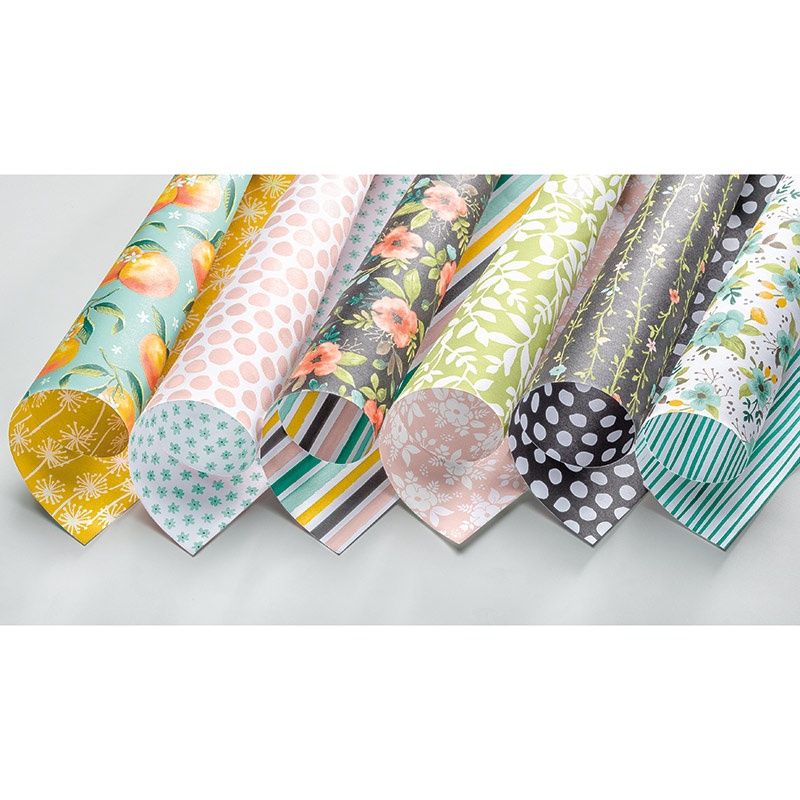
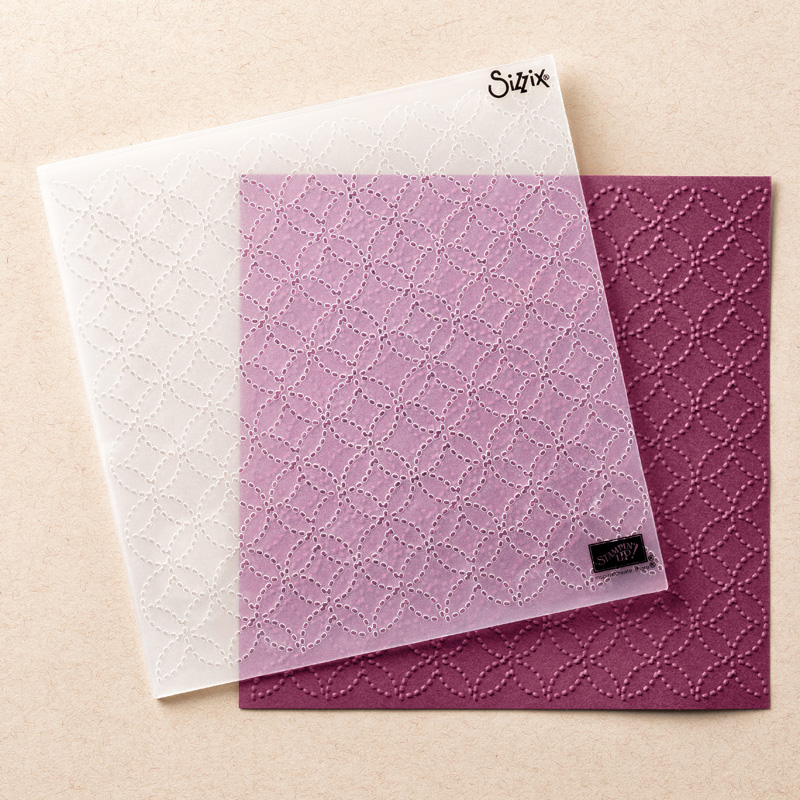
Good Morning Crafters! How are you today? I’m having so much fun playing with the new goodies that I bought from the new Holiday Catalogue (link to catalogue at bottom of the post if you’ve still not seen it!). Today our project mixes the Quilt Top Textured Impressions Embossing Folder from the Quilted Christmas Suite in the Holiday Catalogue (page 5) with the beautiful Whole Lot of Lovely Designer Series Paper from the Annual Catalogue to create a beautiful Thank You Card
Tutorial – Whole Lot of Lovely Thank You Card
To create the card blank, score and fold an A5 piece of Basic Black cardstock in half. Place the front of your card blank into your Quilt Top Textured Impressions Embossing Folder and run it through your BigShot to emboss.
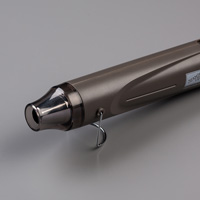
Cut a strip of Basic Black cardstock measuring 7/8″ x 5 3/4″. Stamp the “Thank You for Everything and More” sentiment from your One Big Meaning Stamp Set in Versamark ink towards the right hand side, then sprinkle with white embossing folder and melt it using your heat tool. Cut a strip of Pool Party cardstock 1 1/8″ x 5 3/4″ and adhere your strip of Basic Black cardstock on top using Fast Fuse. Use Stampin’ Dimensionals to add your strip to the bottom of your card.
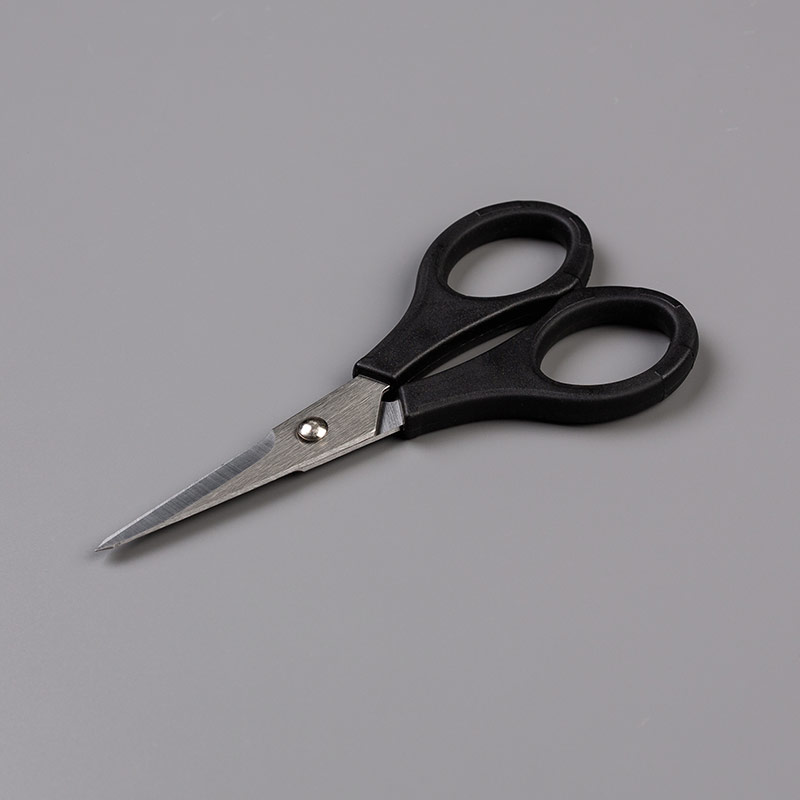
Using Paper snips, cut two flowers and the surrounding foliage from your black large floral paper from the Whole Lot of Lovely DSP pack. Cut the foliage off one of the flowers. Use Stampin’ Dimensionals to add the single flower on top of the flower with the foliage attached, and use more Stampin’ Dimensionals to add the excess foliage to the back of your flower. Adhere this to your card to complete it.
I hope you enjoyed this project. Click the links below to shop the products used to make it.


121688
Price: £7.25
124391
Price: £7.25


102283
Price: £7.75
129054
Price: £27.00
103083
Price: £5.50
103579
Price: £9.00

143263
Price: £99.00
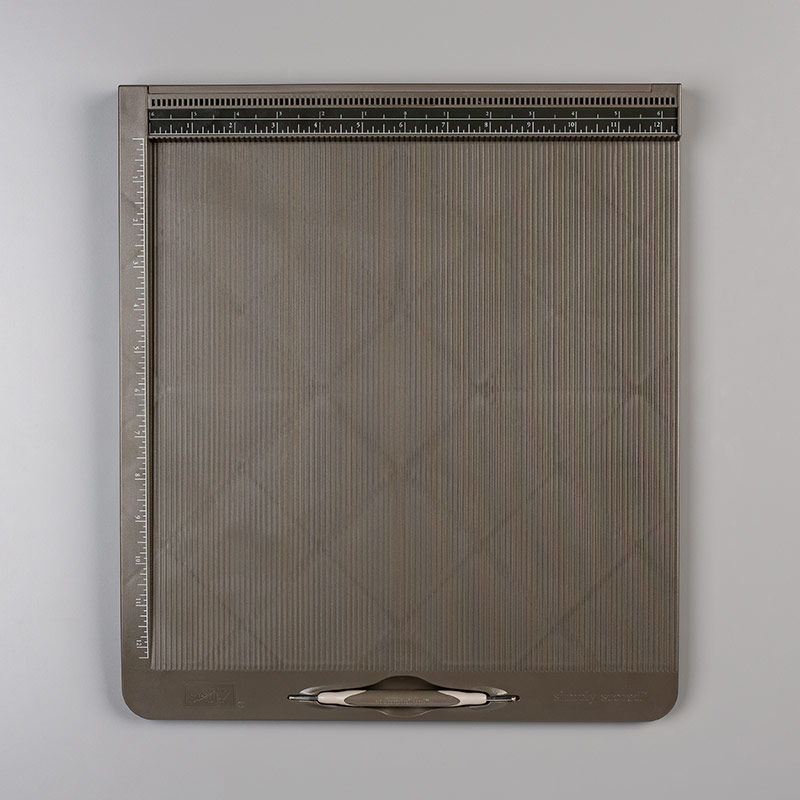
122334
Price: £27.00
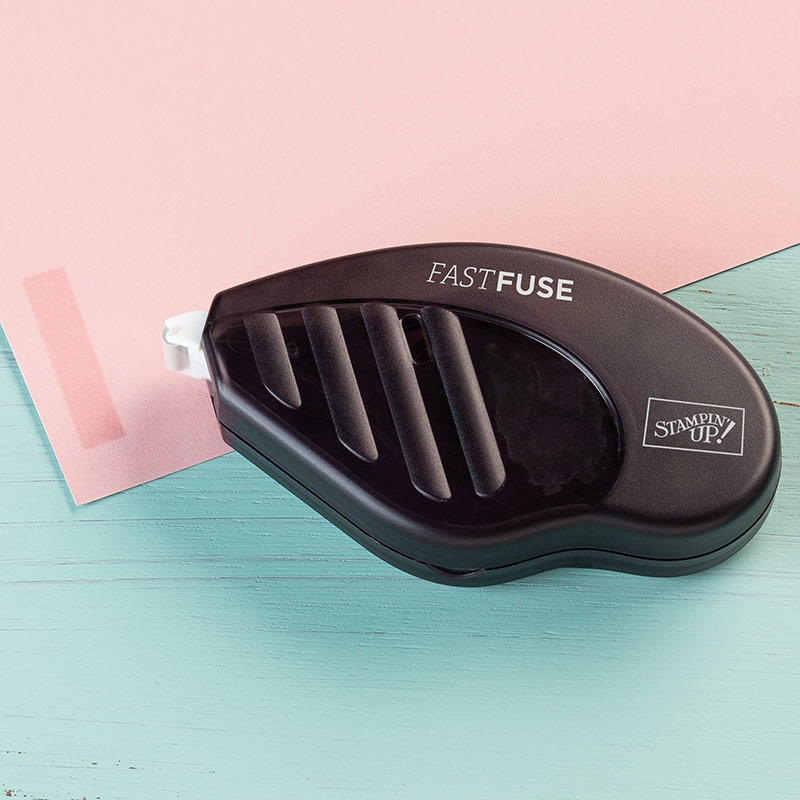
129026
Price: £9.00

Price: £3.75
Widget not in any sidebars
Sarah Phelan, Independent UK Stampin’ Up Demonstrator


