Good Morning Crafters! How’s your weekend going? I hope you’re having a good one! Have you checked out our online extravaganza yet? If not then make sure you click on the “Shop Now” button at the bottom of this post to view all of the bargains – today’s the last day that they’re available.
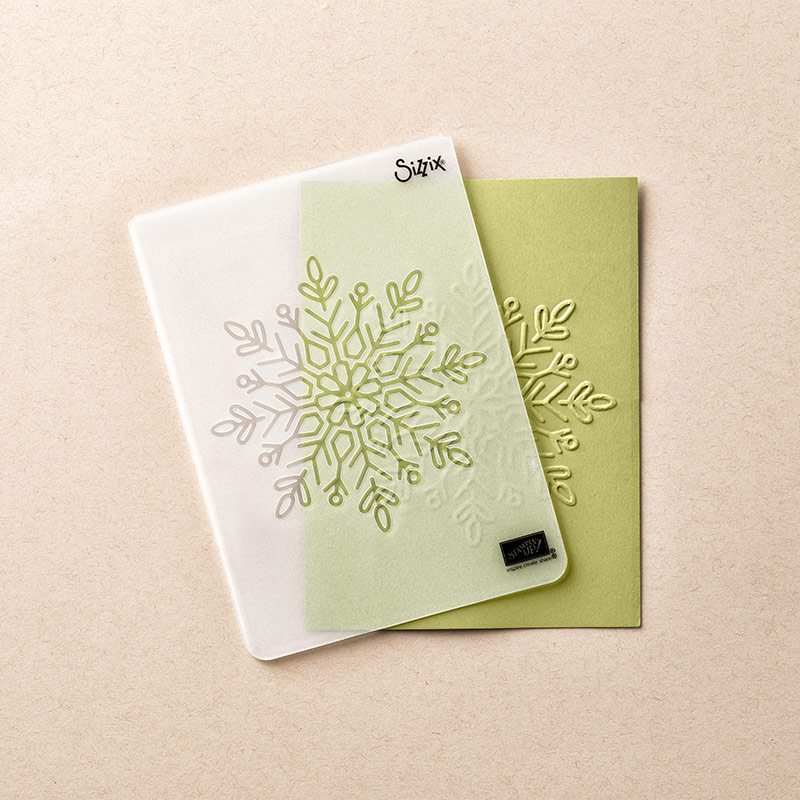
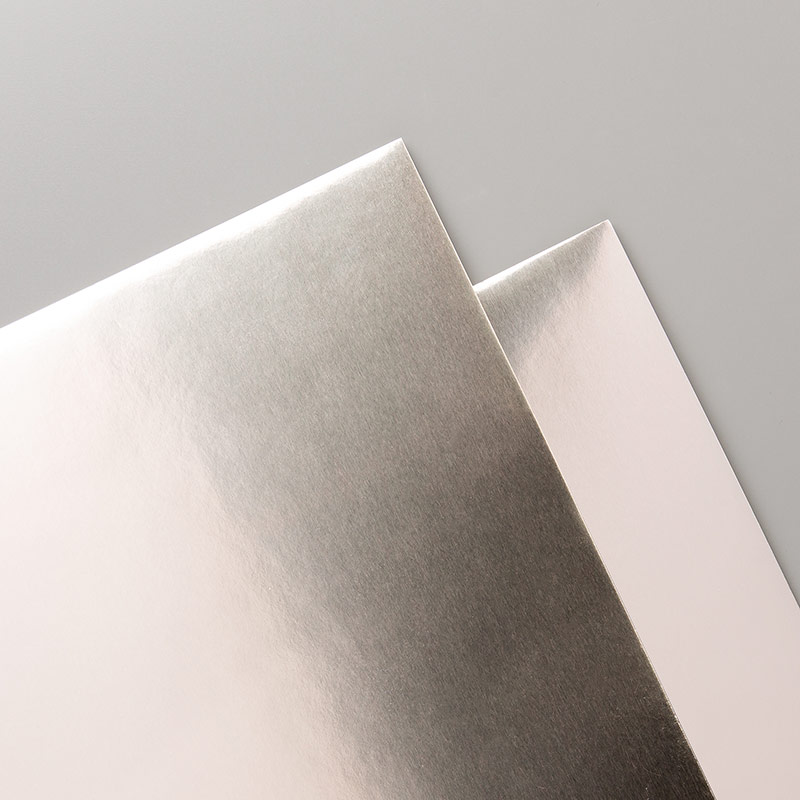
I hope you’ll forgive the photo of today’s card – I really struggled with photographing the Champagne Foil Sheet because it’s so reflective!! It’s actually paler than it appears in my photograph. It also features the lovely Winter Wonder Embossing Folder and the Swirly Snowflake thinlet dies. How beautiful and delicate are those dies?! I love them!
Tutorial – Winter Wonder Handmade Christmas Card
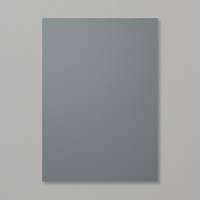
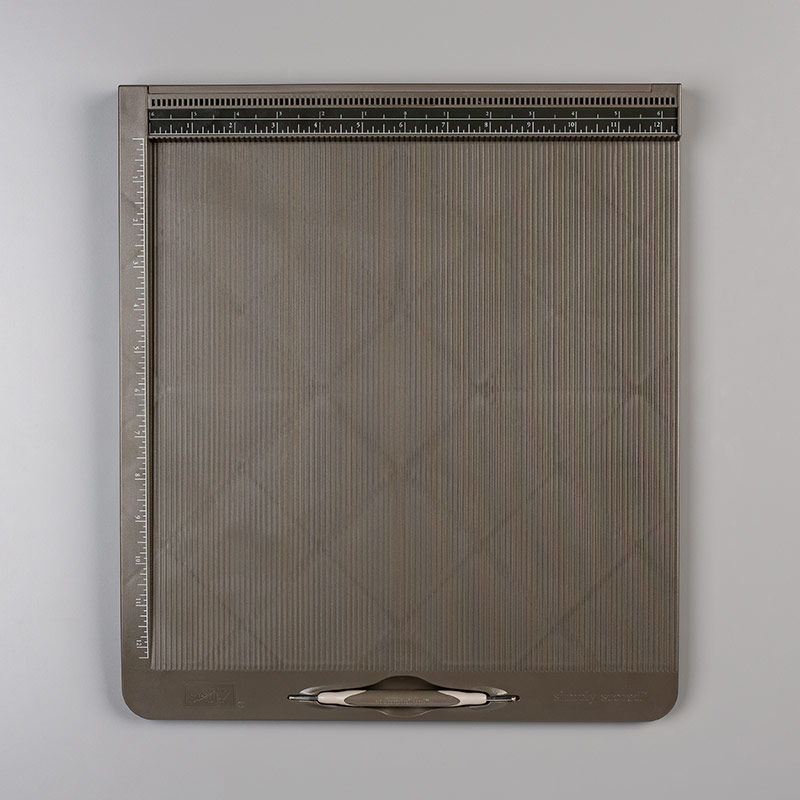
To create your card blank, score and fold a piece of A4 Basic Grey cardstock in half, then trim the bottom off to create a square card blank.
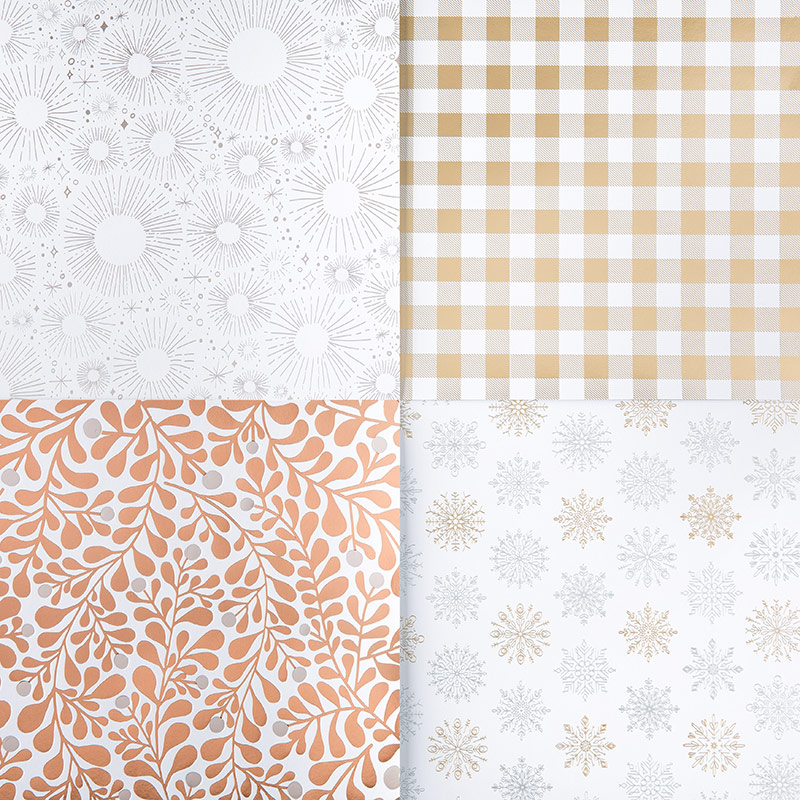
Cut a piece of the snowflake paper from the Year of Cheer DSP pack 1/4″ smaller each way than your card front. Adhere this to your card Blank.
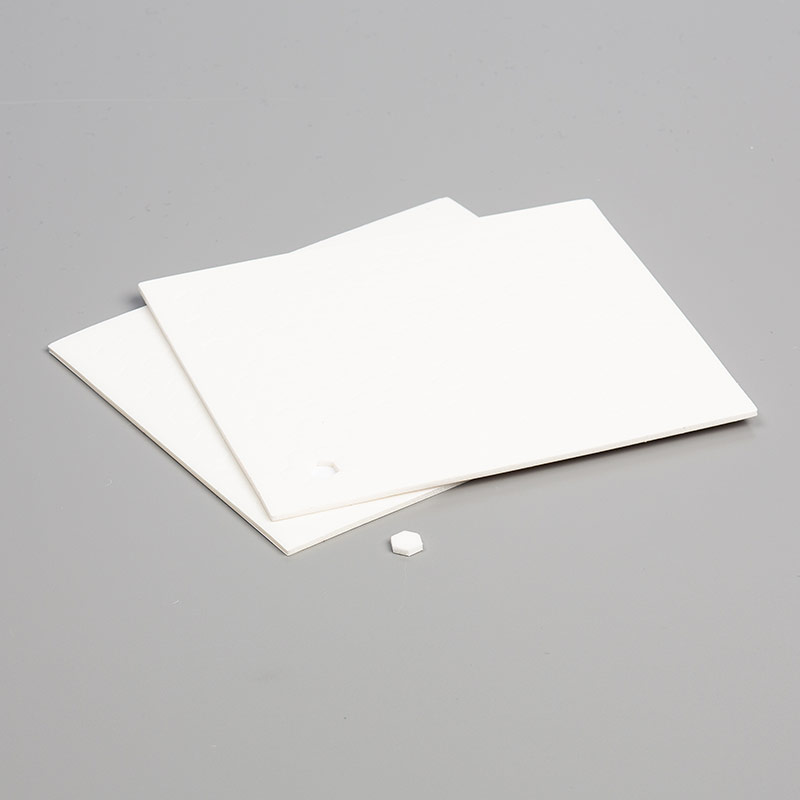
Cut another piece of Basic Grey Cardstock measuring 4 1/2″ square, then cut a piece of Champagne Foil Sheet 4 1/4″ square to sit on top of this. Run the piece of Champagne Foil Sheet through your Bigshot with the Winter Wonder embossing folder, ensuring that the snowflake is centered on the sheet.
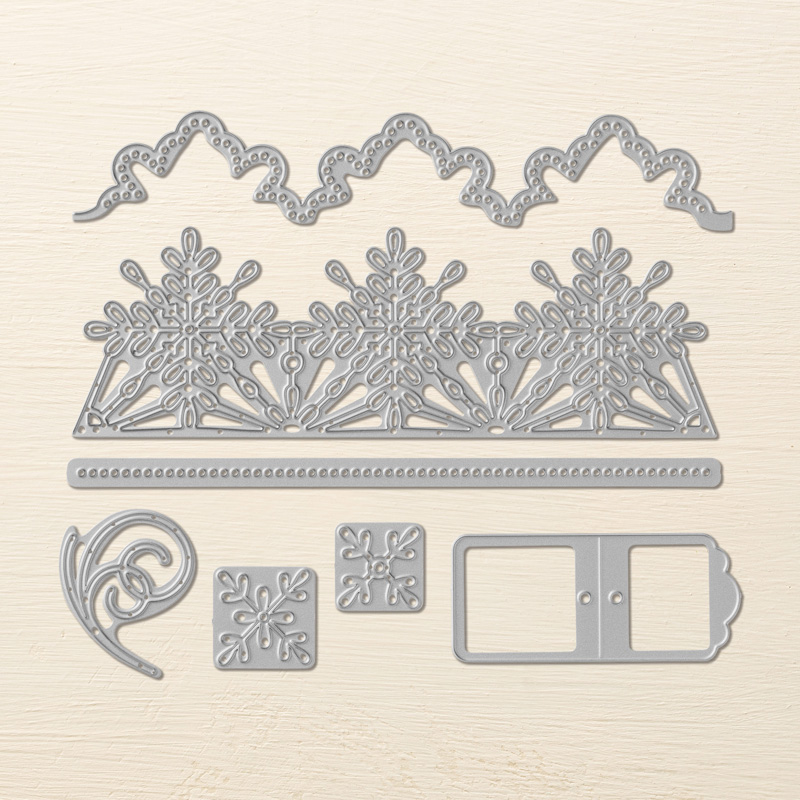
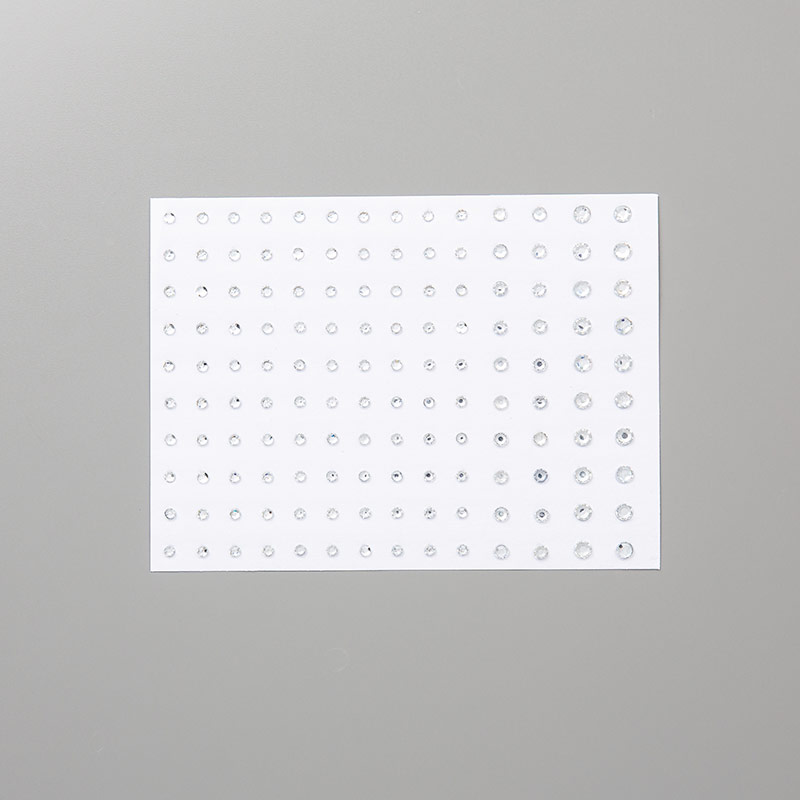
Cut a Basic Grey and a Whisper White snowflake border from your Swirly Snowflake Thinlets dies. Snip off one snowflake of each colour, then layer the white one on top of the Basic Grey one, sticking it slightly off centre to create a drop shadow. Snip out the centre of another one of the Basic Grey snowflakes and add this to the centre. Add a large Rhinestone Basic Jewel to the centre of your snowflake, and small ones around this.
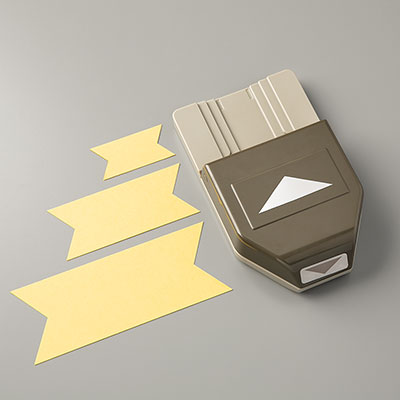
Stamp the Merry Christmas sentiment from the Star of Light Stamp Set onto a strip of Basic Grey cardstock using Versamark ink. Sprinkle over White Embossing Powder, and use your heat tool to melt it. Use your Triple Banner Punch to create banner ends on your sentiment panel.
Layer your card up as per the picture, popping the centre panel, the snowflake, and the sentiment banner up on Stampin’ Dimensionals.
I hope you enjoyed this project. Click the links below to shop the products used to make it.
Snowflakes Thinlits Dies
144678
Price: £27.00
144640
Price: £11.75

142110
Price: £23.00
Basic
Jewels
144220
Price: £4.50

138292
Price: £21.00


102283
Price: £7.75

129054
Price: £27.00
103083
Price: £5.50
122334
Price: £27.00
129026
Price: £9.00

Price: £3.75
Widget not in any sidebars
Sarah Phelan, Independent UK Stampin’ Up Demonstrator