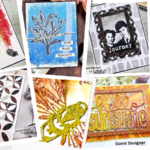
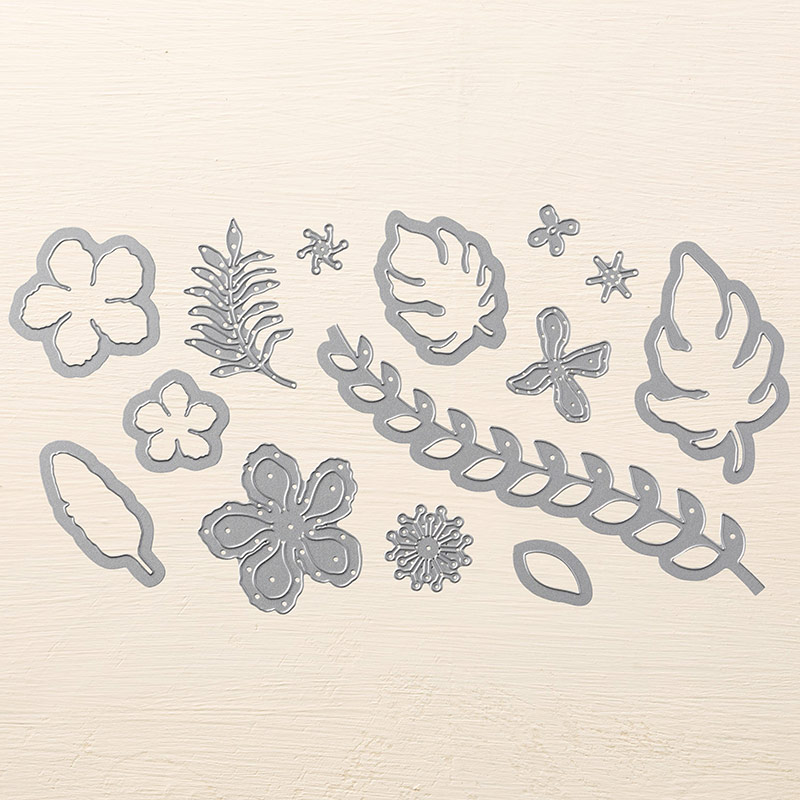
Today’s card is a bright and cheery one using the Botanical Builder Framelit Dies. The thing I love best about this die set is that you get a selection of flowers and leaves, so I cut all of the flowers in one pass through my die cutting machine, and then all of the leaves in another pass through – no sitting for ages individually die cutting lots of elements! This card does use some more advanced card making techniques, but I hope that with the below tutorial you will be able to make it no matter how new to card making you are.
Tutorial
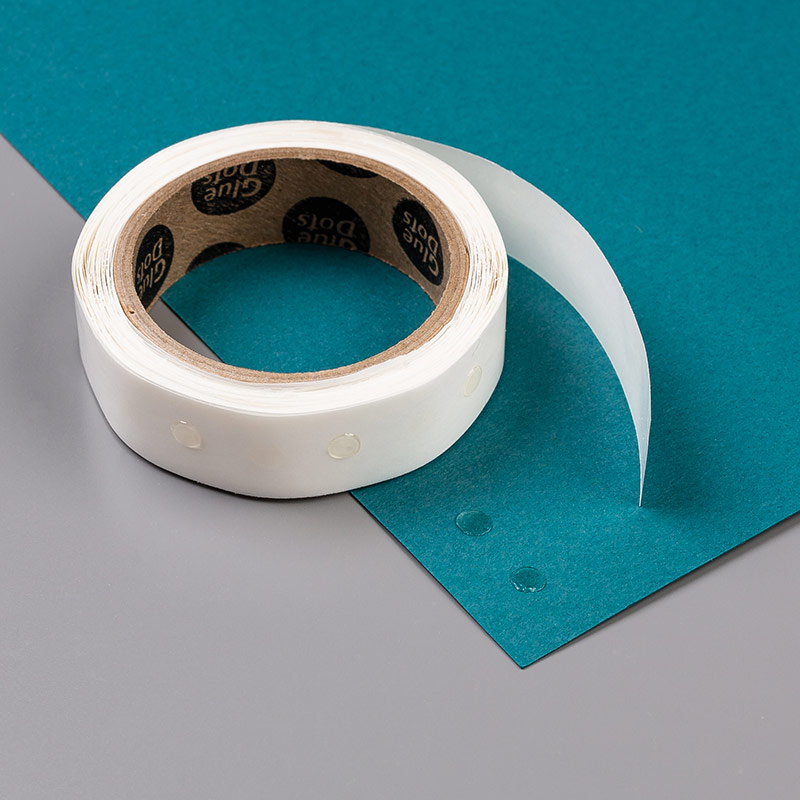
Start by die cutting the four flowers in the picture from Melon Mambo cardstock. Curl the edges up using something round like a pencil for a smooth curl. Cut the flower centres from black cardstock and stick them to the centres of the flowers with glue dots, then curl them up a little to give some dimension. Cut the leaves from Bermuda Bay cardstock.
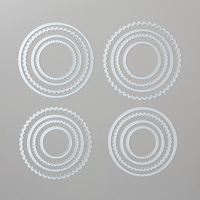
Create the card blank by cutting a piece of Bermuda Bay cardstock to 11″ x 5 ½” and scoring it down the centre. Trim a piece of stripey paper from the Pop of Pink Speciality Designer Series Paper to 5″ square, then use the largest circle from the Layering Circle Framelit Dies to cut a circle from the centre of the paper. Line this up in the centre of your card front and lay the second biggest circle Framelit in the centre of the circle you’ve cut out. Use a pencil to lightly trace around the centre of the die onto the card front so you know where your circle needs to be cut. Remove the stripey paper from the card front, and cut the circle from your card front with your die using your pencil marks as a guide to placing it.
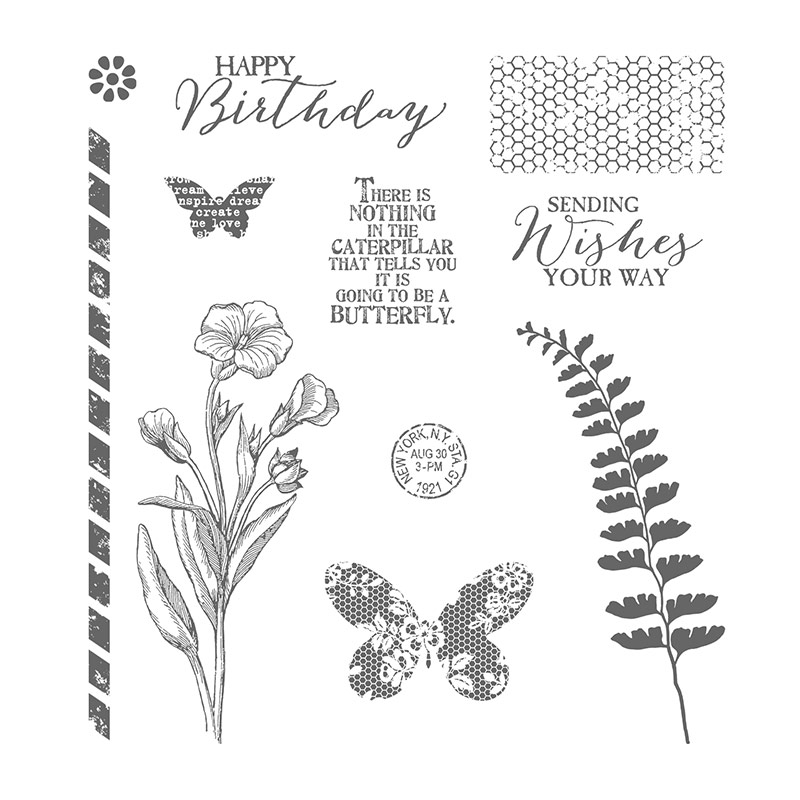
Cut a 5 ¼” square piece of whisper white paper. Place this inside the card as an insert, and use a pencil to draw around the inside of the hole you’ve cut in the card front. Use the Happy Birthday stamp from the Butterfly Basics stamp set to stamp a sentiment in basic black ink inside the circle. Rub out the lines and stick the insert into the card.
Stick your stripey paper onto your card front, then arrange the flowers and leaves around the circle aperture, sticking them down with glue dots to complete your beautiful card!
I hope you love this project as much as I do – I love the effect. Below is a shopping list in case you wish to purchase any of the products used.
140625
Price: £30.00

141705
Price: £32.00

140490
Price: £6.50


129026
Price: £9.00
Widget not in any sidebars