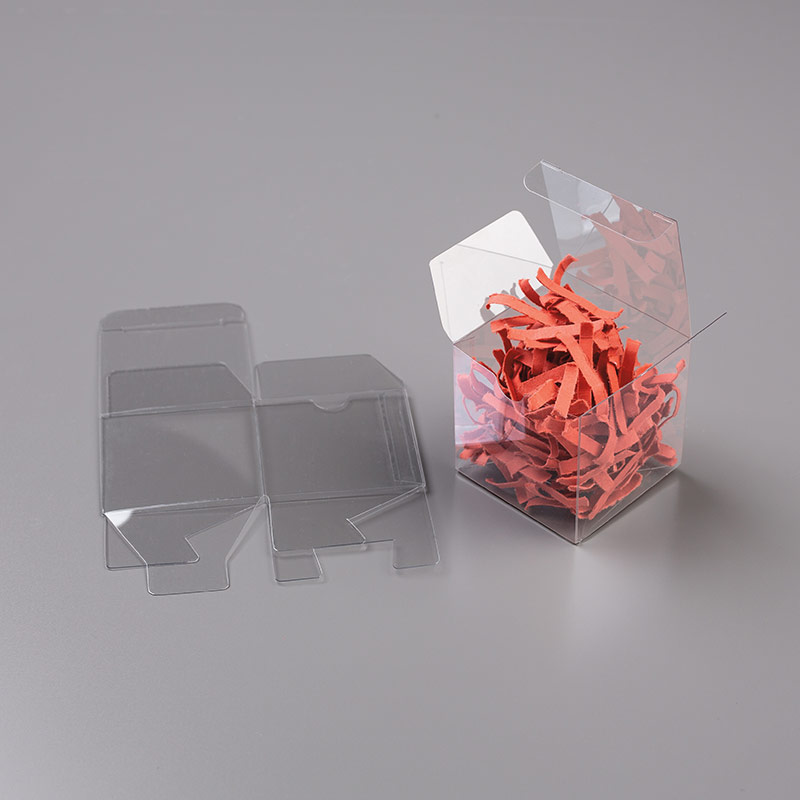
Good Morning Crafters!! Have you seen the Tiny Treat Boxes I’m sharing today? How cute are they??!! They come flat packed and you make them up yourself into little 2 inch cubes and then decorate them. I think they’re so fun for a small gift if you want to give some chocolates or jewellery, etc. and would make amazing table favours for a party or a wedding if you decorated them with patterned papers that match your colour scheme! You get 16 in a pack too, so they’re pretty inexpensive.
The decoration that I’ve used is very simple so you could make a lot fairly quickly if you were batch making for a special occasion. What would you use them for?
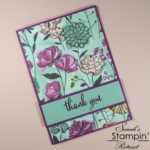
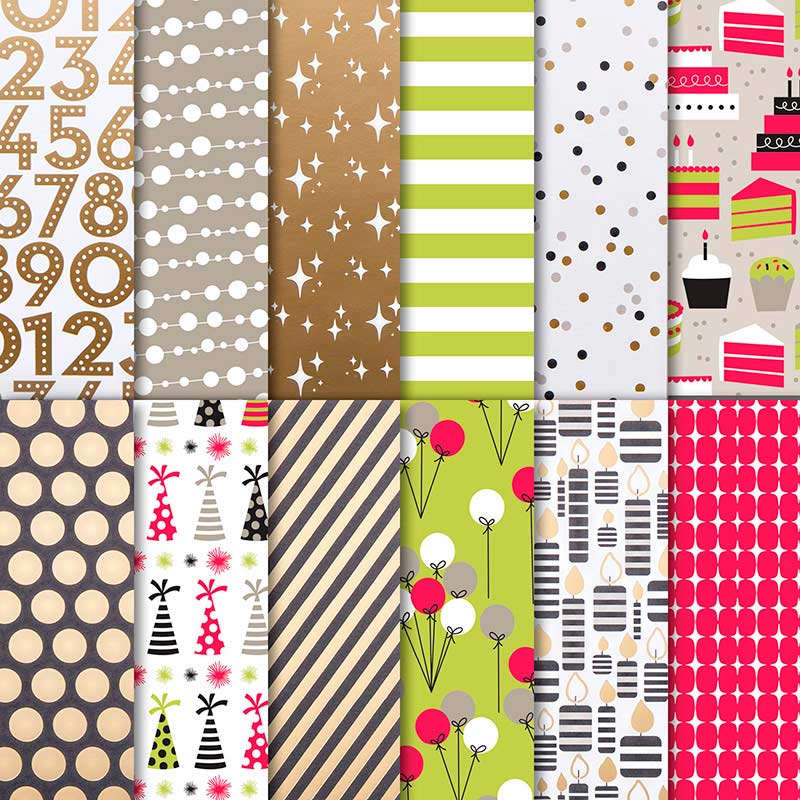
I decorated mine with Broadway Bound DSP which is one of my favourite paper packs from this year’s catalogue, but you’ll need to be quick if you want it as we’ll get all new paper packs when the new catalogue launches on June 4th. You can get 10 of the inserts for these boxes from one piece of 12″ x 12″ patterned paper (as long as the paper can be used in any direction, if you need to use it in only one direction you’ll be able to get 8 from a 12″ x 12″ sheet).
141699
Price: £6.75
146277
Price: £13.00
Tutorial – Broadway Bound Tiny Treat Boxes
To start, make up your treat box according to the instructions in the pack. Then, cut a piece of patterned paper measuring 1.5″ x 9″. Score the paper at a smidgen under 2″, 4″, 6″ and 8″. Fold on the score lines and slot the paper inside your treat box, ensuring that the 1″ piece left at the end is tucked inside so that the seam doesn’t show outside the box.
Fill the box with whichever treats you want to put in. This will push the paper to the edge of the box, but if you wish to stick it, you could put a glue dot on the 1″ tab and stick this to the underside of your paper liner.
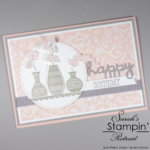
To create the label on the top of your box, cut the second smallest of the stitched circle framelit dies from Basic Black cardstock, then cut the coordinating scalloped circle from your layering circle dies from gold cardstock and layer this underneath.
I cut my “it’s your birthday” stamp so that I could layer it instead of having one long line of text. I know some people are anxious about doing this, but it’s really easy to line them up on a block again if you want a long line of text, and in my opinion, this makes your stamps more versatile!!
To decorate your tag topper, use an embossing buddy to clear any finger marks, etc. from your black circle and then stamp the stacked sentiment in versamark ink on the left side of the circle. Stamp some of the diamonds around it, then sprinkle on Gold embossing powder, knock off the excess, and melt the powder with the heat gun.
To finish the topper, just cut one of the candles from the Broadway Bound paper pack and add it to the topper tag with Stampin’ Dimensionals, then add the tag to your box lid with dimensionals too.
I hope you enjoyed this project. Click the links below to shop the products used to make it.
JOIN MY TEAM Product List


Widget not in any sidebars
The form you have selected does not exist.
Sarah Phelan, Independent UK Stampin’ Up Demonstrator
Sarah Phelan, Independent UK Stampin’ Up Demonstrator