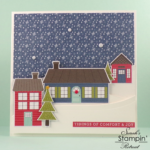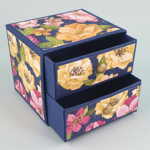
Hello Crafters! How are you today? Our Friday video this week shows how to create this gorgeous Christmas sampler using the Trimming the Town product suite from Stampin’ Up! I’ve shared a few other projects that I’ve created using this lovely suite which I’ll link HERE including the ever-popular House Gift Boxes.
There are so many different elements to this suite, you could make yours the same as mine, or change things up a bit – why not try the red spotty background instead of the trees if you like things a little bolder, for example?!
I’ve popped a picture below of the whole suite collection as I used every element on this sampler, but I have also popped all of the individual elements into the shopping list at the bottom of the post in case there are just a couple of things that you fancy!

Trimming The Town Suite Collection [155105] £69.75
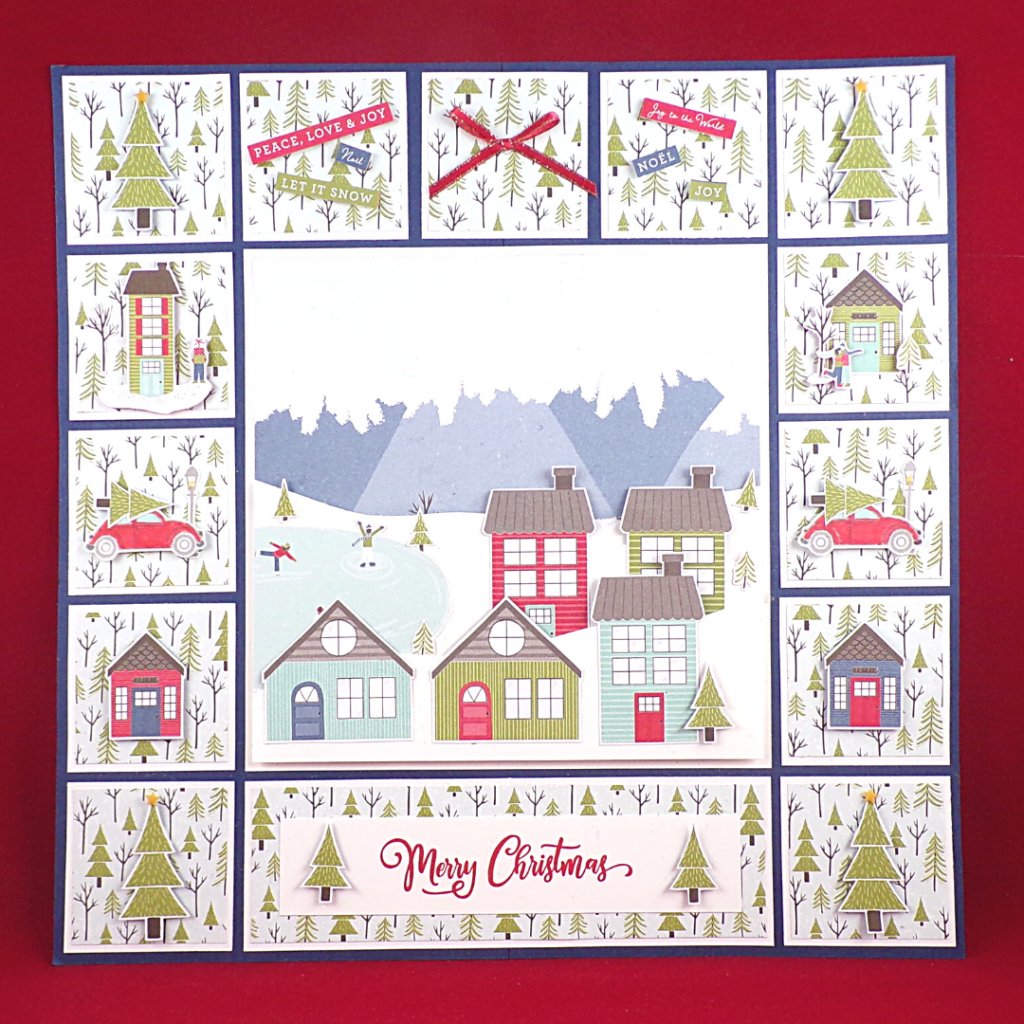
Video Tutorial – Christmas Sampler Wall Art using Trimming the Town from Stampin’ Up!

Dimensions
Base – 11 3/4″ square piece of Night of Navy Cardstock – if you don’t have a 12″ x 12″ piece to cut this from, cut 2 pieces measuring 11 3/4″ x 5 7/8″.
Centre Image – Whisper White Matt – 6 3/4″ square; patterned paper – 6 5/8″ x 4″ (snow banks also need to be 6 5/8″ wide).
Small Outside Square (x 13) – Whisper White Matt – 2 1/8″ square; patterned paper – 2″ square
Bottom “Merry Christmas” section – Whisper White Matt – 6 3/4″ x 2 1/8″; patterned paper – 6 5/8″ x 2″; central Whisper White piece – 6″ x 1 1/4″.
I hope you enjoyed this project. Click the links below to shop the products used to make it.
JOIN MY TEAM Product List 


Widget not in any sidebars
The form you have selected does not exist.
Sarah Phelan, Independent UK Stampin’ Up Demonstrator
Sarah Phelan, Independent UK Stampin’ Up Demonstrator