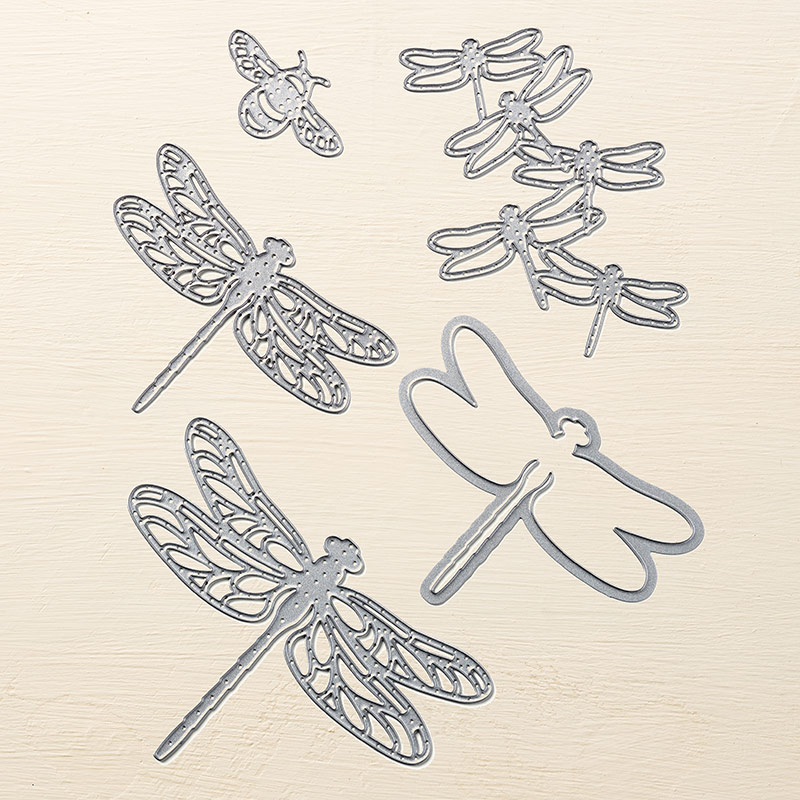
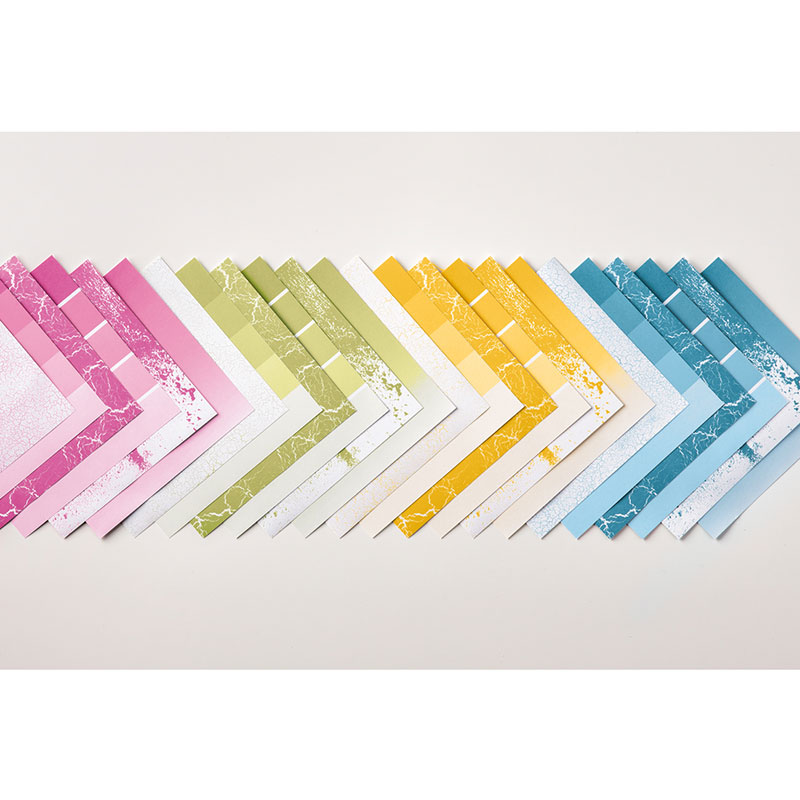
Good Morning! And welcome to another project from the new Stampin’ Up Catalogue! If you’ve not seen this yet then see the link below and peruse at your leisure – it’s fab! The dies I’ve used for for this card – the Detailed Dragonfly Thinlet Dies – have been around since the start of the year – they were in the Occasions Catalogue but have carried over into the new catalogue – but the paper is brand new!

So onto how to make the card…
Create a card blank by taking an A5 piece of Thick Whisper White cardstock and scoring and folding it in half. Cut a piece of the yellow paint chip style paper from the Colour Theory DSP pack measuring 5 5/8″ x 3″, ensuring you trim it so that the panels at each end are the same size. Cut a bumble bee using the Detailed Dragonfly Thinlet Dies from each of the three middle panels of your paper, but move the die on each panel so that it looks like the bee is in flight. Make sure you save the waste from your die-cuts! Next, cut 3 bees from Basic Black cardstock.
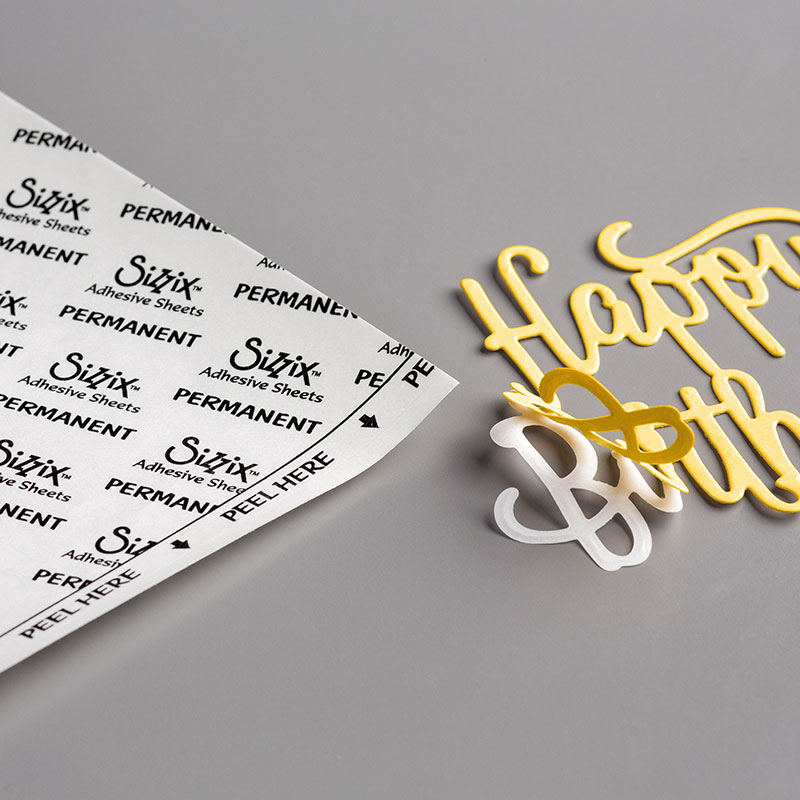
Trim down a multi-purpose adhesive sheet so that you have a piece just slightly smaller than your die-cut Colour Theory paper. Peel off the backing and stick the paper to your card blank. You will have a bit of exposed adhesive where you cut your bees out. Into these gaps, stick your black bees, and then fill in the die cuts with the waste from the yellow die cuts. The Multipurpose adhesive sheets are perfect for this as it means there is no need to fiddle about with little pieces and glue!
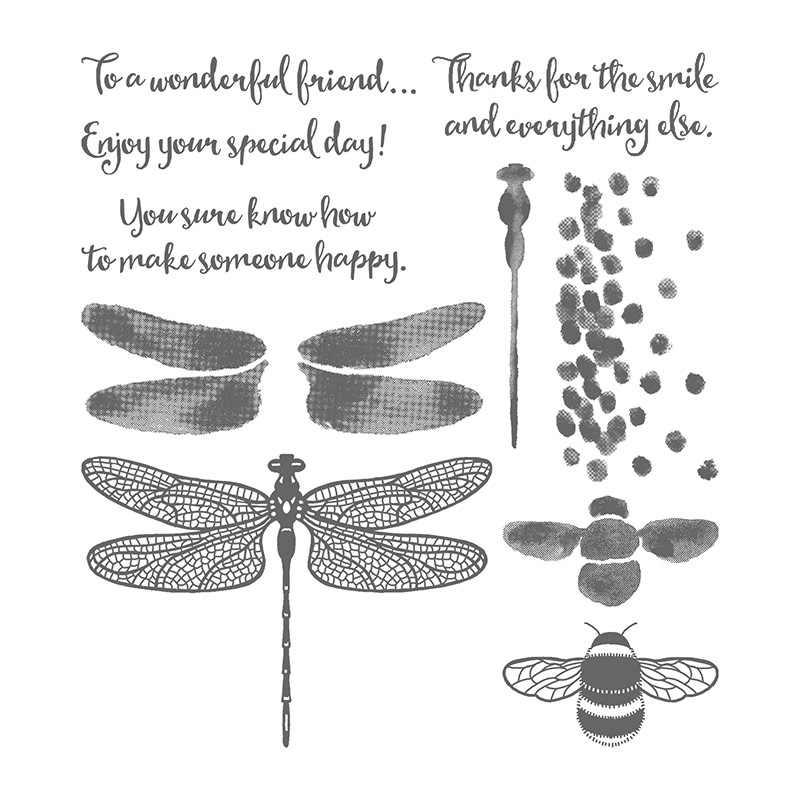
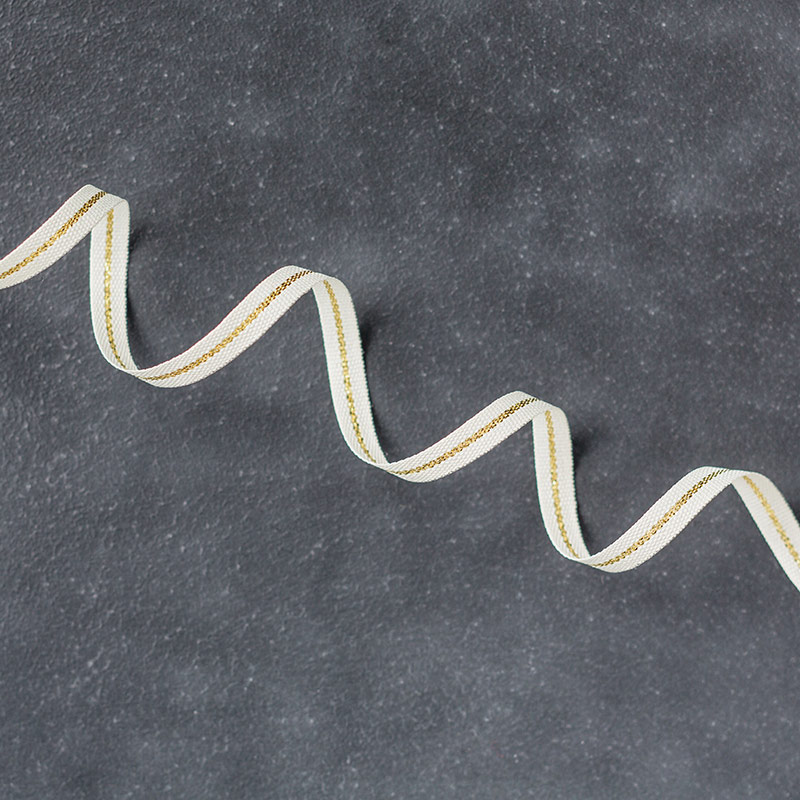
Stamp the “Enjoy your special day!” sentiment from the coordinating Dragonfly Dreams stamp set in Basic Black ink. Then cut 2 pieces of gold natural trim to sit either side of your sentiment. To finish up, use the journaling pen with the thicker nib to create some dashed lines indicating a flight path between the bees.
I hope you enjoyed this project. Click the links below to shop the products used to make it.

142749
Price: £28.00

141484
Price: £6.50

Pens
145480
Price: £4.50

122334
Price: £27.00
129026
Price: £9.00
Widget not in any sidebars
Sarah Phelan, Independent UK Stampin’ Up Demonstrator


