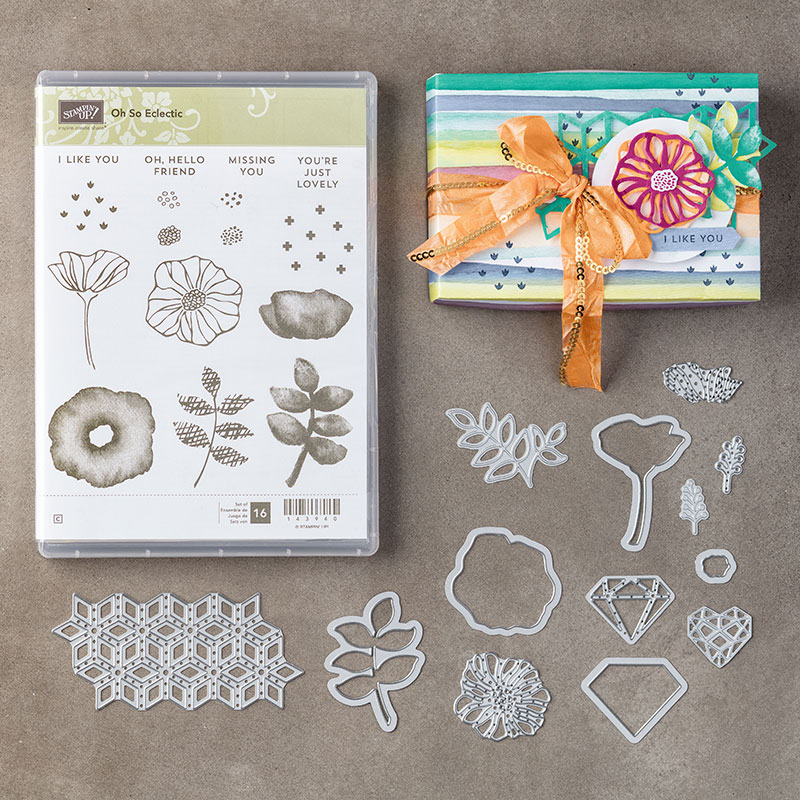
Have you seen the Oh So Eclectic Suite? It’s beautiful and really versatile! It’s got watercolour style stamps, line detail stamps, sentiments and background stamps with some gorgeous dies to complement them.
I had lots of fun making this cute eclectic card. Why don’t you have a go at making it with this tutorial…
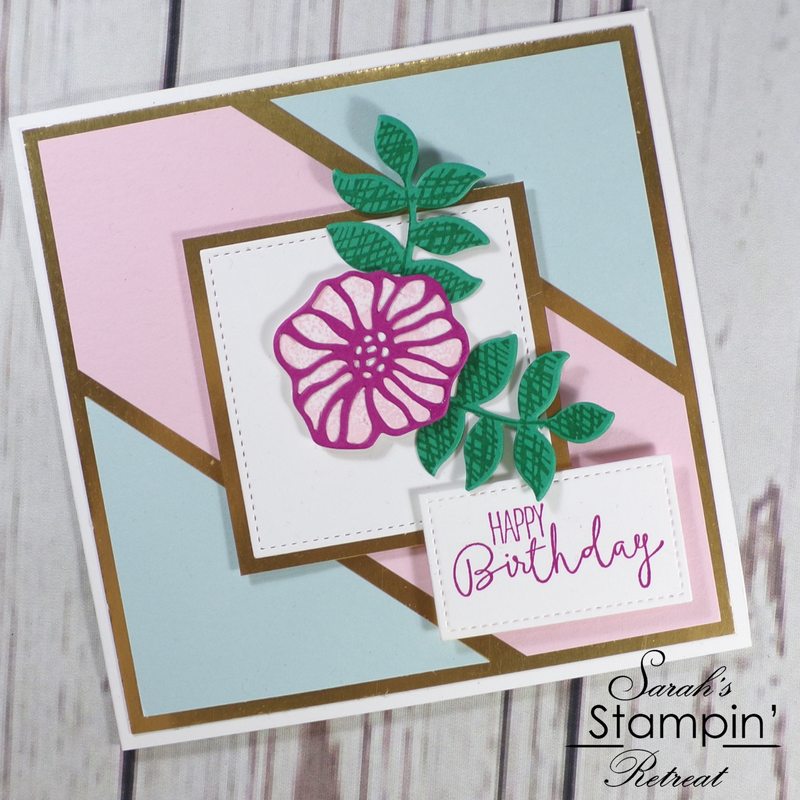
Tutorial – Oh So Eclectic Birthday Card
To create the card blank, cut a sheet of Thick Whisper White cardstock down to 5 1/2″ x 11″, then score and fold it in half.
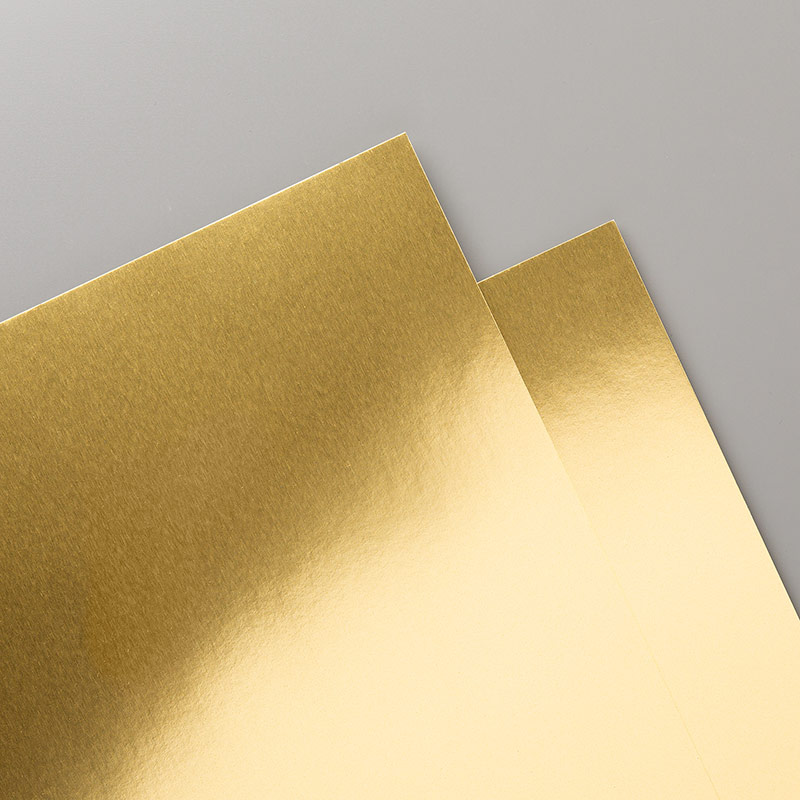
Cut a piece of gold foil sheet to 5 1/4″ square and adhere this to your card blank.
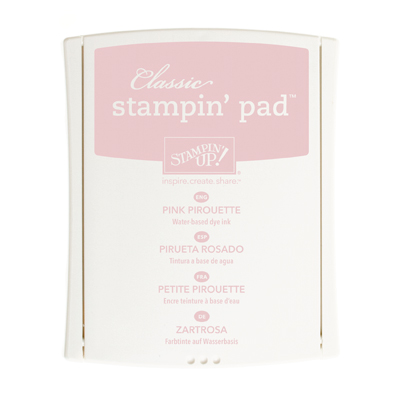
Cut a 5″ square piece of both Pink Pirouette and Soft Sky cardstock. Trim two corners off each piece of cardstock, making the corners you cut off the Pink Pirouette piece around 1/4″ bigger than the ones on the Soft Sky piece. Use the centre piece of the Pink Pirouette cardstock, and the corners from the Soft Sky and lay them out on the gold foil sheet to create a square like the one in the picture.
Cut a 3″ square piece of Gold Foil Sheet, then layer a square of Whisper White cardstock on top cut out with the largest Stitched Square Framelit die.
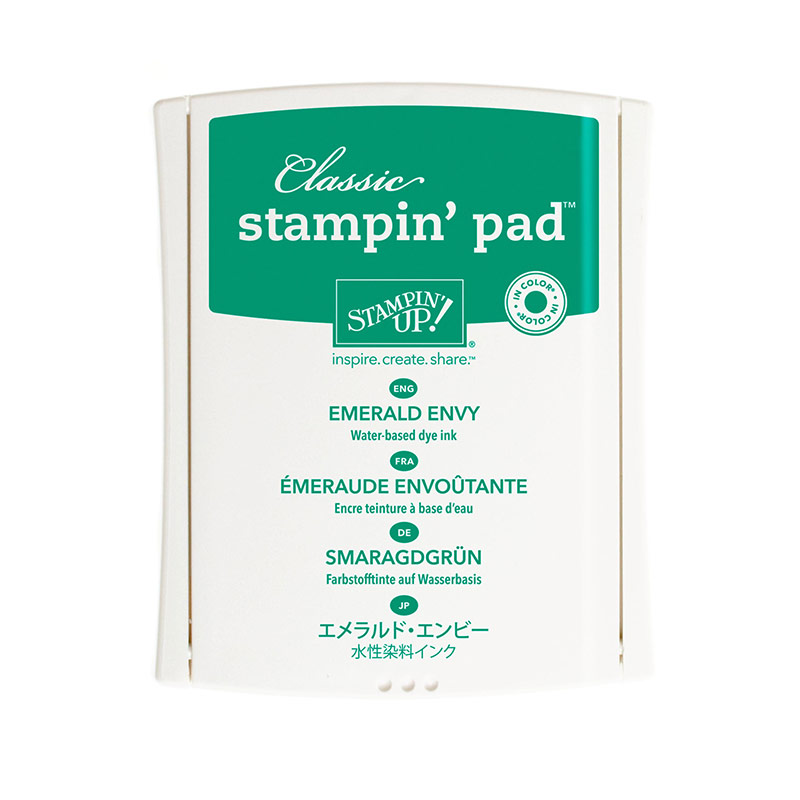
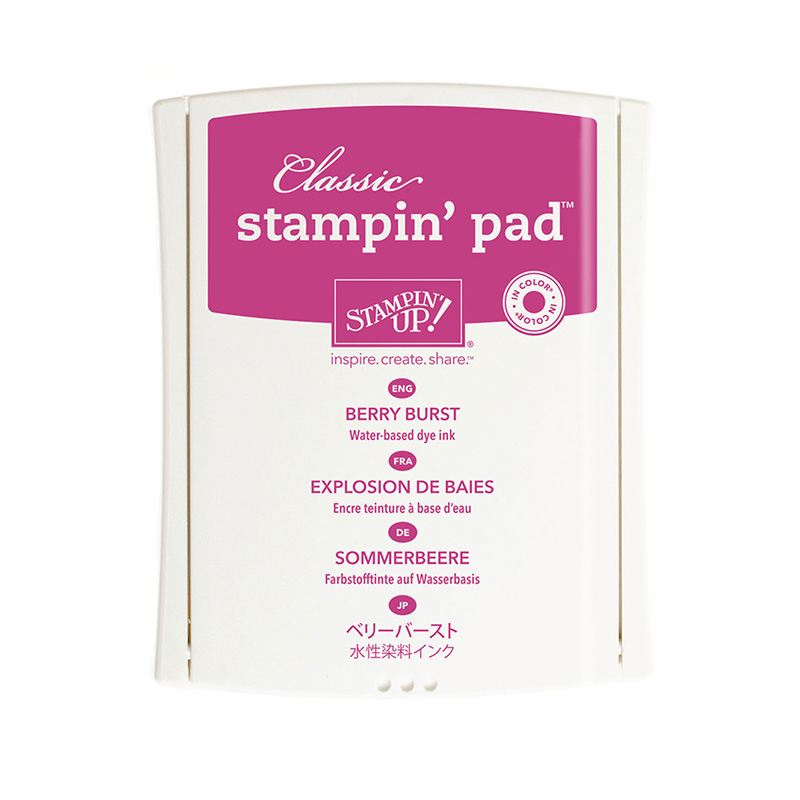
Create a flower by stamping the watercolour style circular flower in Pink Pirouette ink, then die-cutting it with the outline flower die. Use both the inside and the outline flower dies together (use a magnetic cutting plate or some tape to hold the dies in place) and cut a flower out of Berry Burst cardstock. Stamp 2 of the cross hatch leaves in Emerald Envy ink onto Emerald Envy cardstock and cut them out using the coordinating die. Use Foam pads to stick the flower to your stitched square and stick your leaves underneath. Adhere this topper to the centre of your card.
Stamp the Happy Birthday sentiment from the Special Celebrations stamp set onto Whisper White cardstock in Berry Burst ink. Use the second largest Stitched Shape Framelit die to cut around the sentiment, but when you run it through your Bigshot, stagger the top cutting mat so that it only covers the half of the die that is surrounding the sentiment. This will mean that it only cuts half of the square. Then, move your die so that the bottom edge sits just under your sentiment, and the “stitch” grooves from the die sit into the ones already made by the initial die cut. Run this back through your Bigshot to create a Stitched rectangle around your sentiment.
Add your sentiment to the card front to complete your card.
I hope you enjoyed this project. Click the links below to shop the products used to make it.
145356
Price: £43.00


145372
Price: £27.00
126956
Price: £6.00
141396
Price: £6.00
132622
Price: £3.75

122334
Price: £27.00
129026
Price: £9.00

Price: £3.75
Widget not in any sidebars
Sarah Phelan, Independent UK Stampin’ Up Demonstrator