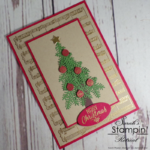
Hello there! Thank you for joining me for my project today! Today’s card is inspired by the card from the Quilted Christmas page in the catalogue (Page 4 – click on the Holiday catalogue at the bottom of the post to see it!). As soon as I saw it I knew I had to do a version!
Have you heard about the fabulous Merry Patterns promotion that Stampin’ Up are doing until the end of October? If you spend £250 you get the beautiful Merry Patterns stamp set (below) absolutely free! Now, I know that that’s not a small amount of money, so if your budget doesn’t stretch that far, as many won’t, why not get together with your crafty friends and place a joint order?! As you’re spending £250 you would also be able to choose goodies from the catalogue worth 10% of your order free, so you could choose a free item each?! The other thing you could do if you live around London is book in a party with me. You can invite your friends around and I would come to your house for a stamping party – I will show you the catalogue and teach you how to make a couple of projects. Then, if you and your friends spend over £250 on products then you would receive the free Merry Patterns stamp set (and the 10% of catalogue goodies!) for being the host! Isn’t the stamp set gorgeous?! Just use the Contact form on the “Contact Me” page to find out more about arranging your party.

Anyway, back to today’s project…
Tutorial – Quilted Christmas Tree Christmas Card
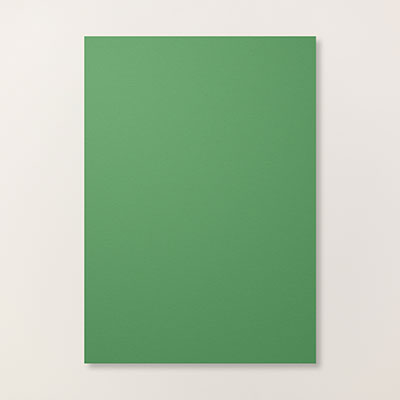
To create the card blank, score and fold an A5 piece of Garden Green cardstock in half. Cut a piece of Whisper White cardstock 2″ wide to fit the length of your card and adhere it near to the bottom. Use the thin gold washi tape from the Year of Cheer Speciality Washi Tape to run along the top and bottom of the white panel creating a border.
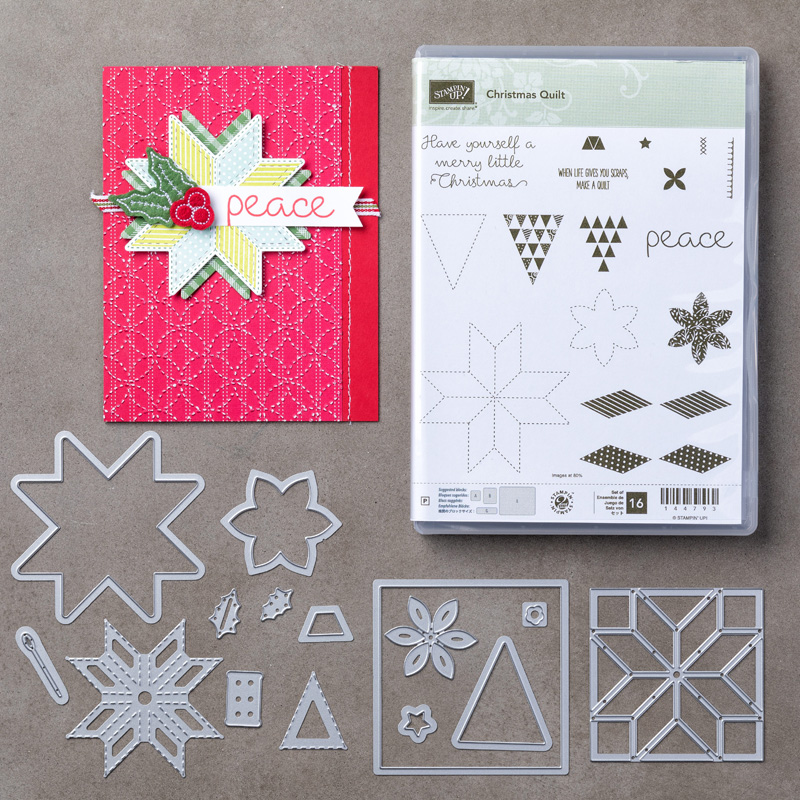
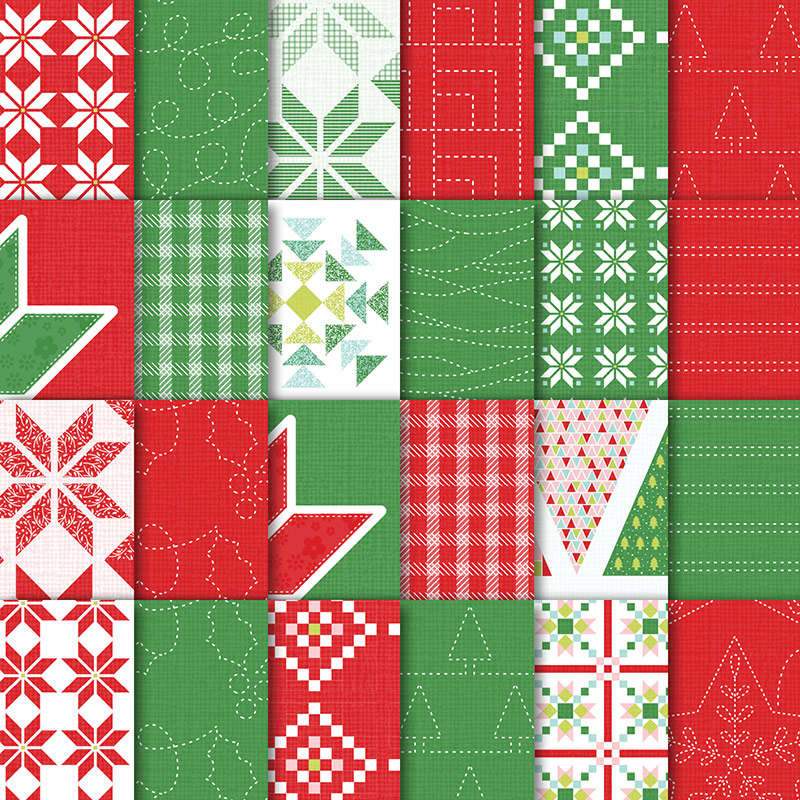
For the trees, cut 3 different green triangles from the triangle pattern in the Quilted Christmas DSP pack. There are two stamps in the Christmas Quilt stamp set with a series of triangles in them. Stamp one of these onto Whisper White paper using Garden Green ink, then stamp the other one over the top to fill in the gaps with Real Red ink. Repeat this a second time but use Real Red on your first stamp and Garden Green on the second one. Stamp the half hexagon stamp (tree base) in Real Red ink. Use the Framelit dies from the Quilt Builder Framelit die set to cut out your 2 triangles and your tree base, then also cut a star from Gold Foil Sheet using the star die. Don’t forget to buy the bundle rather than buying the stamps and dies separately if you want this set as you will then save 10%!
Arrange all of the triangles that you cut from the Quilted Christmas paper pack, your die cut triangles, and a triangle from your stitched felt embellishments along the white panel on your card as shown in the picture. Stick some of them down with glue and some with Stampin’ Dimensionals to create some depth. Add the tree base below your stitched felt tree, and the star above it.
To create the sentiment, stamp the Merry Christmas sentiment from the Hang Your Stocking stamp set onto Read Red cardstock using Versamark ink. I chose not to ink up the little squiggle below the sentiment. Pour on Whisper White Embossing powder, then tip off the excess. Use your heat tool to melt the embossing powder. Cut a rectangle around your sentiment and use Stampin’ Dimensionals to add it to your card to complete.
I hope you enjoyed this project. Click the links below to shop the products used to make it.
146026
Price: £41.25
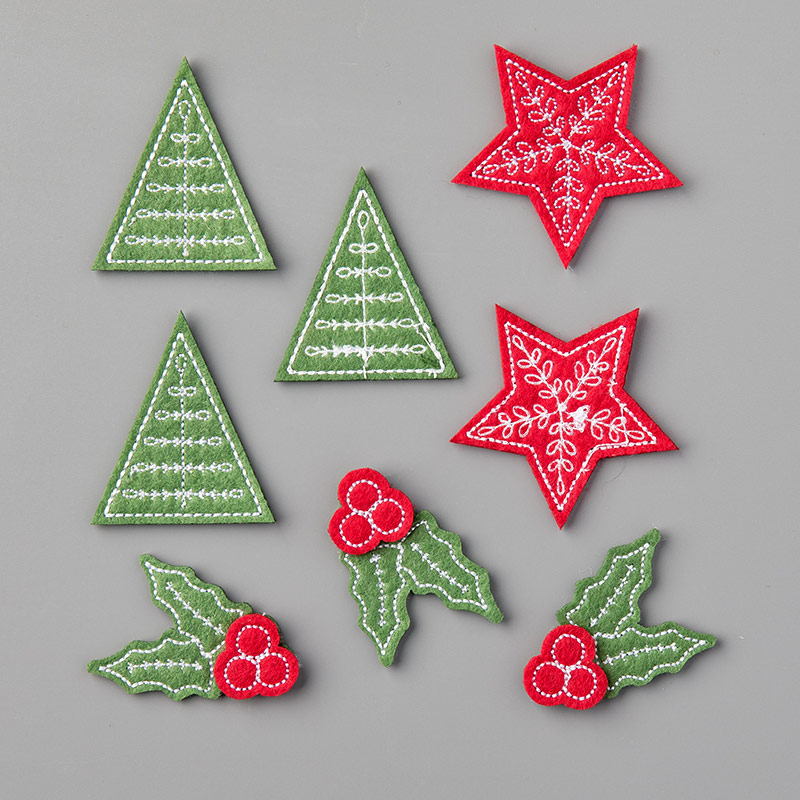
Felt
Embellishments
144619
Price: £8.25
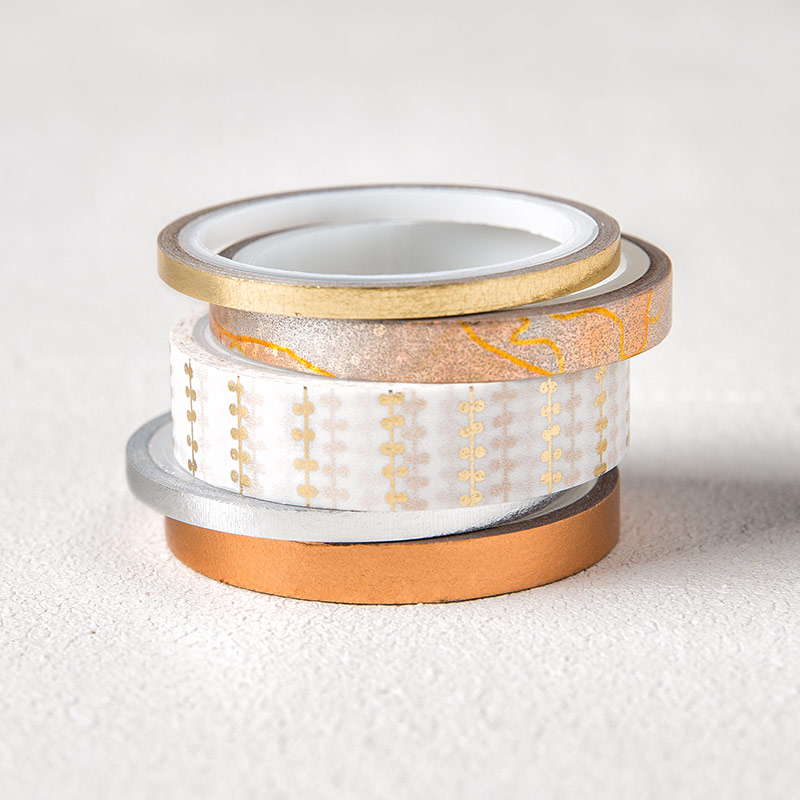
Washi Tape
144644
Price: £8.25

142114
Price: £19.00

132622
Price: £3.75

129054
Price: £27.00
103083
Price: £5.50


102283
Price: £7.75
Price: £7.25


143263
Price: £99.00

Price: £3.75

Scored 122334 Price: £27.00

103579
Price: £9.00
Widget not in any sidebars
Sarah Phelan, Independent UK Stampin’ Up Demonstrator


