Hello Crafters! How are you today? Have you seen our new fabulous August-December mini catalogue? It’s full of gorgeous Autumn, Halloween and Christmas goodies! Today’s card is actually the one I sent as a mini kit to people that shopped with me over the last year or requested a catalogue from me – I hope you’ve now received your catalogues and kits in the post!
For those of you that don’t have a hard copy of the catalogue, you can see the online version by clicking on the picture below.

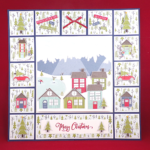
The suite that I used for today’s card is called Trimming the Town and it’s on page 25. The patterned papers have a gorgeous mix of houses, scenes, patterns, and even sentiments, so they can be used almost on their own to create gorgeous cards, but there are coordinating stamps, dies, embellishments and ribbons that coordinate and help them to be even more versatile.
I’ve popped a picture of the whole suite, and then pictures of the individual products in it below. If you’re anything like me you’ll have to have it all, and you can do that by just clicking on the first picture and adding it to your basket.
If you’re placing an order, please don’t forget to add my Host Code [EPXW4NCC for August 2020 but you can always find the most up-to-date one at the bottom of all of my posts] in the Host Code box at checkout and I will send you a free gift of Stampin’ Up product in the post at the beginning of the following month.

Trimming The Town Suite Collection [155105] £69.75

Trimming The Town Designer Series Paper [153491] £10.75

Coming Home Bundle [155144] £44.00

All The Trimmings Embellishments [153540] £7.50

All The Trimmings Ribbon Combo Pack [153541] £7.50
Tutorial – The New August – December Mini Catalogue and Trimming the Town
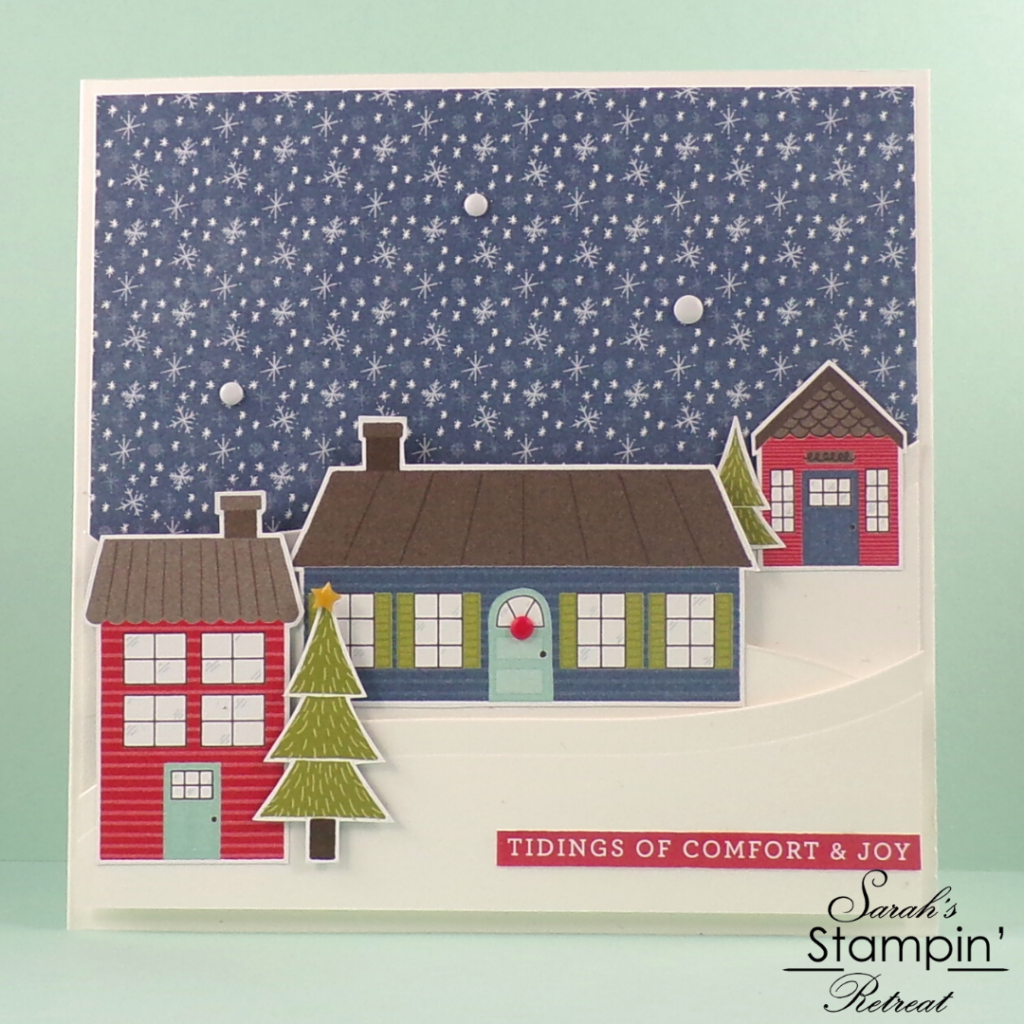
To create your card base, cut a 5 3/4″ x 11 1/2″ piece of Thick Whisper White cardstock and score and fold it in half. Then, cut a 5 1/2″ x 4″ piece of the starry sky paper from the DSP pack and glue that at the top of your card, leaving a small border around the outside.
Cut 2 pieces of Whisper White cardstock measuring approximately 5 1/2″ x 2 1/2″, and cut across the middle of them with the snow banks die from the Home Together die set. Layer three of the pieces together (one will lay “backwards”) on your card, gluing the back one in place towards the bottom of the patterned paper, and layering the others on top, with each one lower down the card than the last. Fix the others with Stampin’ Dimensionals (double-sided foam pads) to create a dimensional look.
Cut the trees and the houses from a piece of DSP (you can do this using the Home Together dies). Glue them to the different levels of “snow” on your card (I used a Stampin’ Dimensional to give some added depth to the tree at the front of the card).
Cut your desired sentiment from the DSP with sentiments on and glue it to your card.
Use the All the Trimmings Embellishments to add the finishing touches to your card.
TIP: If you don’t have a die cutting machine, you could always just cut some waves from a piece of cardstock by hand to form the snow banks, and cut out the trees and houses with scissors!! That way you wouldn’t need the dies.
I hope you enjoyed this project. Click the links below to shop the products used to make it.
JOIN MY TEAM Product List


Widget not in any sidebars
The form you have selected does not exist.
Sarah Phelan, Independent UK Stampin’ Up Demonstrator
Sarah Phelan, Independent UK Stampin’ Up Demonstrator