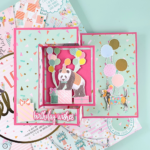
Good Morning Crafters! How are you this morning?! I’m excited as I have a crafty weekend ahead! I’m crafting today and then visiting Crafting Live in Coventry tomorrow with my Mum!
I used Navy and Copper together for the first time when I made today’s card, and I loved the combo so much that I became a little obsessed and created three other projects in the same colours! I hope you like them too… I’ll be sharing the other projects over the next few weeks.
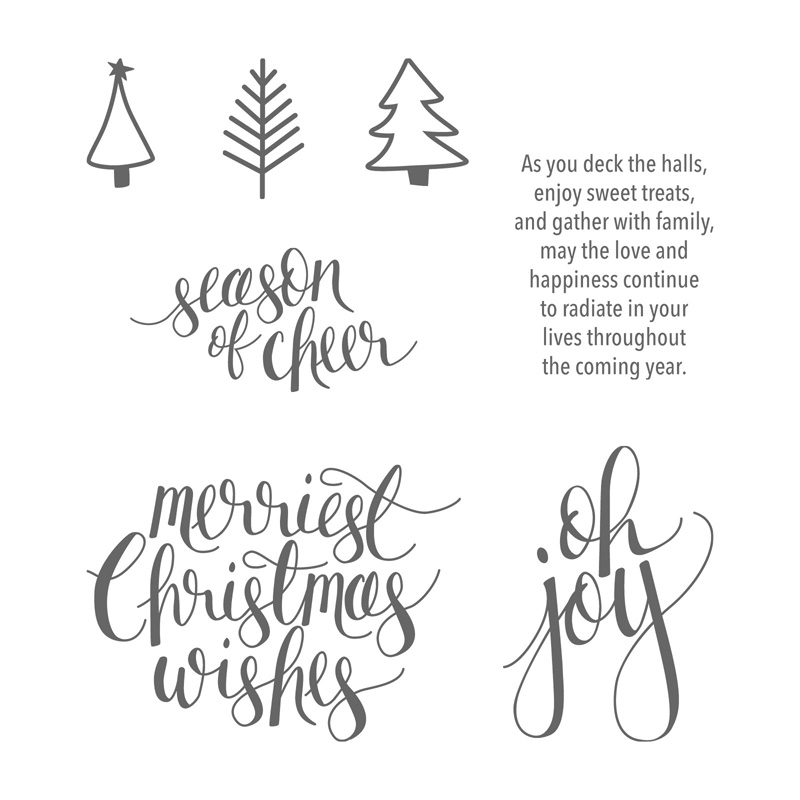
Today’s project’s actually very simple, just using a little heat embossing and some dry embossing to create all of that beautiful texture. The fab sentiment in that lovely font is from the Watercolour Christmas Stamp Set.
So, read on to find out how to make out for yourself…
Tutorial – Watercolour Christmas Card
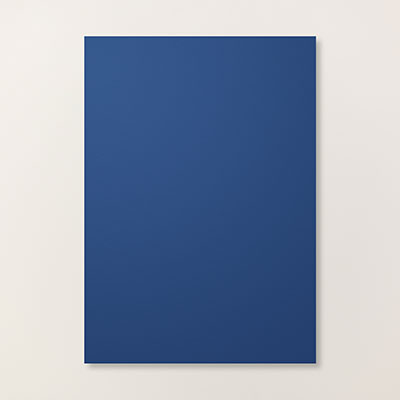
To create the card blank, cut a piece of Night of Navy card measuring 11 1/2″ x 5 3/4″, then score and fold it in half.
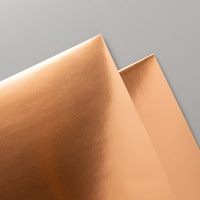
Cut a piece of Copper Foil Sheet to measure 5 1/2″ square and layer it one your card front.
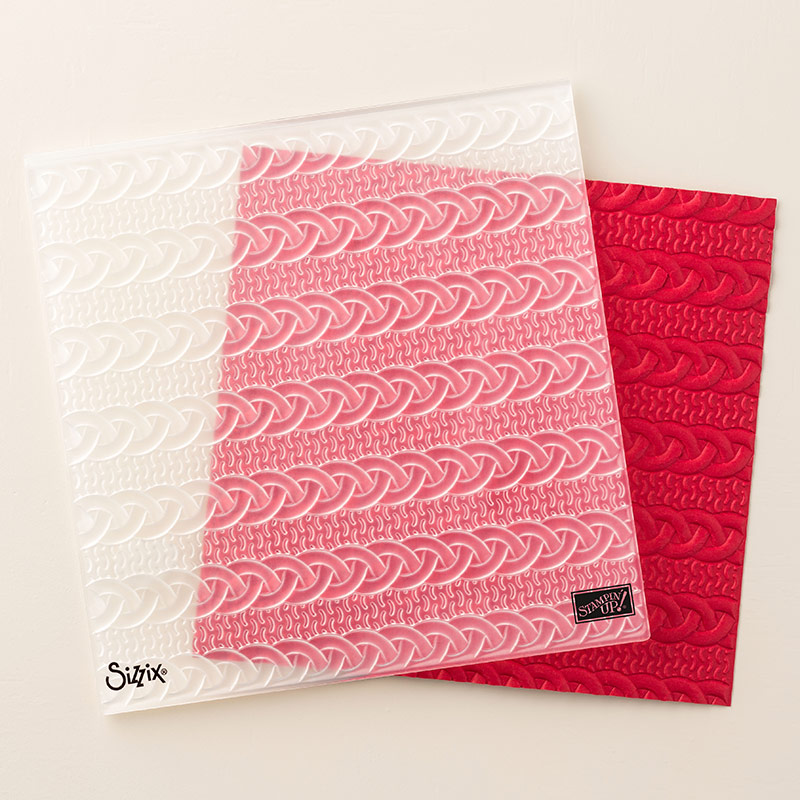
To create the embossed layer, spritz a piece of Night of Navy cardstock measuring 5 1/4″ Square and run it through your Bigshot in your Cable Knit Embossing Folder. Because the embossing folder is so deep, as it’s one of the dynamic deep embossing folders, it’s important to spritz the cardstock first as otherwise it may split or the emboss may not be as deep. Layer this onto your card.
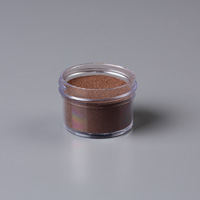
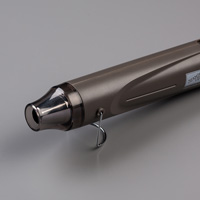
To create the topper for the centre of your card, cut a piece of Night of Navy cardstock measuring 2 3/4″ square. Use Versamark ink to Stamp the Merriest Christmas Wishes sentiment from the Watercolour Wishes Stamp set. Pour over some Copper Embossing Powder and melt it using your heat tool.
Layer your sentiment onto a piece of Copper Foil Sheet measuring 3″ Square. Use Stampin’ Dimensionals to attach it to the centre of your card and finish with a bow tied with copper trim.
I hope you enjoyed this project. Click the links below to shop the products used to make it.

144838
Price: £16.00
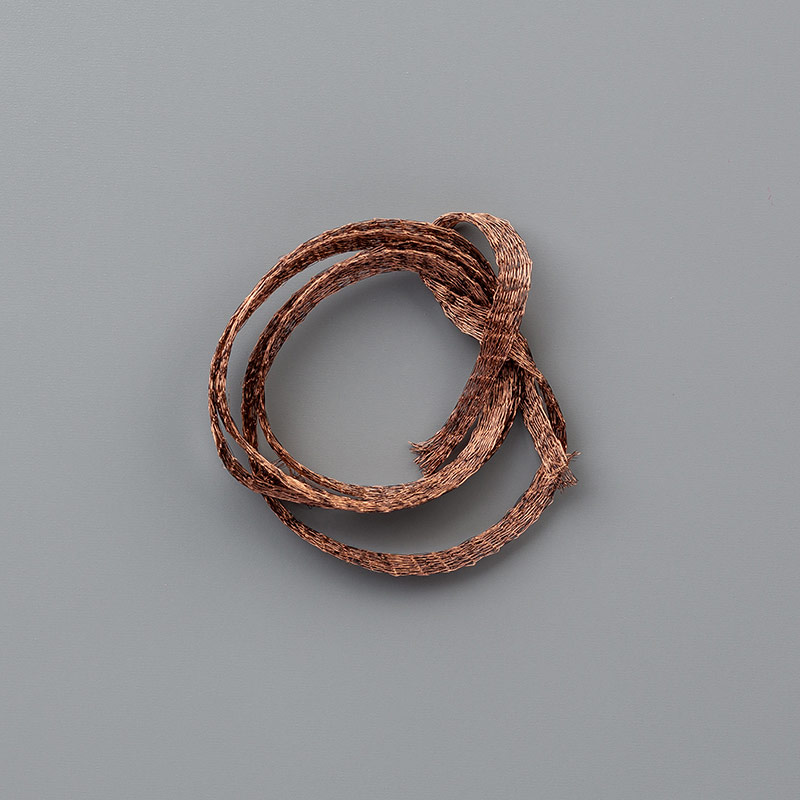
Copper
Trim
144179
Price: £5.50
Foil
Sheets
142020
Price: £3.75
Navy A4
Cardstock
106577
Price: £7.25
129054
Price: £27.00

102283
Price: £7.75
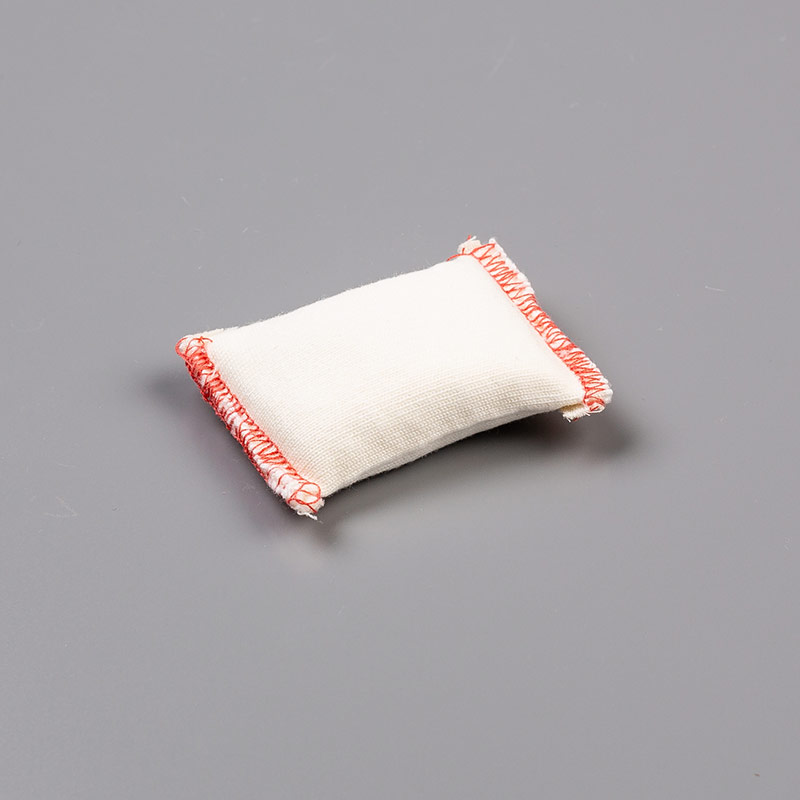
103083
Price: £5.50
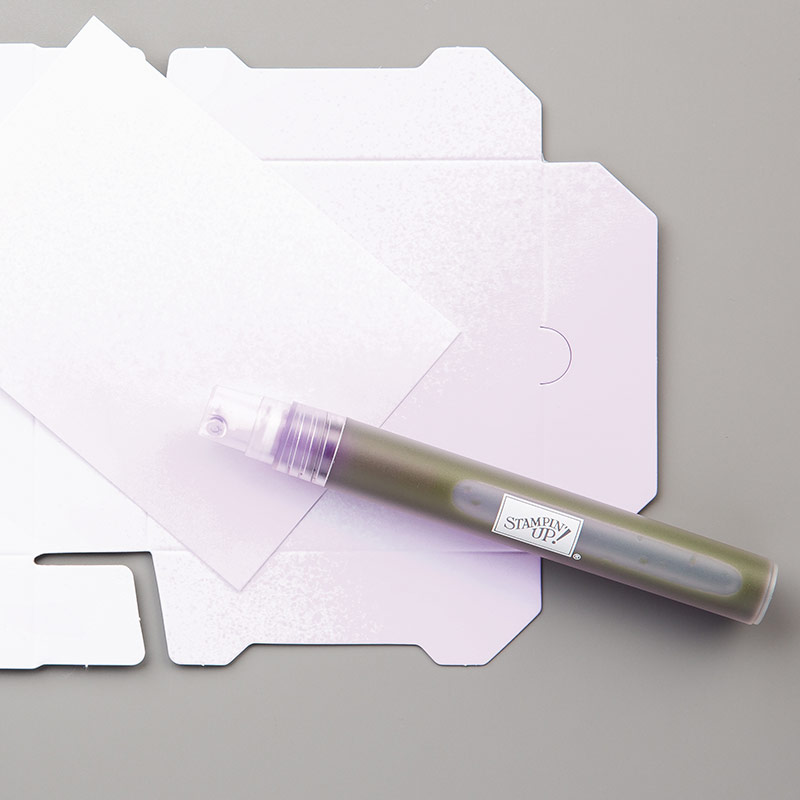
126185
Price: £2.75
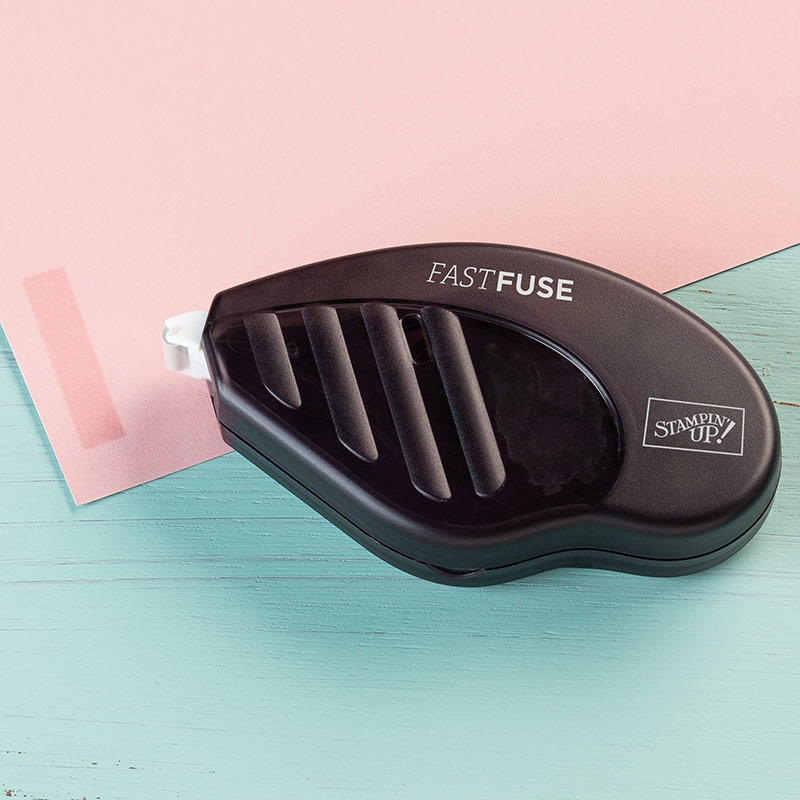
129026
Price: £9.00

Price: £3.75
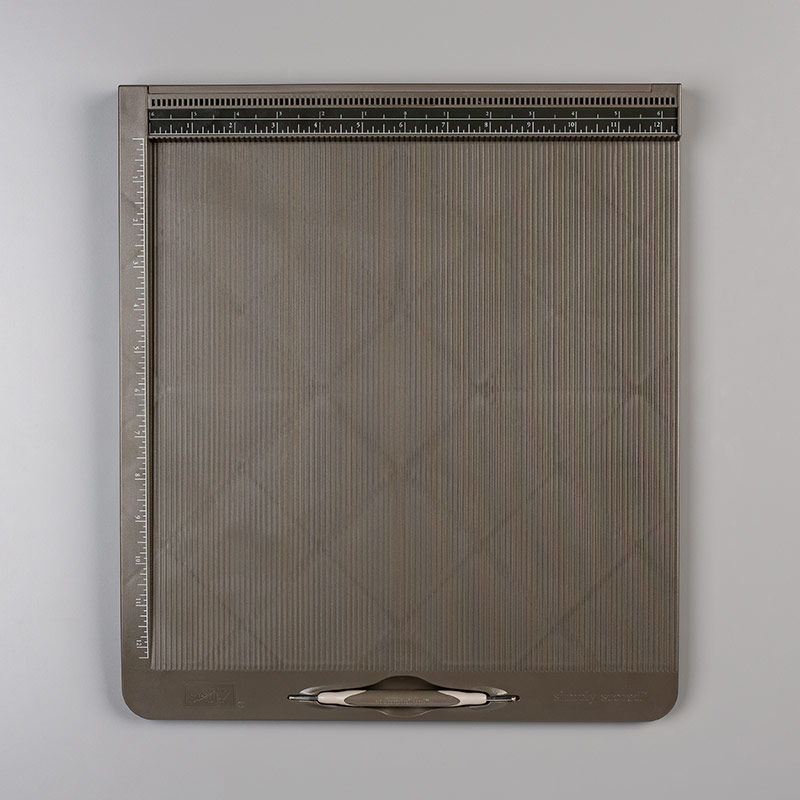
Scored 122334 Price: £27.00

143263
Price: £99.00
Widget not in any sidebars
Sarah Phelan, Independent UK Stampin’ Up Demonstrator


