
Good Morning! How are you this morning?! Today’s card uses the Merry Patterns stamp set. You can’t buy this stamp set but you get it free with orders over £250 until end October. And this is on top of the usual Stampin’ Rewards that you get for spending this much money usually (free products worth 10% of your spend that you select yourself).

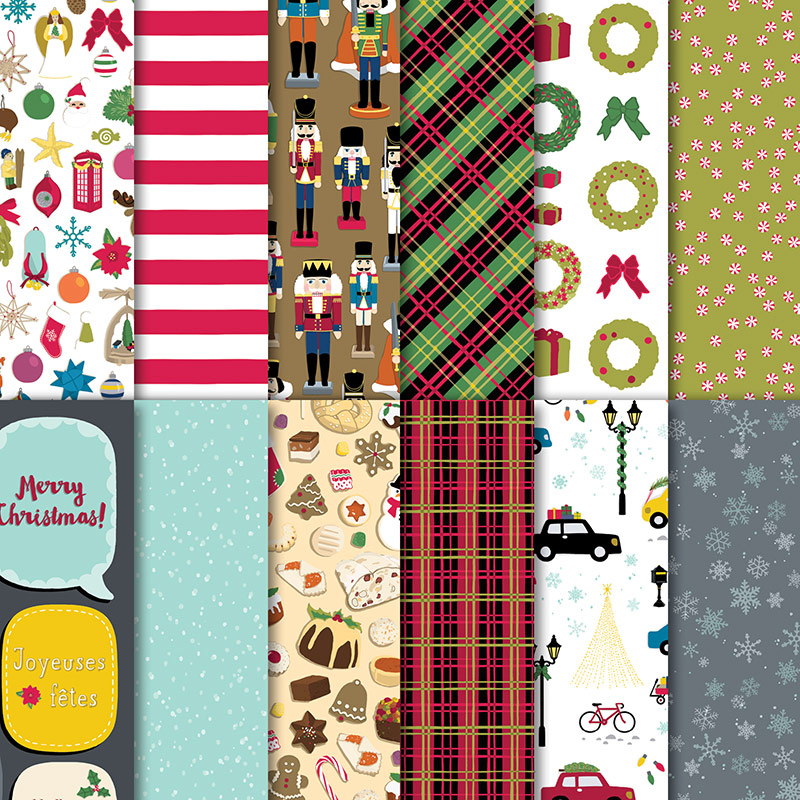
It’s sooo pretty! There’s another special offer on product I’ve used on this card too! The Christmas Around the World DSP that I’ve used is part of the buy 3 get 1 free on selected DSP offer that’s on currently. It’s one of my favourites with so many beautiful patterns so now’s a great time to stock up as this offer ends at the end of October. See the full range of DSP in the offer here.
Tutorial – Merry Patterns ‘Tis the Season Card
For the card base, score and fold an A5 piece of Thick Whisper White cardstock in half.
Cut a piece of the check paper from your Christmas Around the World DSP the same size as your card front and adhere it to the front of your card.
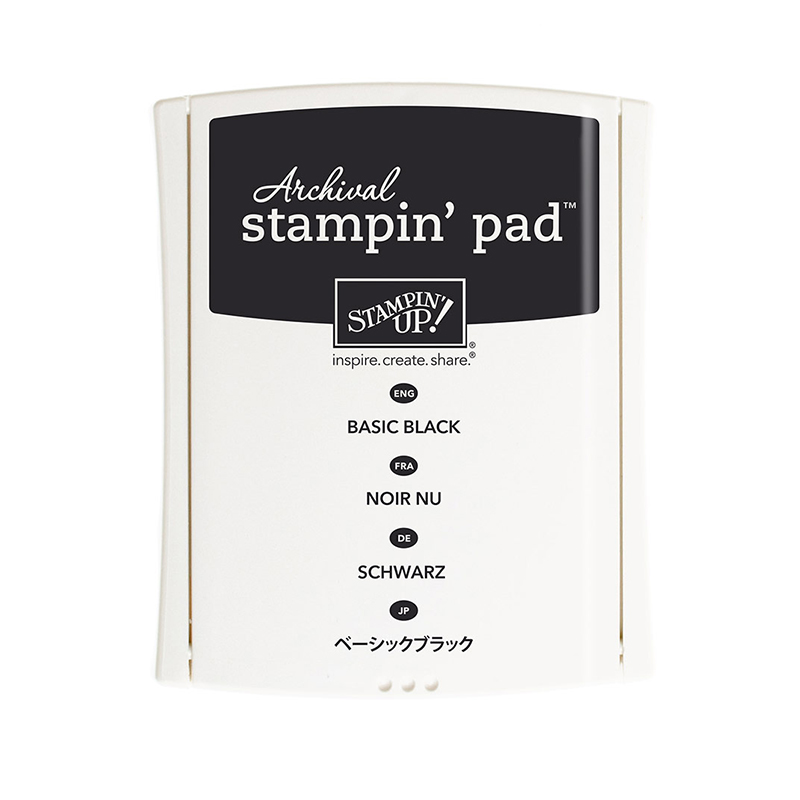
Cut a piece of Whisper White cardstock to 4″ square and layer this onto a piece of Basic Black cardstock measuring the same height as your card front and 4 1/4″ wide. Stamp the sentiment “’tis the season to be jolly” onto the whisper white square in Basic Black ink. Stamp the “season” part of the sentiment onto the check DSP and cut it out. Ink around the edges with your black Stampin’ Write marker to give a nice finish, then adhere the letters on top of your stamped Whisper White sentiment.
Cut a strip of Basic Black cardstock measuring 4″ x 1/4″. Wrap a piece of thin Real Real ribbon around it, adhering it to the back of the strip. Tie a small bow with a little bit of extra ribbon and use a glue dot to stick it to the left hand side of the strip.
Cut one of the small poinsettias out of the DSP (the piece with red stripes on the back) and edge it with your black marker before sticking it above your sentiment with a mini dimensional.
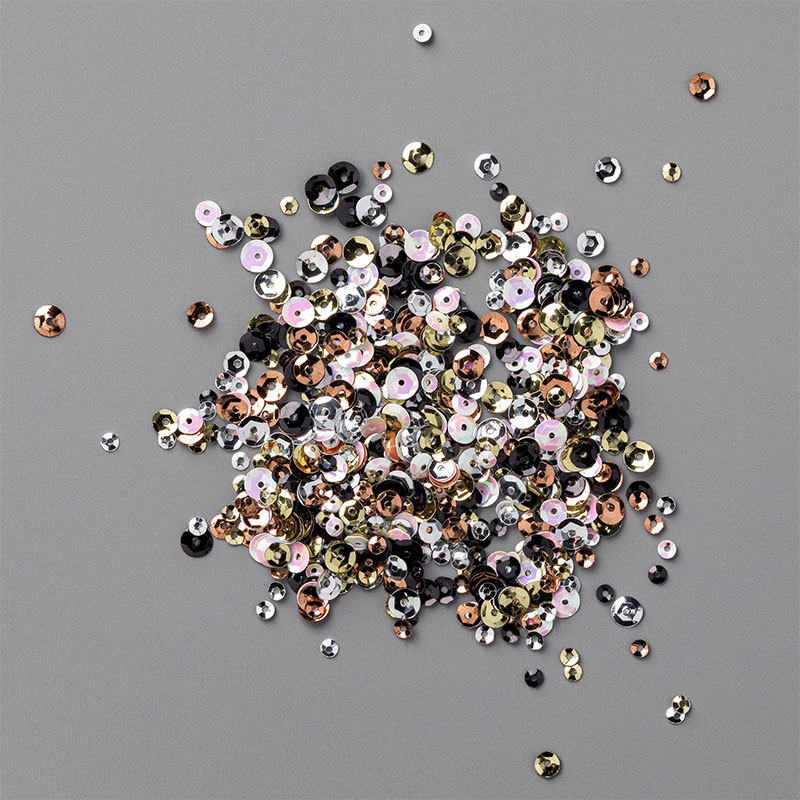
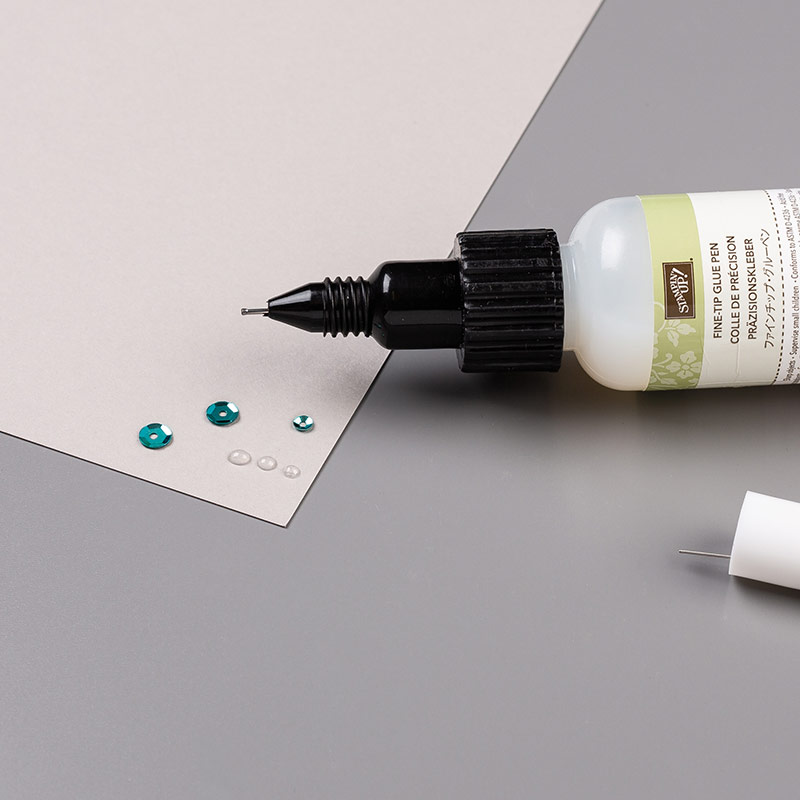
To finish the topper, stick on 3 gold sequins, a small one in the centre of your poinsettia, and a medium and a large one towards the bottom left hand corner.
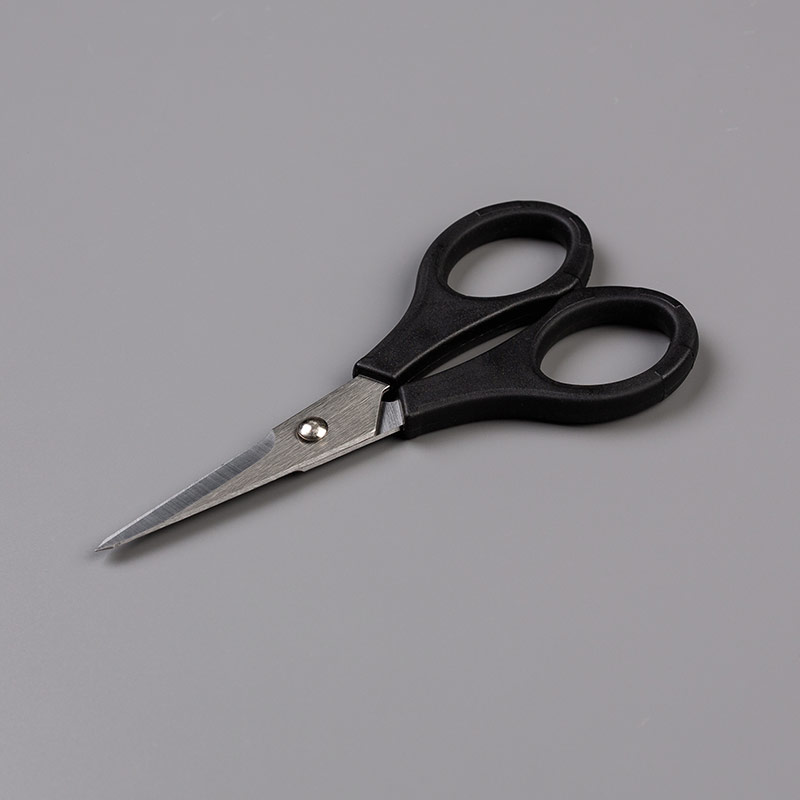
Add your topper to your card and finish with your ribbon! I think that although cutting the sentiment on this card out is a little fiddly it makes for a beautiful finish! The sharp points on the Paper Snips definitely help though. I wouldn’t even try this with scissors with points that aren’t as sharp! They’re a definite staple in my crafty stash!
I hope you enjoyed this project. Click the links below to shop the products used to make it. There is no link to the Merry Patterns Stamp Set as this will be automatically added to your order if you spend over £250.
144214
Price: £4.50

144631
Price: £6.25
Snips
103579
Price: £9.00

140490
Price: £6.50

129026
Price: £9.00

Price: £3.75
138309
Price: £6.25
Widget not in any sidebars
Sarah Phelan, Independent UK Stampin’ Up Demonstrator