Morning Crafters! How are you? I do hope you have a lovely weekend planned! Today’s project is a personalised picture that I made for my friend’s beautiful new baby boy! I put his initials along the bottom and used some of the lovely characters from the Pick a Pattern Designer Series Papers to decorate it.
Apologies for the poor picture today – I was having a lot of trouble with the reflections from the glass. I hope you can see enough to get an idea of how it looks in real life! I was really pleased with it and my friend loved it!
Tutorial – Pick a Pattern Personalised Framed Picture
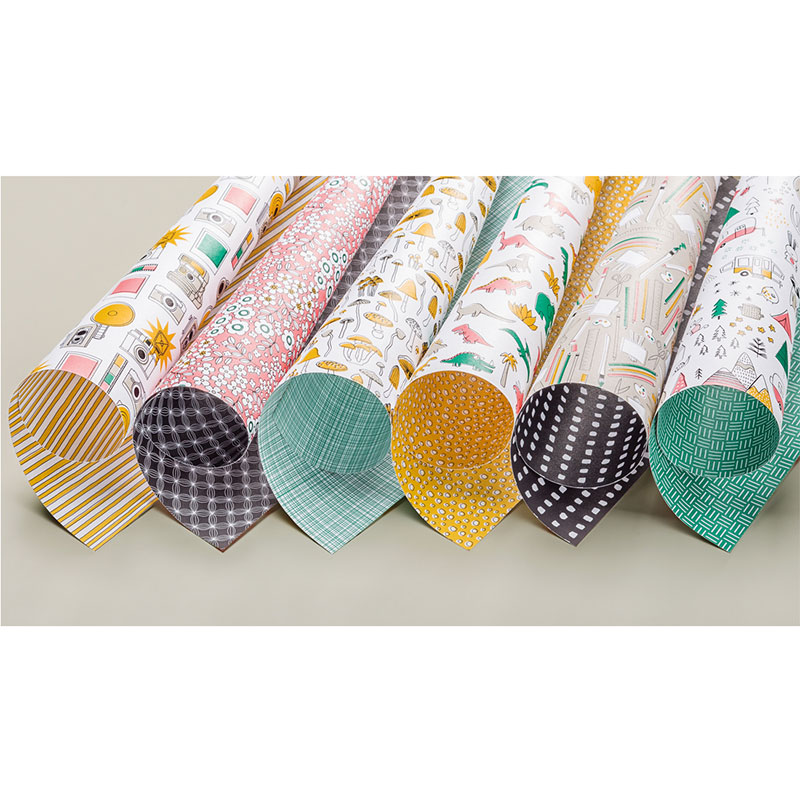
To begin with, I fussy cut all of the characters out of the Pick a Pattern Designer Series Paper. Most of them came from the sheet that I like to think of as the camping paper – the one with the tents and caravans on it. The only thing that didn’t come from that particular paper was the flying dinosaur in the top left hand corner, and that came from the dinosaur sheet.
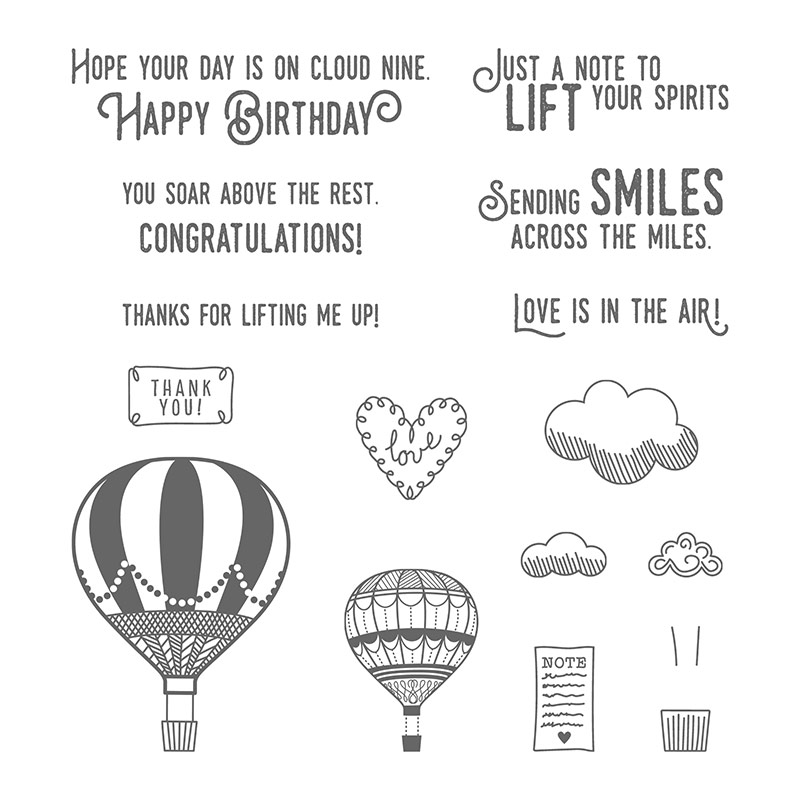
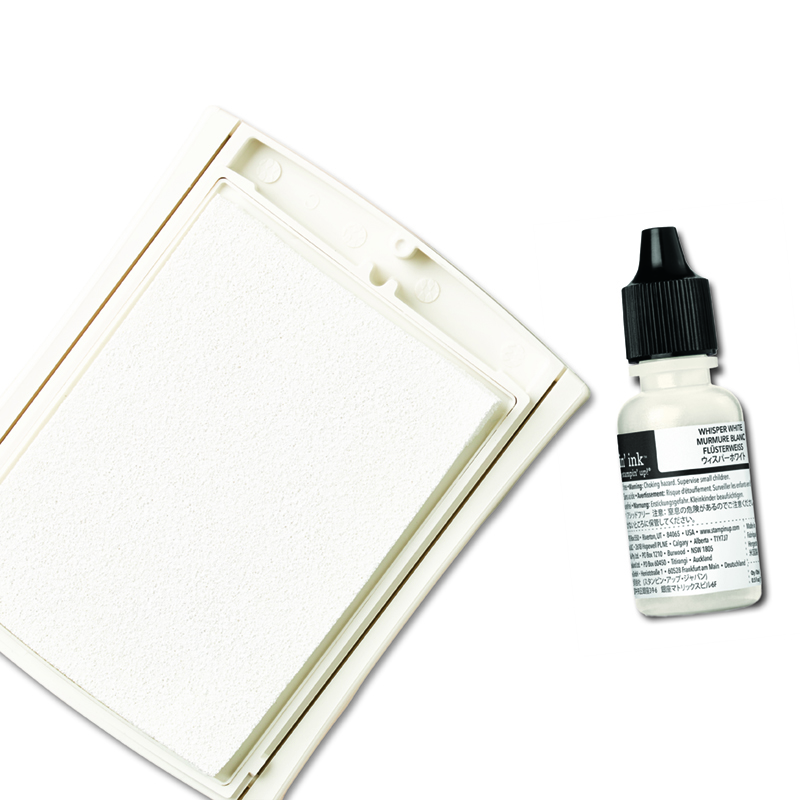
Next, I took a piece of Soft Sky cardstock and cut it to the size of my frame. I very lightly drew around each of the openings in the frame in pencil onto the cardstock. Then I used the clouds from the Lift Me Up stamp set and White ink to stamp a few clouds of varying sizes within each part of the frame.
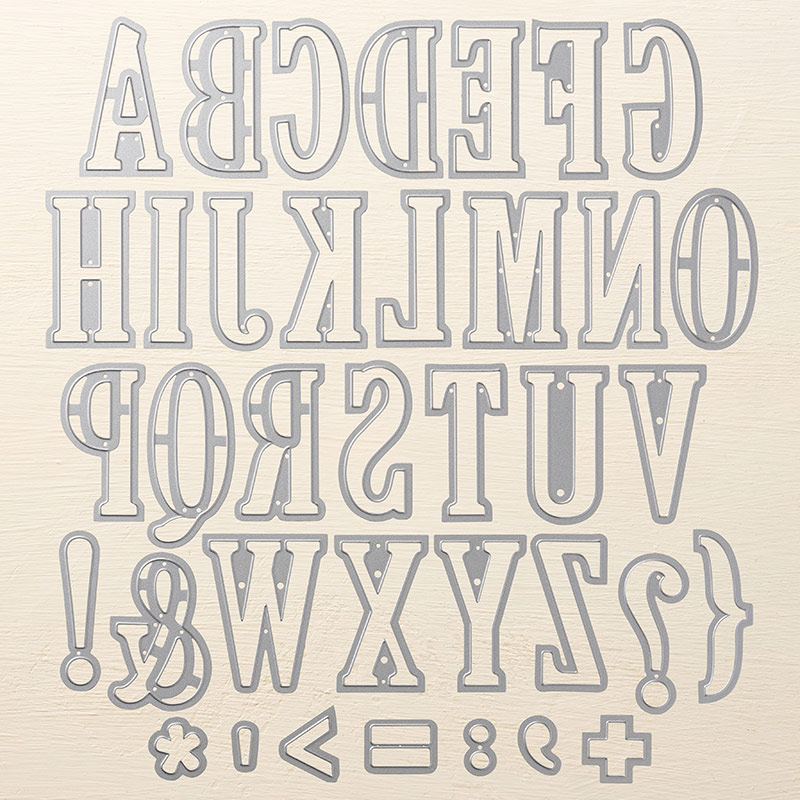
I used my electronic cutter to cut the letters for my frame, and outline the letters with black ink, but if you have the Large Letters Framelit dies they would be great for this! I used Crushed Curry, Sahara Sand and Emerald Envy cardstocks to create the letters.
To finish, I arranged the letters and the fussy cut pieces within the pencil drawn lines, then stuck them down, rubbed out the pencil and put the finished piece in the frame! I was very happy with the result!
I hope you enjoyed this project. Click the links below to shop the products used to make it.
142896
Price: £19.00
141712
Price: £89.00
Snips
103579
Price: £9.00

Widget not in any sidebars
Sarah Phelan, Independent UK Stampin’ Up Demonstrator


