Good Morning Crafters! How are you today? I thought I’d share a card that I made using the Merry Mistletoe stamp set that we used for yesterday’s card but adding in the gorgeous reindeer that comes in the set and of course my favourite Night of Navy and Copper colour combo!

143655
Price: £17.00
Tutorial – Merry Mistletoe Handmade Christmas Card
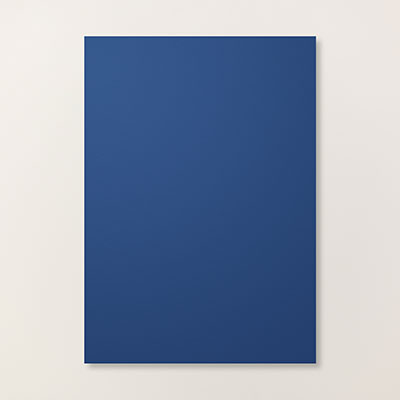
To start, create an A6 card blank from an A5 piece of Night of Navy cardstock scored and folded in half.
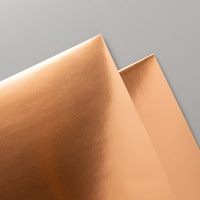
Cut a piece of Copper Foil Sheet 1/4″ smaller each way than your card front, and then another piece of Night of Navy cardstock 1/4″ smaller than this.
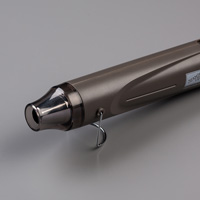
Stamp the reindeer from the Merry Mistletoe stamp set onto a spare piece of Night of Navy cardstock using Versamark Ink. Cover the image with Copper Embossing Powder and shake off the excess. Heat your image with your heat tool to melt the embossing powder. Cut out the image with the largest Stitched Oval Framelit die and then cut a scalloped oval one size bigger from Copper Foil Sheet using the Layering Oval Framelit Dies. Adhere your Reindeer oval to the copper oval. You can actually cut your Copper oval from the centre of the piece of Copper Foil Sheet that you are going to layer onto your card base as this will not be seen and it’s a way of stretching your Foil Sheets further.
Stamp the “Merry Christmas” sentiment from your Merry Mistletoe stamp set at the bottom of the rectangular piece of Night of Navy cardstock that you cut earlier. Heat emboss it with Copper Embossing Powder in the same way that you did the reindeer. Layer up the card using the picture as a guide.
To complete your card, cut a piece of Very Vanilla cardstock 1/4″ smaller each way than your card front and use the Copper Embossing powder to heat emboss the Merry Christmas sentiment in the centre. Stick this to the inside of your card to decorate it and make it easier to write in.
I hope you enjoyed this project. Click the links below to shop the products used to make it.


145372
Price: £27.00

141706
Price: £32.00
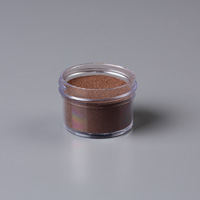
141636
Price: £4.50
(Uk)
129054
Price: £27.00

102283
Price: £7.75
103083
Price: £5.50
142020
Price: £3.75


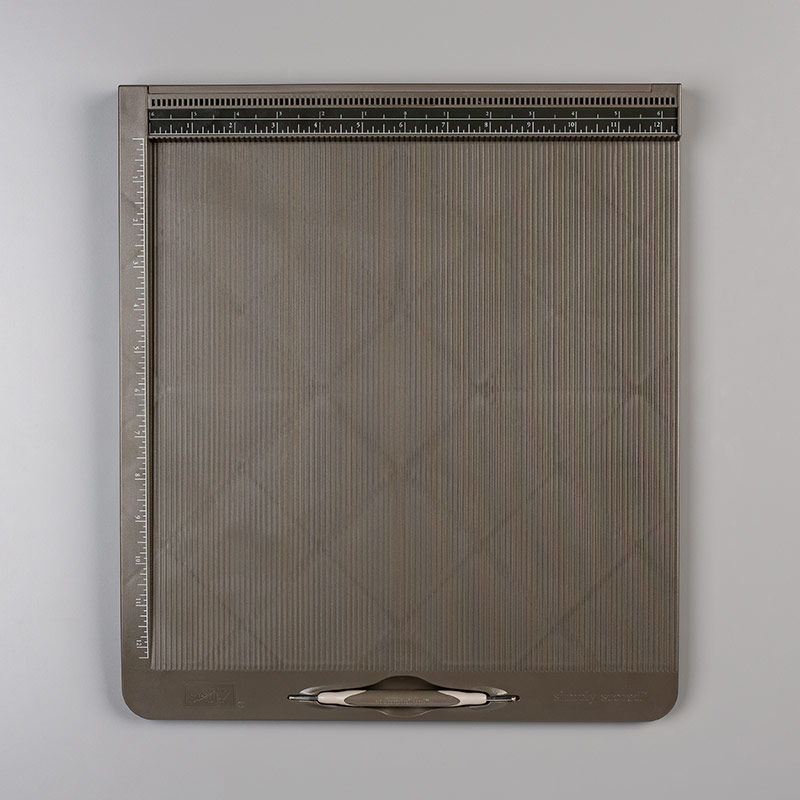
Scored 122334 Price: £27.00
Widget not in any sidebars
Sarah Phelan, Independent UK Stampin’ Up Demonstrator


